3
o 7. Place the oven into the cabinet.
WARNING: The oven weighs approximately 410 lbs. (186 kg.) It requires 2 or more individuals to lift it.
WARNING: DO NOT push on the outer frame. Doing so could cause the door(s) to misalign, requiring repair and/or
replacement.
NOTE: When the unit is lifted into the cabinet opening, the installer will need to remove the support rails to allow the
oven to slide into the opening properly. Remove each support rail by unscrewing the support screw on either side of the rail.
Supports should then slide off the oven base.
NOTE: When sliding the oven in to its nal position, installer should continually pull conduit through the electrical drill
hole so that the conduit remains taunt and to prevent conduit from twisting or becoming lodged behind the oven.
o 8. Secure the oven to the cabinets.
Open the top oven door. Making sure the oven is fully installed against the front of the cabinet, install the two (2) screws
supplied with the oven through the side trim holes on either side. Screws should engage the inner cabinet and secure the
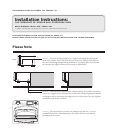
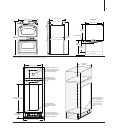
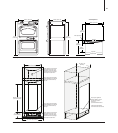
oven in place. See Figure 3 on page 1.
o 9. Reconnect power to the breaker.
o 10. Remove all wire ties from the top and bottom oven cavities.
o 11. Verify the oven is functional and set the clock.
(A) Advance the CookWheel
TM
on the top oven to “Bake”. The display should illuminate and the TurboChef logo should
appear. Once this is veried, return CookWheel to the “Off” position.
NOTE: DO NOT attempt to program any cook programs in the top oven during installation. Removal of literature and
operation of the top oven should be performed only by the consumer.
(B) Verify all packing material is removed from lower oven cavity. Select “Bake” on the Oven Mode Dial. Use the Temperature
Dial to set the temperature. Verify oven begins heating. Once veried, return Oven Mode Dial to the “Off” position.
(C) Set clock on the top oven. Press the Set Clock Knob (top knob next to the clock). Knob will pop out. Turn knob left or
right to set correct time. When time is set, press knob back into its original position.
N?@K<fi>I<P
N?@K<fi>I<P
I<;
I<;
9C8:B
>I<<Efi98I<
98I<
9C8:B
FM<EN@I<J
Zi`dgi\dfm\[
?FLJ<N@I<J
N?@K<fi>I<P
N?@K<fi>I<P
I<;
I<;
9C8:B
>I<<Efi98I<
9C8:B
FM<EN@I<J
?FLJ<N@I<J
:I@DG
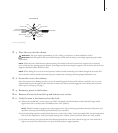
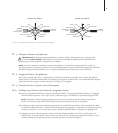
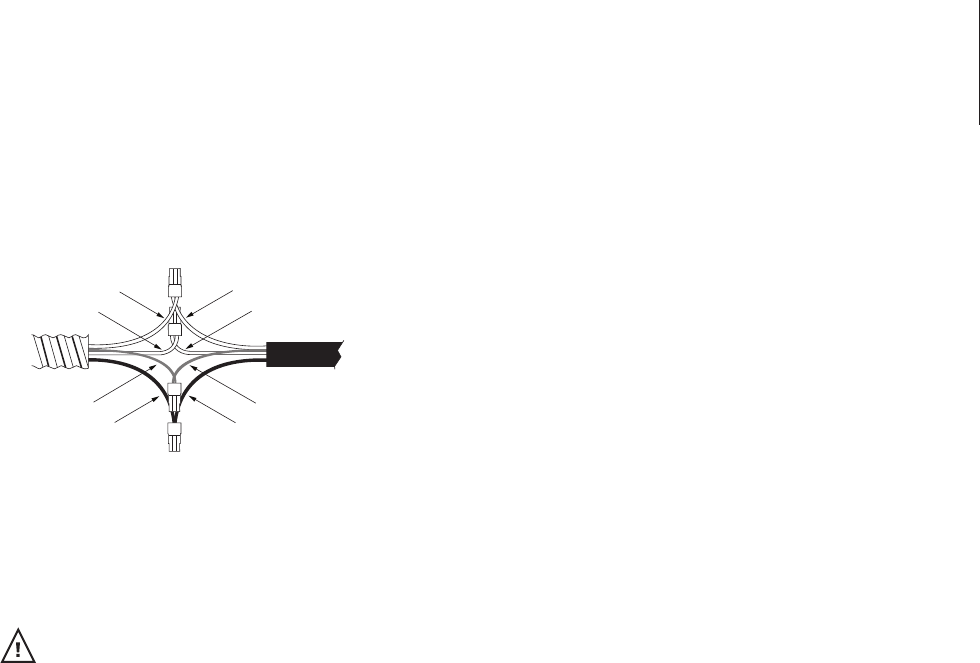
figure 4: 4-wire hook up.
4-wire hook up


