


BI95, BI98, SP18 11
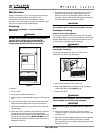
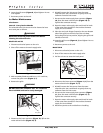
6. Insert the grille screw
(Figure 8, 1)
and tighten. Do not
over-tighten.
7. Reconnect power to the unit.
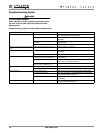
Ice Maker Maintenance
Inlet Screen
Interval - Every Twelve Months
The solenoid valve inlet screen must be cleaned at least
once each year as follows:
WARNING
Disconnect electrical power to the unit before
cleaning the solenoid valve.
Models 95 and 98
1. Disconnect electrical power to the unit.
2. Shut off the water at the main supply valve.
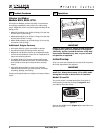
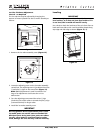
Figure 9
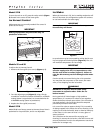
3. With a standard blade screwdriver or 1/4" nut driver,
remove the grille screw
(Figure 9, 1)
.
4. Remove the grille.
WARNING
DO NOT touch the condenser fins. The condenser
fins are SHARP and can be easily damaged.
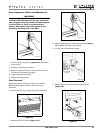
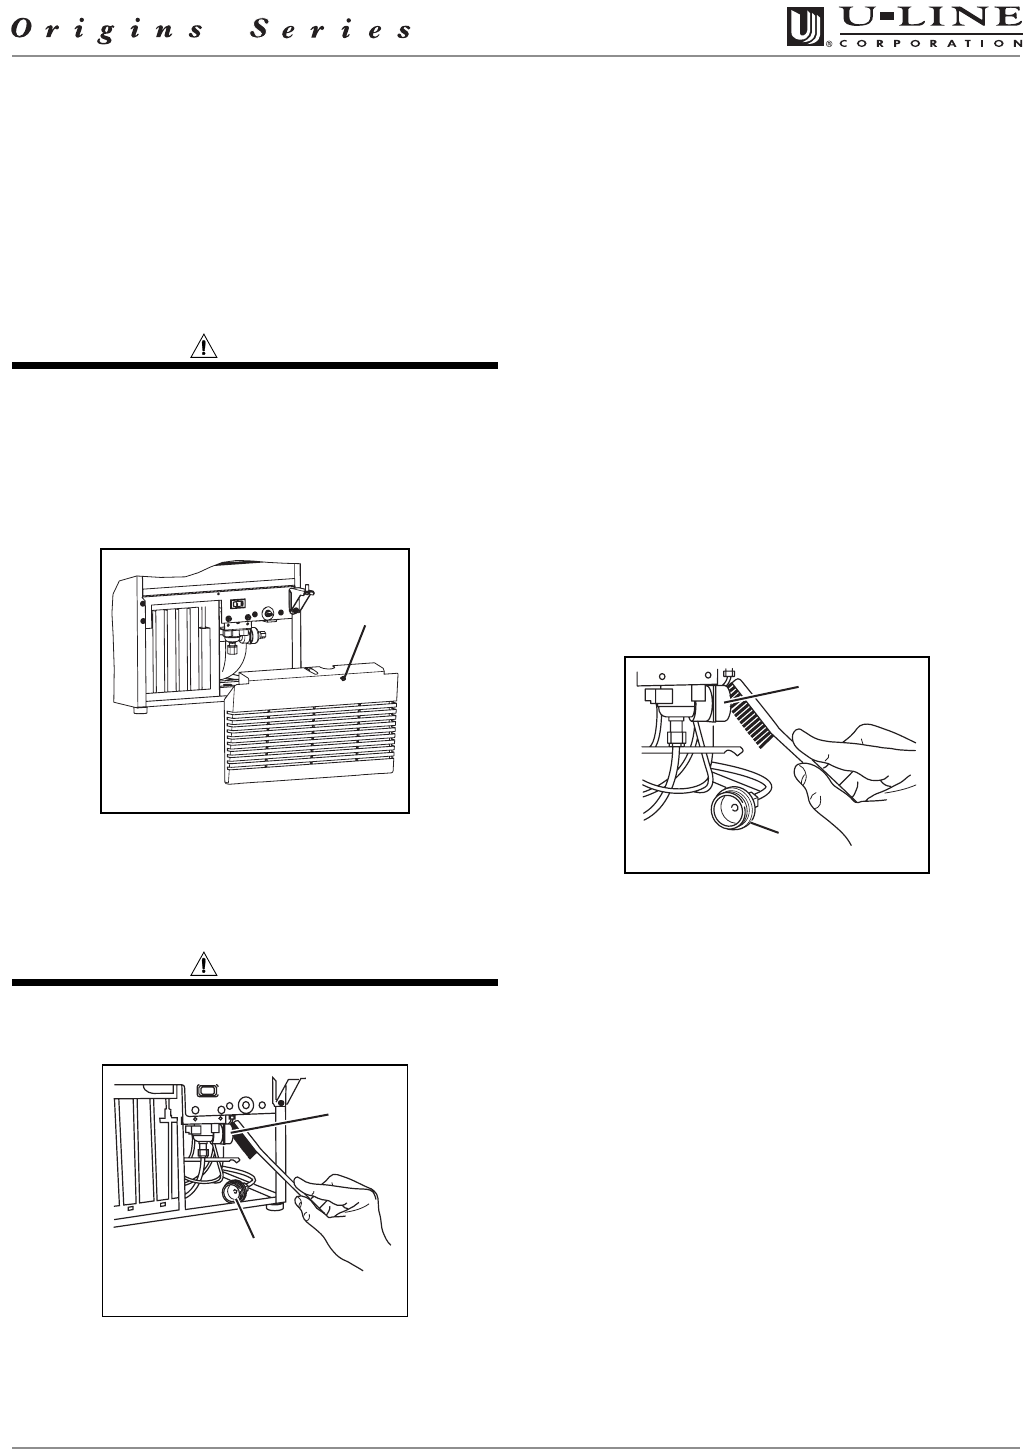
Figure 10
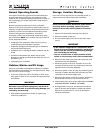
5. Disconnect the hose connector
(Figure 10, 1)
from the
water solenoid valve
(Figure 10, 2)
.
6. DO NOT remove the inlet screen from the water
solenoid valve. Use a toothbrush to gently clean any
sediment from the inlet screen.
7. Re-connect the water supply hose connector
(Figure
10, 1)
to the water solenoid valve
(Figure 10, 2)
.
Tighten the connector securely.
8. Open the water main supply valve and check for leaks
at the water hose connection. Ensure that the water
supply line is not kinked.
9. Place the two hook-hinges (located on the rear bottom
side of the grille) on the front lip of the unit base.
Swing the grille up into position, aligning the grille and
cabinet screw hole.
10. Insert the grille screw
(Figure 9, 1)
and tighten. Do not
over-tighten.
11.Reconnect power to the unit.
Model SP18
1. Disconnect electrical power to the unit.
2. Shut off the water at the main supply valve.
3. Pull the unit out to access the back panel.
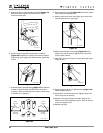
Figure 11
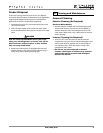
4. Disconnect the hose connector
(Figure 11, 1)
from the
water solenoid valve
(Figure 11, 2)
.
5. DO NOT remove the inlet screen from the water
solenoid valve. Use a toothbrush to gently clean any
sediment from the inlet screen.
6. Re-connect the water supply hose connector
(Figure
11, 1)
to the water solenoid valve
(Figure 11, 2)
.
Tighten the connector securely.
7. Open the water main supply valve and check for leaks
at the water hose connection. Ensure that the water
supply line is not kinked.
8. Reconnect power to the unit before re-installing.
ULIN_0238_A
1
2
1
ULIN_0064_A
ULIN_0065_A
2
1