8 CO2175DWR
Temperature Display
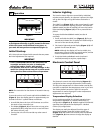
To display the interior temperature:
1. Touch and hold the WARMER icon (Figure 4, 2) for
approximately five seconds and release when the °F
symbol in the display (Figure 4, 3) begins to flash.
2. The display
(Figure 4, 3)
will indicate the actual
refrigerator temperature.
3. After approximately 10 seconds, the set-point
temperature will return to the display.
Factors which affect the internal temperatures of the
cabinet include:
• Temperature setting.
• Ambient temperature where installed.
• Number of times and length of time the door is
opened and closed.
• Installation in direct sunlight or near a heat source.
Adjusting Temperature
NOTE: The top drawer refrigerator section temperature is
adjustable. The bottom drawer freezer temperature is not
adjustable.
IMPORTANTIMPORTANT
Adjust the set-point temperature in single
increments, and wait 24 hours for the temperature
to stabilize before rechecking.
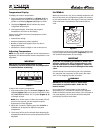
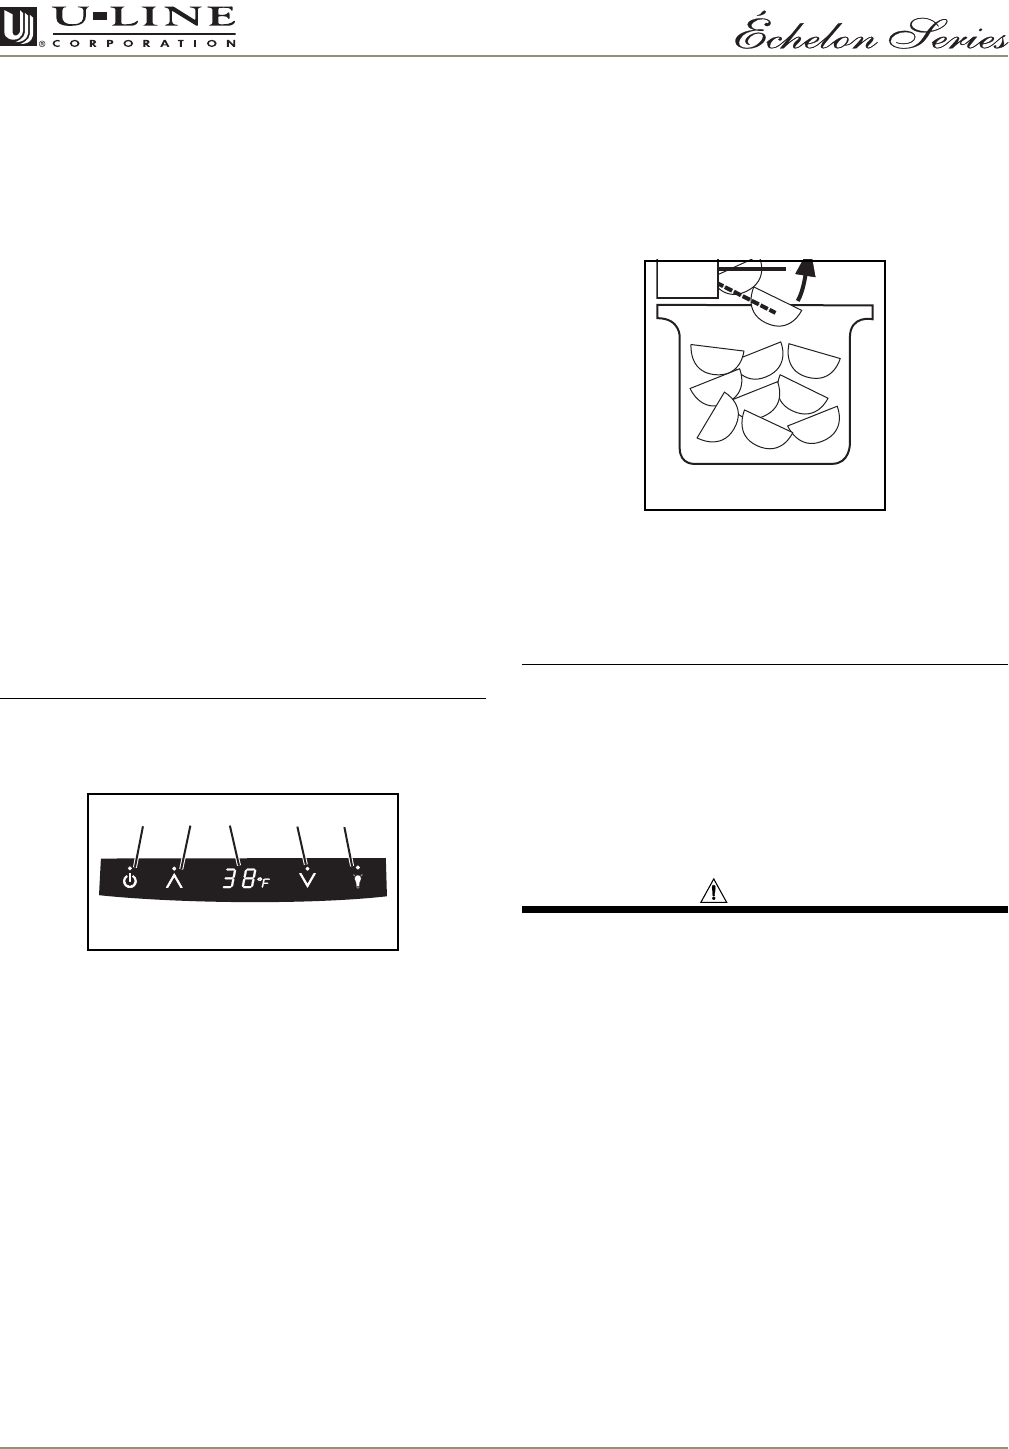
Figure 5
To adjust the set-point temperature:
1. Press and release either the WARMER (Figure 5, 2) or
COOLER (Figure 5, 4) icon to put the controller in the
SET TEMPERATURE mode. The °F symbol (Figure 5, 3)
will begin to flash.
NOTE: If no further action is taken, this mode will self
cancel in five seconds, and the original set-point
temperature will be displayed.
2. While the °F symbol is flashing, press the WARMER or
COOLER icon as required to adjust the set-point
temperature.
3. The change will be set five seconds after adjusting the
temperature and the new set-point temperature will be
displayed.
Ice Maker
When the ice bucket is full, the ice making mechanism will
shut off. However, the refrigeration system will continue
to cool and maintain the cube supply. Frost-free icemaker
units have lower ice production than manual defrost
units.
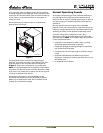
Figure 6
Ice production may be interrupted by raising the bin arm
into an upright and locked position (Figure 6). The unit
will maintain temperature for ice storage.
IMPORTANTIMPORTANT
If you are not intending to use the ice maker and
turn the supply valve off, it is imperative to raise
the bin arm of the ice maker (Figure 6). Failure to
raise the bin arm may result in damage to the water
valve.
Certain sounds are normal during the unit’s operation.
You may hear the compressor or fan motor, the water
valve, or ice dropping into the ice bucket.
WARNING
NEVER use an ice pick, knife, or other sharp
instrument to separate cubes. Shake the ice
bucket instead.
During periods of limited usage or high ambient
temperatures, it is common for cubes to fuse together.
Shake the bucket to break apart cubes. If the ice maker is
not used regularly, the ice bucket should be emptied
periodically to ensure fresh cubes.
123 54
ULIN_0058_A
ULIN_0087_A


