u-line.com 9
Ice Maker Operation
When the ice bucket is full, the ice making mechanism will shut off.
However, the refrigeration system will continue to cool and
maintain the ice supply. Frost-free ice maker units have lower ice
production than manual defrost units.
NOTICE
Do not place cans or bottles in the ice compartment
because they will freeze.
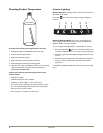
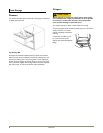
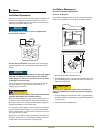
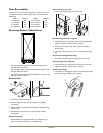
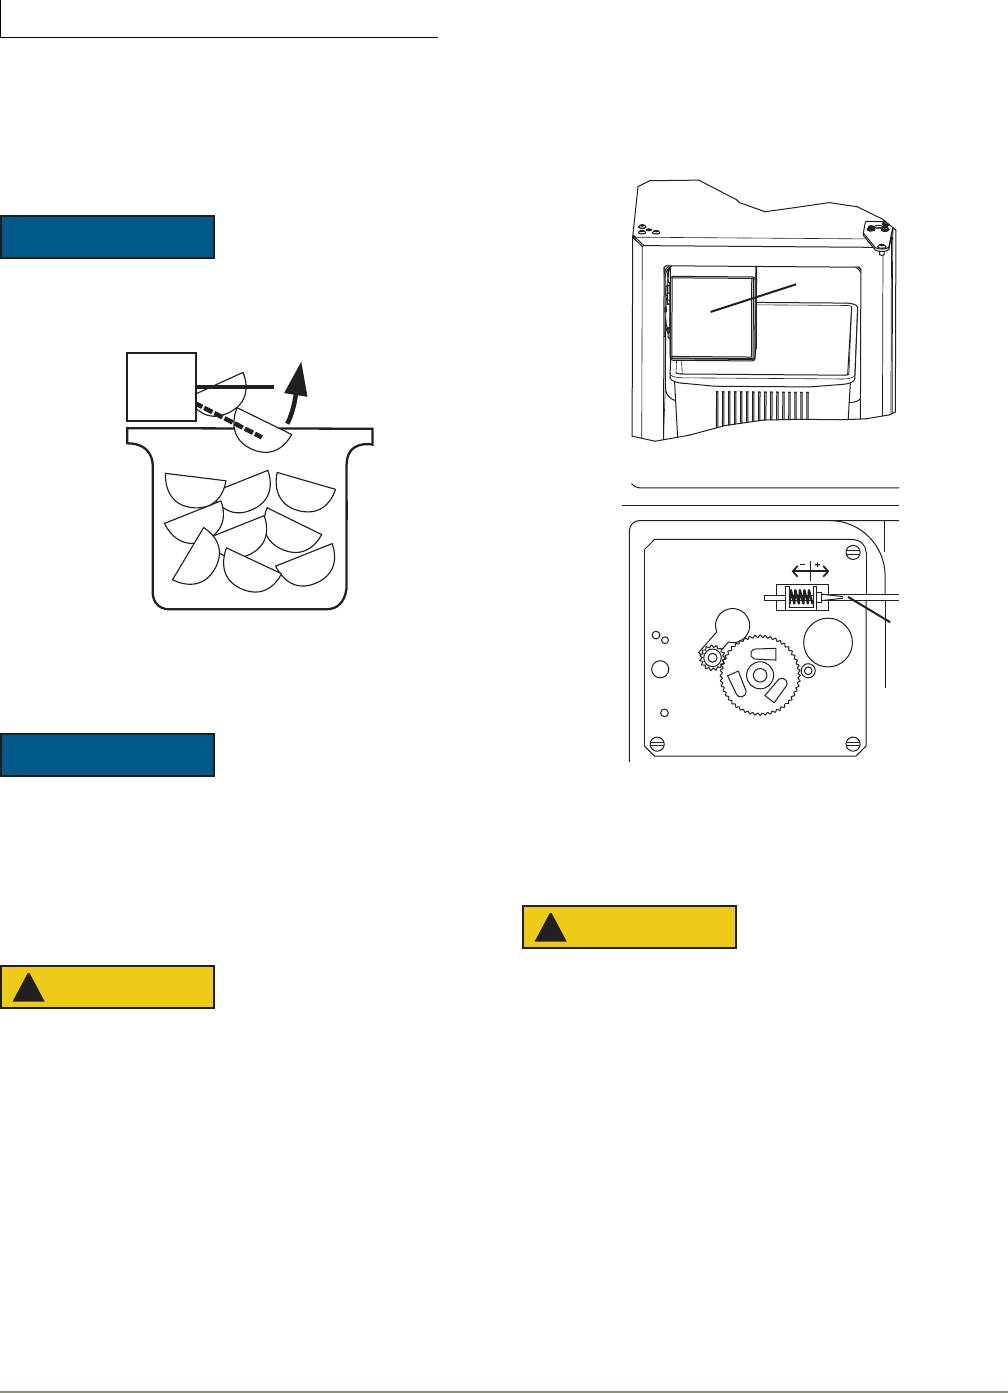
To turn off ice production: Raise the bin arm into an upright
and locked position. The unit will preserve temperature for ice
storage.
NOTICE
If not intending to use the ice maker turn the water supply
valve off, it is important to raise the bin arm of the ice
maker (Figure 1). Failure to raise the bin arm may result
in damage to the water valve.
Certain sounds are normal during the unit’s operation. You may
hear the compressor or fan motor, the water valve, or ice
dropping into the ice bucket.
CAUTION
!
NEVER use an ice pick, knife or other sharp instrument to
separate cubes. Shake the ice bucket instead.
During periods of limited use or high ambient temperatures, it is
common for cubes to fuse together. Gently shake the bucket to
break apart cubes. If not using the ice maker regularly, empty the
ice bucket periodically to ensure fresh cubes.
It is normal for cubes to appear cloudy. The cause is air trapped in
the water because of fast freezing. It is not caused by the health,
taste or chemical make up of the water. It is the same air that is in
every glass of water you drink.
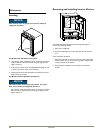
Remove the ice bucket for emptying and cleaning. To remove the
ice bucket, raise the bin arm and remove the bucket from the ice
compartment. Use the ice bucket for ice storage only.
Ice Maker Adjustment
Ice Cube Thickness Adjustment
Interval - As Required
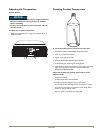
On ice maker equipped models, adjust the cube size by changing
water amount injected into the ice maker assembly as follows:
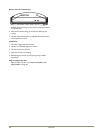
1. Remove the ice maker assembly cover (1).
2. Find the adjusting screw on the ice maker assembly control box
(2). The adjusting screw is just below the minus (-) and plus (+)
signs on the control box.
CAUTION
!
Too large of an adjustment to the screw can cause the
water to overflow the ice maker and can cause property
damage.
3. Turn the adjusting screw toward the minus (-) sign (clockwise)
for smaller cubes or toward the plus (+) sign (counterclockwise)
for larger cubes.
4. Install the ice maker assembly cover.
Ice Maker
OFF
ON
1
2


