Installation: NexStar 2 External 5.25” IDE Enclosure
13
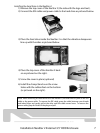
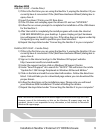
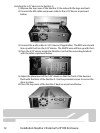
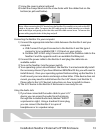
7) Screw the cover in place (optional)
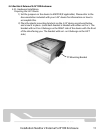
8) Install the clamp/stand over the screw holes with the rubber feet on the
bottom (as pictured below).
Connecting the NexStar 2 to your computer:
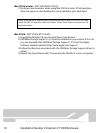
1) Connect the appropriate interface cable between the NexStar 2 and your
computer
a. USB: Connect the type B connector to the NexStar 2 and the type A
connector to an available USB 1.1/2.0 port on your system.
b. FireWire (NST-525UF only): Connect one end of the FireWire cable to the
NexStar 2 and the opposite end to an available FireWire port.
2) Connect the power cable to the NexStar 2 and plug the cable into an
available outlet.
3) Turn on the NexStar 2 via the power switch.
4) Your operating system should detect the NexStar 2 and automatically install
the necessary drivers (if you have Windows 98SE/MacOS 8.6, you will need to
install drivers). Once your operating system finishes setting up the NexStar 2,
it will mount your new device and assign a drive letter. If the device does not
mount, you may need to install drivers for the 5.25” device (not NexStar 2).
Please refer to the 5.25” device’s instructions on how to install its drivers.
5) The 5.25” device in the NexStar 2 Enclosure is now ready for use.
Using the Audio Jack:
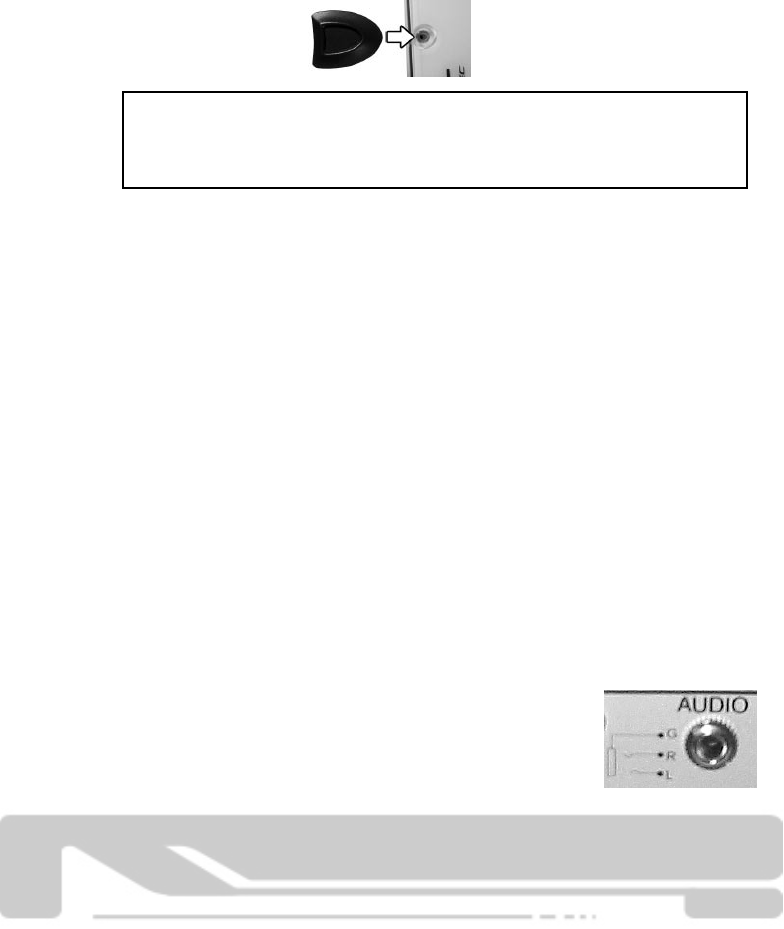
1) If you have connected the audio cable to your 5.25”
device, you can access the audio from that device
through the included Audio Jack, labeled “AUDIO”
as pictured on right. Using a standard 3.5mm plug,
you can connect the NexStar 2 to a pair of
headphones or to a speaker setup.
Note: When removing the 5.25” device from the NexStar 2, be careful not to yank on the IDE
cable or the power cable. To remove the IDE cable, grasp the cable between your thumb
and index finger and gently pull at the sides until the cable comes loose. To remove the
power cable, grasp the sides of the plug and pull.


