5.5 INSTALLING INSULATED FLEXIBLE DUCTS (CONT’D)
5.5.2 C
ONNECTION TO THE 5’’ TO 6’’ OVAL PORTS OF THE UNIT (CONT’D)
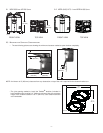
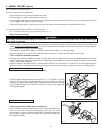
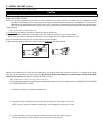
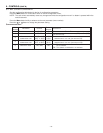
4. Apply duct tape gently to the joint in order to make an airtight seal.
5. Repeat steps 1 to 4 for the other 5’’ to 6’’ port.
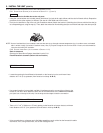
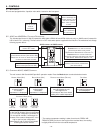
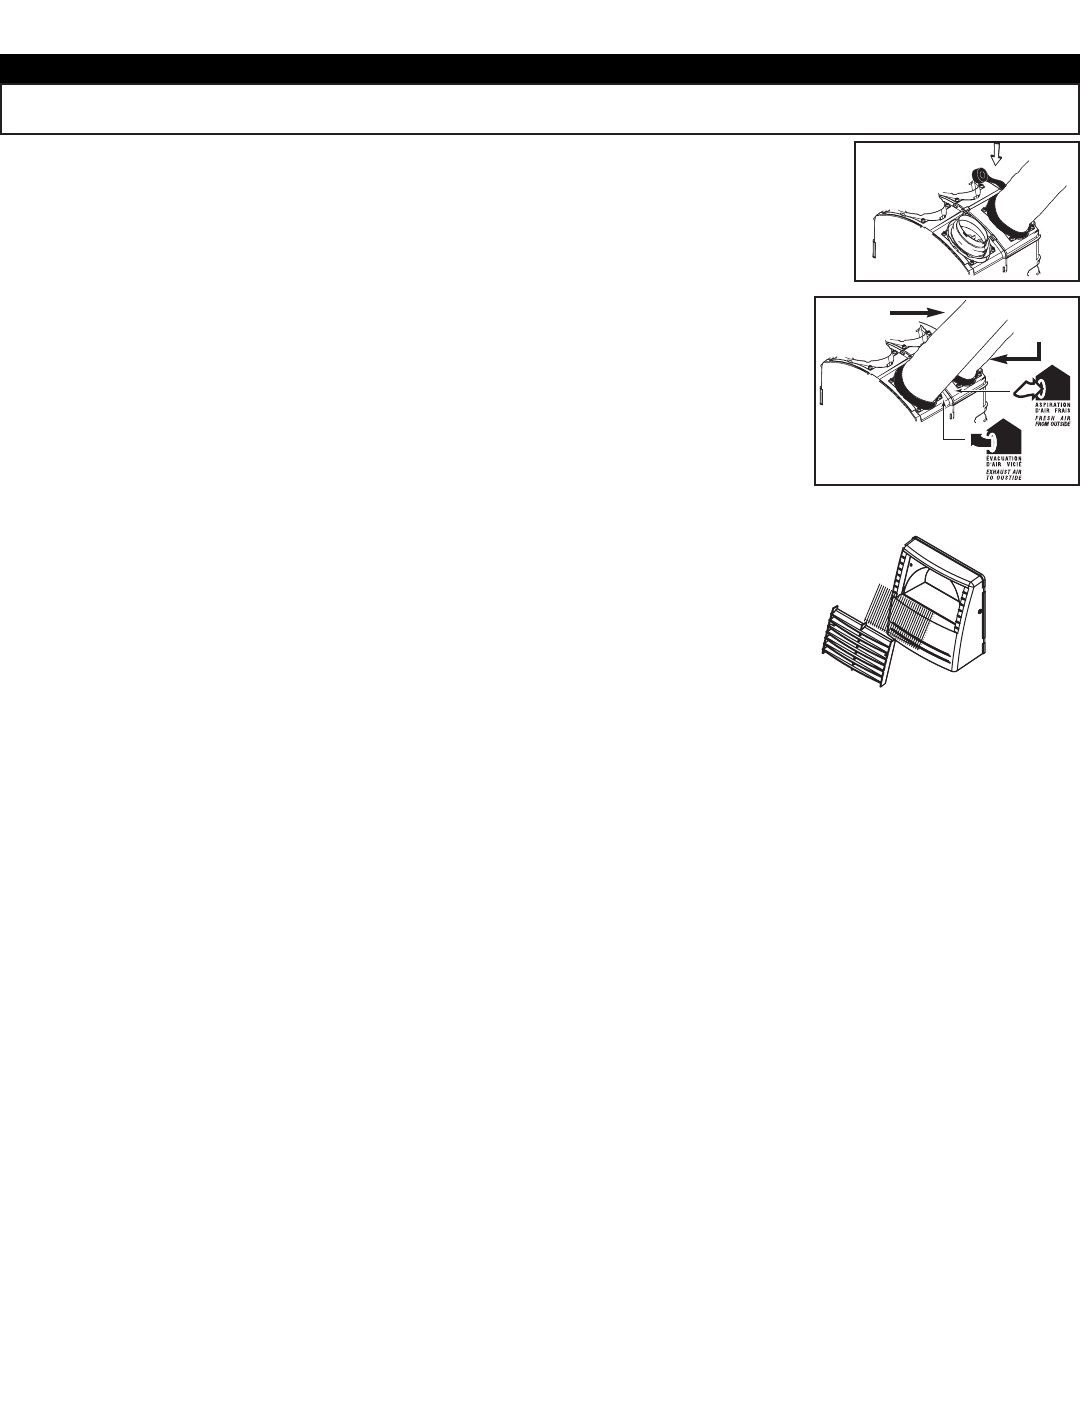
See figure beside to find the
EXHAUST AIR TO OUTSIDE
(1) and
FRESH AIR FROM OUTSIDE
(2)
oval ports on the top of the unit. Be careful to connect the right insulated duct to its
corresponding port.
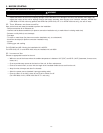
5.6 INSTALLING DUAL EXTERIOR HOOD*
5.6.1 ASSEMBLING DUAL EXTERIOR HOOD
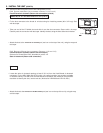
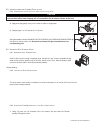
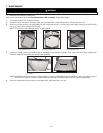
Exterior dual hood is coming in separate parts. Using 2 #8 x 3/4” screws, assemble the top
metal screen and the plastic grille to the dual exterior hood. Then, slide the bottom metal
screen to the dual exterior hood. See illustration beside.
*Patent pending
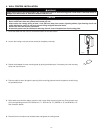
5.6.2 L
OCATING THE DUAL EXTERIOR HOOD
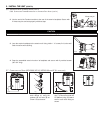
The dual exterior hood must be installed at a minimum distance of 18 inches (457 mm) from the
ground. See illustration beside.
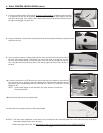
5.6.3 C
ONNECTING TANDEM® TRANSITION TO THE DUAL EXTERIOR HOOD
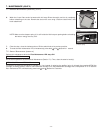
1. Using a jig saw, cut a 6’’ diameter hole in the exterior wall and insert the Tandem
transition through this hole.
1) EXHAUST AIR TO OUTSIDE duct
CAUTION
Avoid compressing the insulation when you pull the tape tightly around the joint. Compressed insulation loses its insulation
properties and causes water dripping due to condensation on the exterior surface of the duct.
VJ0019
VJ0020
1
2


