41
40
Operation
Broiling
Operation
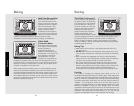
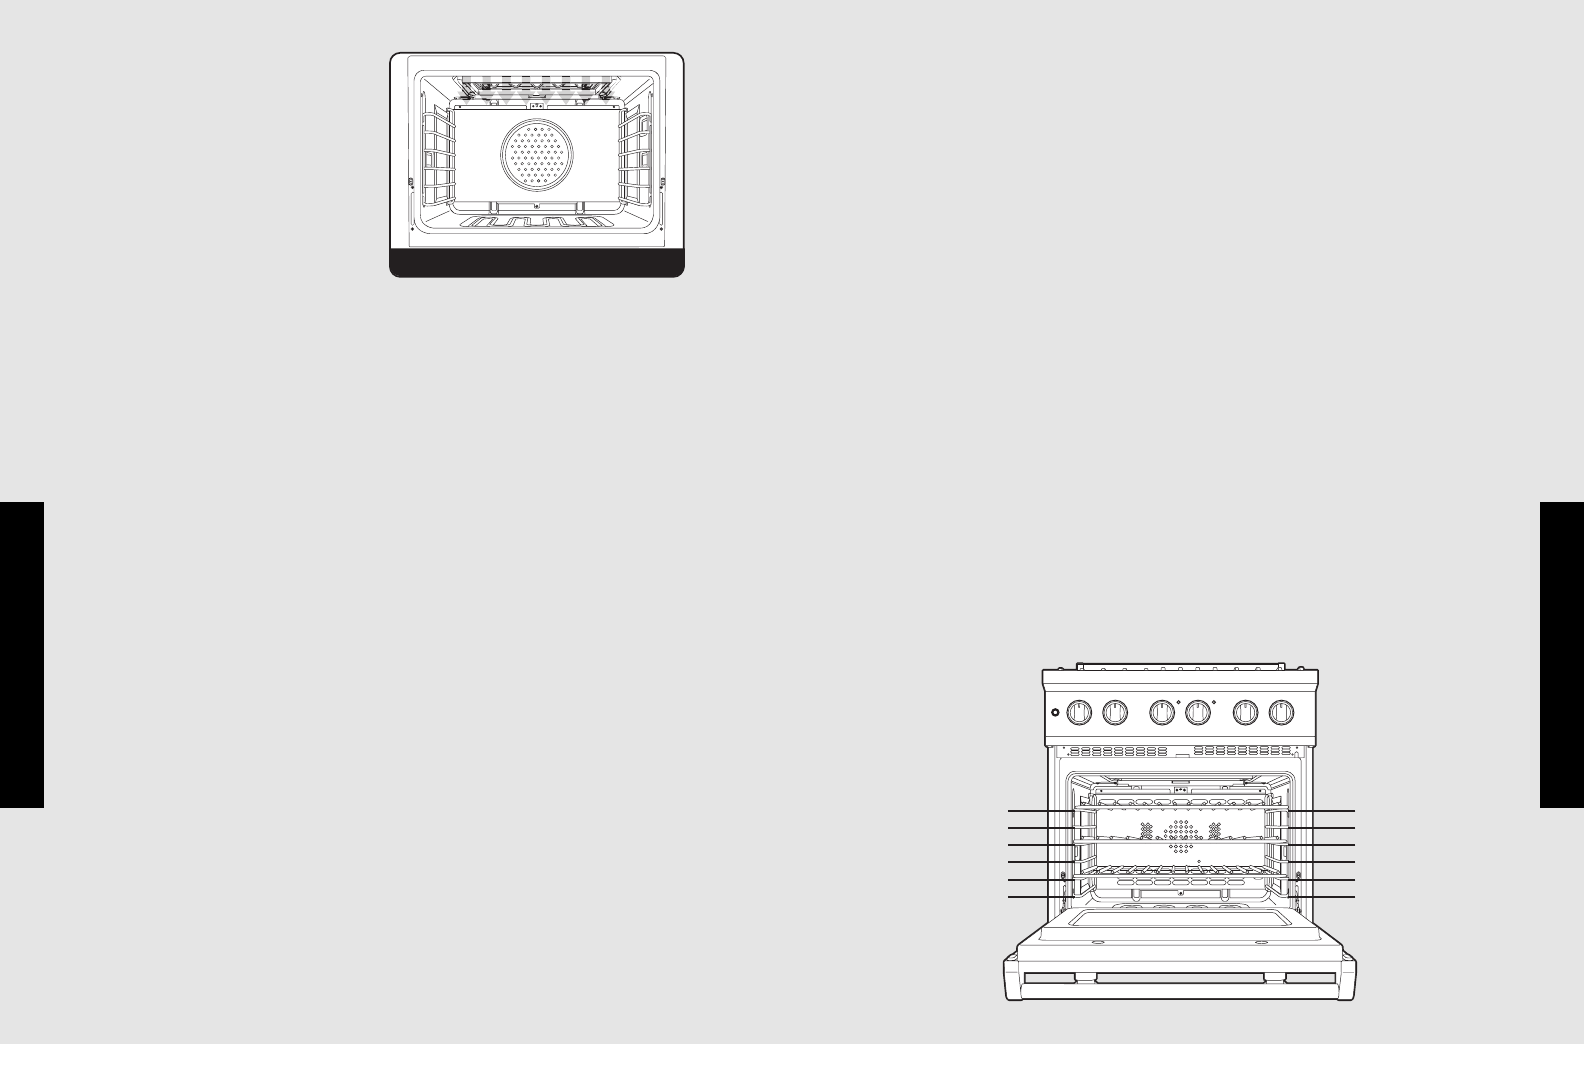
LOW BROIL
This mode uses only a fraction
of the available power to the
inner broil element for delicate
top-browning. The inner broil
element is on for only part of
the time. Use this setting to
gently brown meringue on racks
3 or 4 in 3-4 minutes.
Broiling Instructions
Broiling is a dry-heat cooking method using direct or radiant heat.
It is used for small, individualized cuts such as steaks, chops, and
patties. Broiling speed is determined by the distance between the
food and the broil element. Choose the rack position based on desired
results.
Conventional broiling (LOW, MED or HI BROIL) is most successful for
cuts of meat 1-2 inches thick and is also more suitable for flat pieces of
meat. Convection broiling has the advantage of broiling food slightly
quicker than conventional. Convection broiling of meats produces
better results, especially for thick cuts. The meat sears on the outside
and retains more juices and natural flavor inside with less shrinkage.
To Use Broil or Convection Broil
1. Arrange the oven rack in the desired position before turning
broiler on.
2. Center the food on cold broiler pan and grid supplied with your
oven. Place broiler pan in oven.
3. Set the oven function selector to desired broiling function and the
temperature control knob to “Broil”.
4. Close the door. There is not a detent to hold the door in the open
broil stop position. With open door broiling the broil element does
not cycle on and off. With closed door broiling the broil element
might cycle on and off if an extended broiling time is required. A
built-in smoke "eliminator" in the top of the oven helps reduce
smoke and odors.
low broil
Broiling Tips
•
ALWAYS
use a broiler pan and grid for broiling. They are designed
to provide drainage of excess liquid and fat away from the cooking
surface to help prevent splatter, smoke, and fire.
• To keep meat from curling, slit fatty edge.
• Brush chicken and fish with butter several times as they broil to
prevent drying out. To prevent sticking, lightly grease broiler tray.
• Broil on first side for slightly more than half the recommended time,
season, and turn. Season second side just before removing.
• ALWAYS pull rack out to stop position before turning or removing
food.
• Use tongs or a spatula to turn meats. NEVER pierce meat with a
fork, as this allows the juices to escape.
• Remove the broiler pan from the oven when you remove the food.
Drippings will bake onto the pan if it is left in the heated oven after
broiling. While pan is hot, place damp paper towel over grid. Drizzle
with liquid dishwashing detergent and pour water over grid. This will
make cleaning of the pan easier, or the broiler pan can be lined with
aluminum foil to make cleaning easier. Be sure the foil extends up
the side of the pan. Although it is not recommended, the grid can
also be covered with foil. Be sure to slit openings to conform with
the openings in the grid so melted fat can drain through to prevent
spattering, smoking, or the possibility of grease fire.
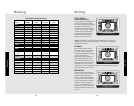
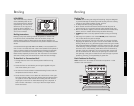
Rack Positions for Broiling
Note: Position 6 is the closest to the broiler and position 1 is the
closest to the oven bottom.
Broiling
95%
80%
65%
50%
35%
25%
6
5
4
3
2
1


