


13
Installation
12
1
2
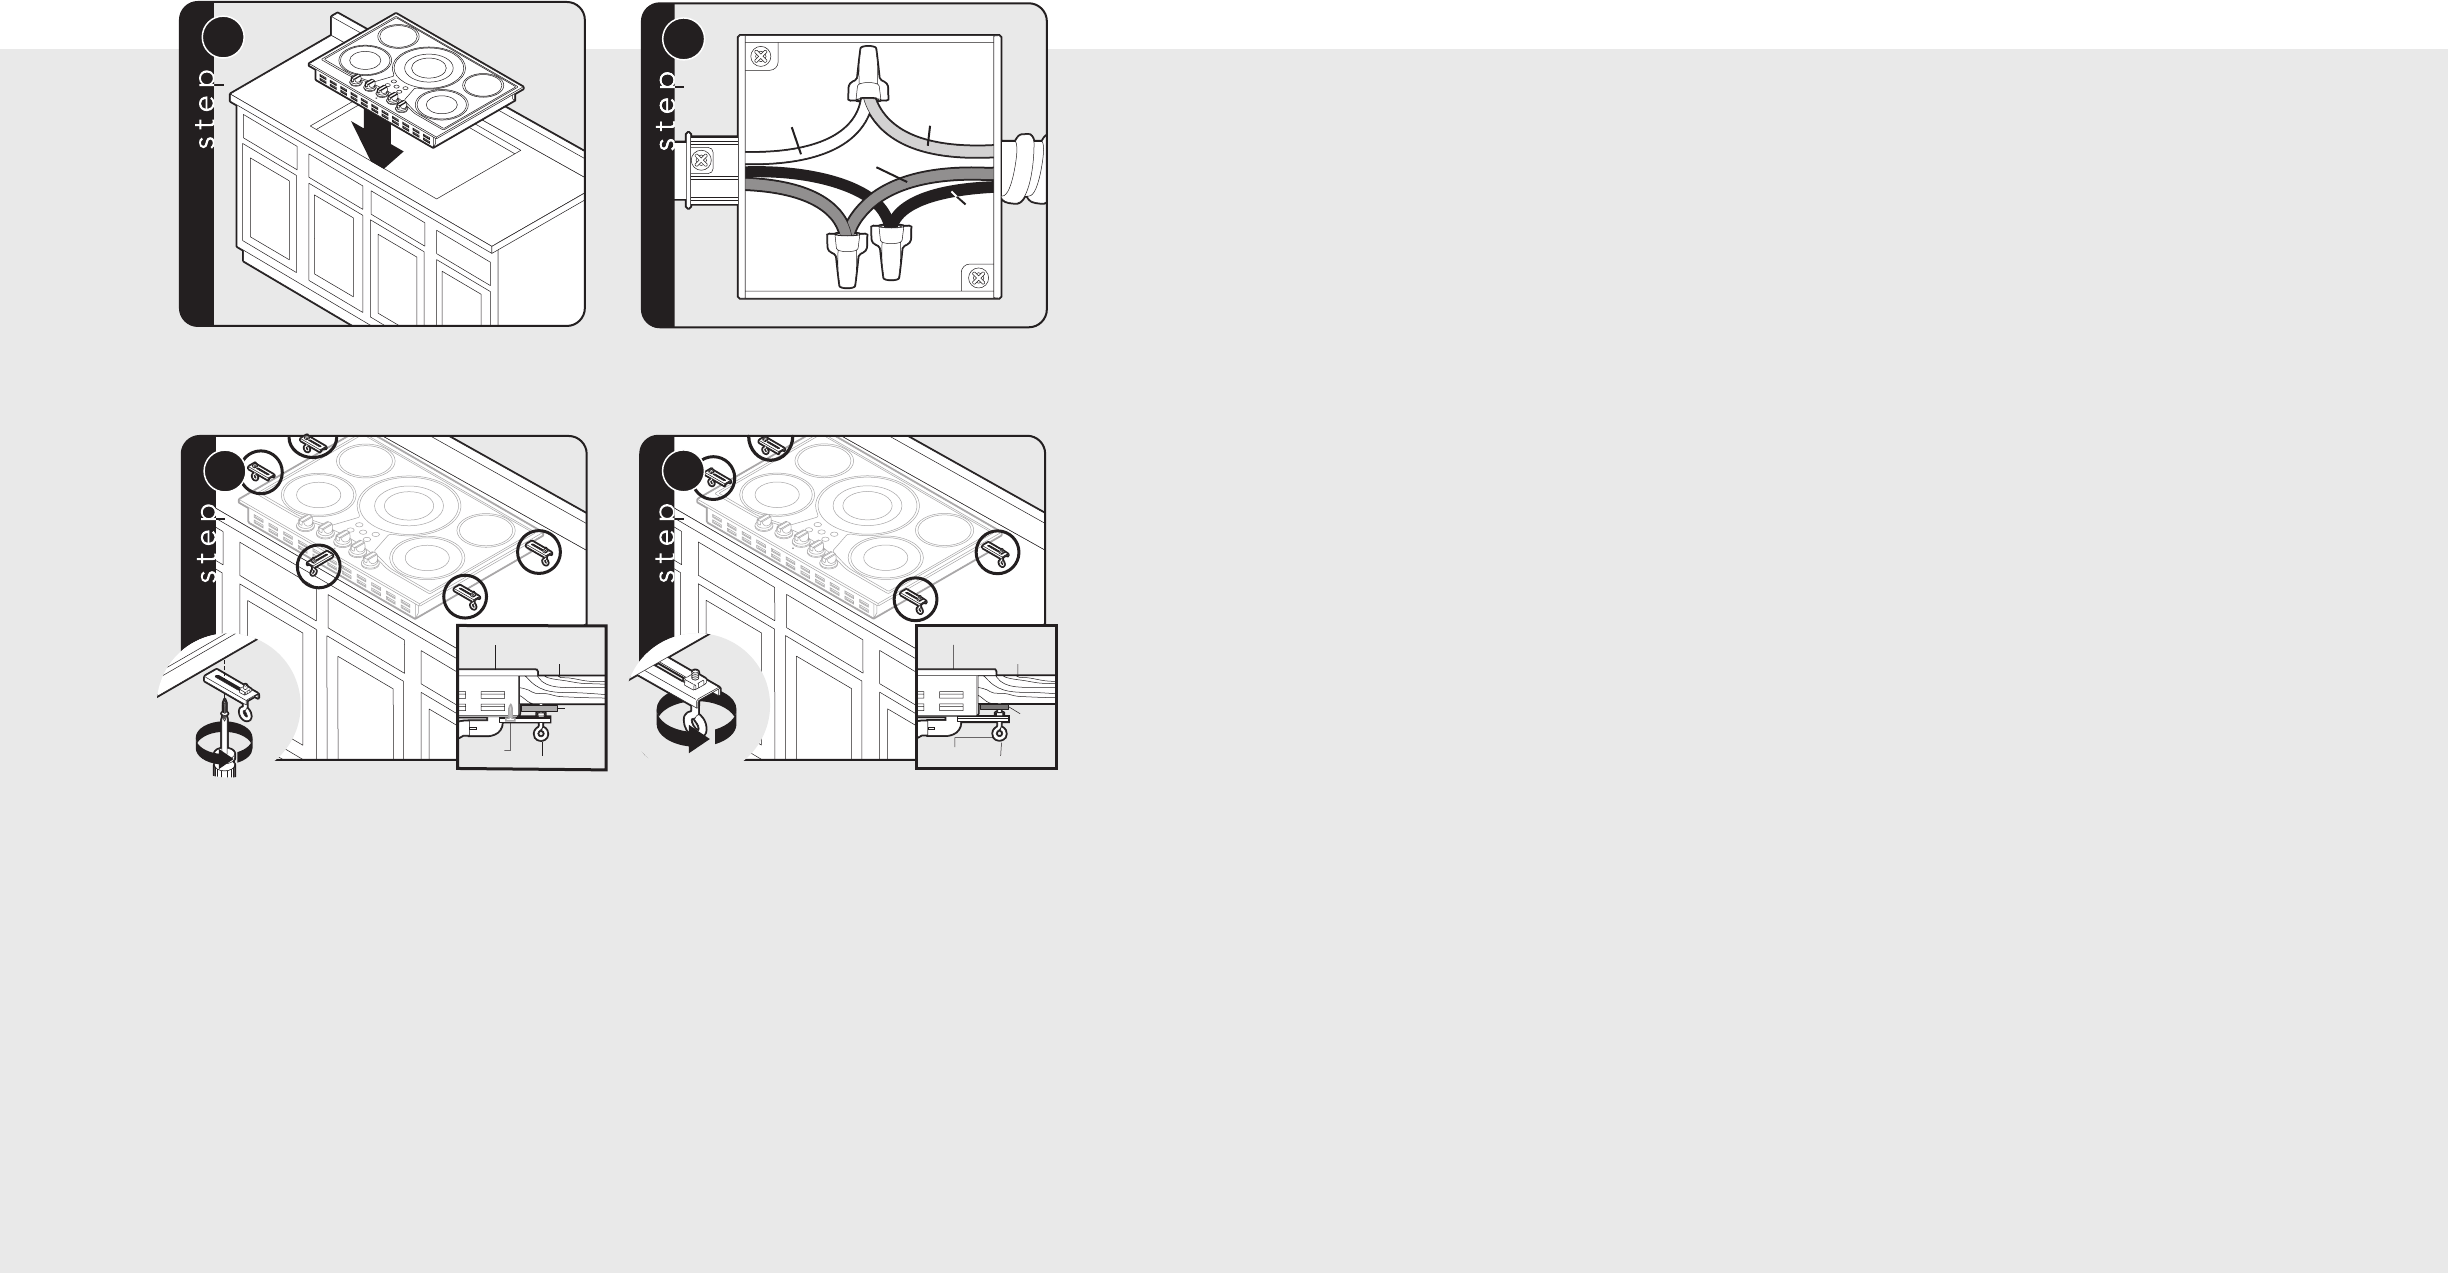
Neutral
Green
Black
Red
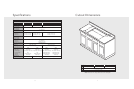
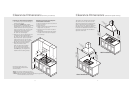
Lower cooktop into cutout.
Connect the red and black leads from the unit conduit
to the corresponding leads in the junction box.
Cooktop
Bracket
Countertop
Screw
Filler
Block
3
Cooktop
Bracket
Eye Bolt
Countertop
Filler
Block
4
After placing cooktop in the cutout, screw brackets to
burner box with sheet metal screw. (Six bracket
assemblies included - 2 per side, 1 front, 1 rear)
Screw sheet metal screws into brackets
and tighten firmly against bottom of countertop.
Note:
It is recommended to use a filler block between
the bolt and the underside of the countertop to
prevent any damage to the countertop. Failure to do
so may result in cracking or splitting of the countertop.
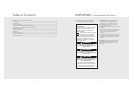
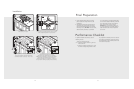
Final Preparation
• Some stainless steel parts may have a
plastic protective wrap which must be
peeled off.
• All stainless steel body parts should be
wiped with hot, soapy water and with a
liquid cleaner designed for this material.
If buildup occurs, DO NOT use steel wool,
abrasive cloths, cleaners, or powders!
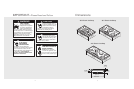
Performance Checklist
A qualified installer should carry out the
following checks:
nn
Check top surface elements
1. Check top surface elements – glow red
when turned on.
2. Check hot surface indicator lights – glow
red when corresponding element is hot.
If it is necessary to scrape stainless steel
to remove encrusted materials, soak with
hot, wet cloths to loosen the material,
then use a wood or nylon scraper.
DO NOT use a metal knife, spatula, or
any other metal tool to scrape stainless
steel! Scratches are almost impossible
to remove.
Any adjustments necessary that are a result of
the installer not following instructions will be
the responsibility of the installer, dealer of the
end user of this product.