17
Clocks and Timers
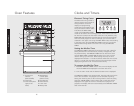
Product Controls
16
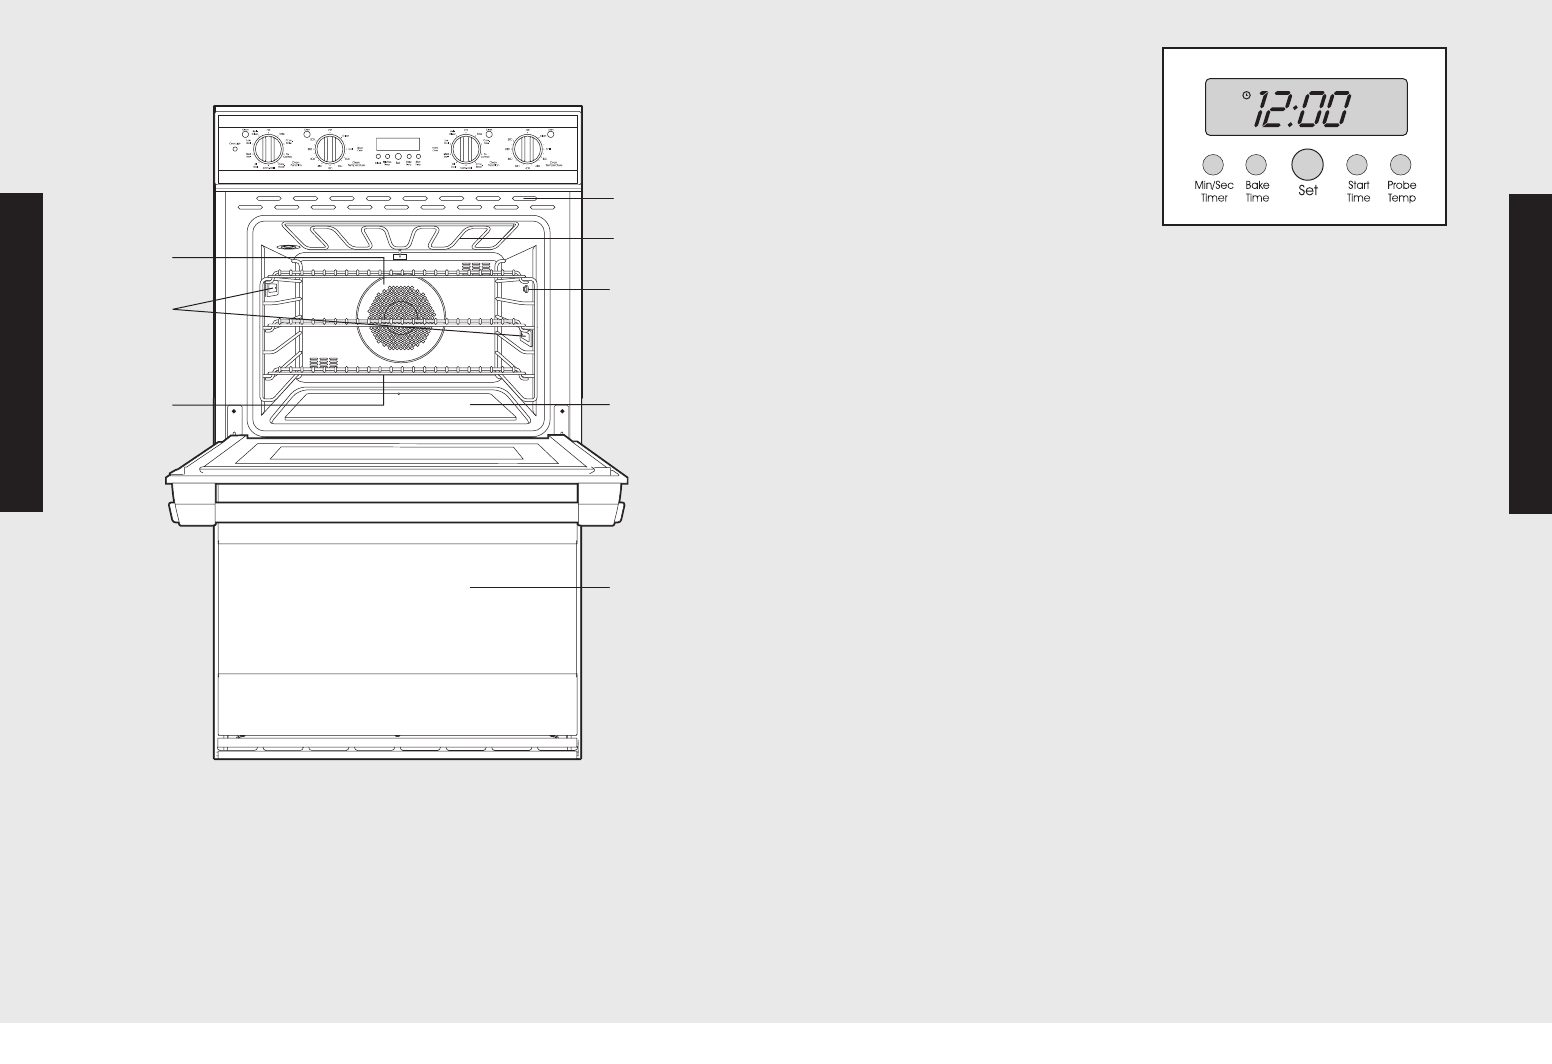
Electronic Timing Center
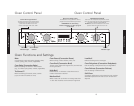
The Electronic Timing Center is
used to program and control all
timing functions. It has five
display and programming
modes that are activated by the
four push buttons and the “SET”
knob. Both the BAKE TIME
mode and the MIN/SEC TIMER
mode can be used to time cooking periods. These features can even
be used at the same time when both ovens are in use. However, only
BAKE TIME and Self-Cleaning modes shut the oven off automatically
when the timed program is over. For example, you can time bake a
casserole in the upper oven using the BAKE TIME mode, while broiling
in the lower oven using the MIN/SEC TIMER. One oven can also be
cleaned while timing foods in the other oven using the MIN/SEC
TIMER.
Setting the Min/Sec Timer
The MIN/SEC TIMER is designed for accurate timing and is ideal for
baking delicate items such as biscuits, cookies, and popovers, and
for precise broiling. The MIN/SEC TIMER can be used at the same
time the BAKE TIME or START TIME functions are in use. It can be
used for timing up to 24 hours. When setting the timer, the time
displayed will increase in 1 minute increments. When the timer counts
down to 1 minute, the timer alarm will give two short beeps and the
display changes from hours: minutes to seconds only.
To program the Min/Sec Timer
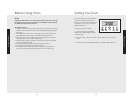
1. Press the “MIN/SEC TIMER” button. The timer will display :00 and
the word TIMER will be displayed in the lower left corner.
2. Turn the “SET” knob until the desired duration time is displayed.
The MIN/SEC TIMER is now programmed. The alarm will sound at the
end of the countdown. The program can be canceled anytime by
setting the remaining time to :00. To change back to the time-of-day,
press the “PROBE TEMP” button. Notice that a small clock will be
displayed in the upper left corner to indicate that a program is in
progress. The display will return automatically to the MIN/SEC TIMER
after a few seconds.
Product Controls
SET
Oven Features
200
300
400
500
TEMPERATUREOVEN FUNCTION
OVENCLEAN
UPPER OVEN LIGHT
LOWER OVEN LIGHT
OFF
CLEAN
BROIL
OFF
BAKE
CONV.
BAKE
CONV.
BROIL
SELF
CLEAN
MAXI
BROIL
MINI
BROIL
TRU
CONVEC
LOWER OVEN
TEMPERATUREOVEN FUNCTION
OVENCLEAN
OFF
CLEAN
BROIL
OFF
BAKE
CONV.
BAKE
CONV.
BROIL
SELF
CLEAN
MAXI
BROIL
MINI
BROIL
TRU
CONVEC
LOWER OVEN
TEMPERATUREOVEN FUNCTION
OFF
CLEAN
BROIL
OFF
BAKE
CONV.
BAKE
CONV.
BROIL
SELF
CLEAN
MAXI
BROIL
MINI
BROIL
TRU
CONVEC
OVENCLEAN
UPPER OVEN
SET
UPPER TIMED
LOWER TIMED
MANUAL
OVEN FUNCTION
OFF
BAKE
UPPER OVEN
CLEAN OVEN CLEAN OVEN
OVEN
LIGHT
TRU
CONVEC
LOW
BROIL
CONV.
BAKE
SELF
CLEAN
MED
BROIL
HI
BROIL
CONV.
BROIL
TEMPERATURE
OFF
400
CONV.
ROAST
200
300
500
BROIL
CLEAN
OVEN FUNCTION
OFF
BAKE
LOWER OVEN
TRU
CONVEC
LOW
BROIL
CONV.
BAKE
SELF
CLEAN
MED
BROIL
HI
BROIL
CONV.
BROIL
TEMPERATURE
OFF
400
CONV.
ROAST
200
300
500
BROIL
CLEAN
200
300
400
500
TEMPERATUREOVEN FUNCTION
OVENCLEAN
UPPER OVEN LIGHT
LOWER OVEN LIGHT
OFF
CLEAN
BROIL
OFF
BAKE
CONV.
BAKE
CONV.
BROIL
SELF
CLEAN
MAXI
BROIL
MINI
BROIL
TRU
CONVEC
LOWER OVEN
TEMPERATUREOVEN FUNCTION
OVENCLEAN
OFF
CLEAN
BROIL
OFF
BAKE
CONV.
BAKE
CONV.
BROIL
SELF
CLEAN
MAXI
BROIL
MINI
BROIL
TRU
CONVEC
LOWER OVEN
TEMPERATUREOVEN FUNCTION
OFF
CLEAN
BROIL
OFF
BAKE
CONV.
BAKE
CONV.
BROIL
SELF
CLEAN
MAXI
BROIL
MINI
BROIL
TRU
CONVEC
OVENCLEAN
UPPER OVEN
SET
UPPER TIMED
LOWER TIMED
MANUAL
1
2
5
4
3
6
8
7
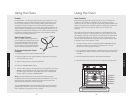
1. TruConvec™
element
(behind baffle)
2. Oven light
3. Oven racks (three
upper, three
lower)
4. Model/Serial
number plate
(behind vents)
5. Broil element
6. Bake element
7. Lower oven
8. Meat probe


