16
OOppeerraattiinngg IInnssttrruuccttiioonnss
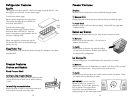
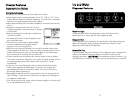
• Confirm ice bin is in place and ice maker arm is down.
• After freezer section reaches between 0° to 2° F (-18° to -17° C), ice
maker fills with water and begins operating. You will have a complete
harvest of ice approximately every three hours.
• Allow approximately 24 hours after installation to receive first harvest
of ice.
• Discard ice created within first 12 hours of
icemaker operation to assure system is flushed
of impurities.
• Stop ice production by raising ice maker arm
until click is heard.
• Ice maker will remain in the off position until
arm is pushed down.
• The first one or two batches will probably
contain undersized and irregular cubes
because of air in the supply line.
• When the ice cubes are ejected it is normal for several cubes to be
joined together at the ends. They can easily be broken apart. The ice
maker will continue to make ice until the supply of ice cubes raises
the ice maker arm, shutting the ice maker off.
• Certain sounds may accompany the various cycles of the ice maker.
The motor may have a slight hum, the cubes will rattle as they fall into
an empty storage pan and the water valve may click or “buzz”
occasionally.
• If the ice is not used frequently, the ice cubes will become cloudy,
shrink, stick together and taste stale. Empty the ice storage bin
periodically and wash it in lukewarm water. Be sure to dry the bin
thoroughly before replacing it.
• Beverages and foods should not be placed in the ice storage bin for
quick chilling. These items can block the ice maker arm, causing the
ice maker to malfunction.
• Turn off (arm up) the ice maker when the water supply is to be shut off
for an extended period of time.
17
IIccee aanndd WWaatteerr
DDiissppeennsseerr FFeeaattuurreess
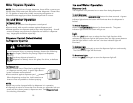
DDiissppeennsseerr LLiigghhtt
A light activates within the dispenser area at full power when
dispensing ice or water with the main dispenser pad.
DDiissppeennsseerr PPaadd
The Dispenser Pad is located on the back wall of the dispensing area.
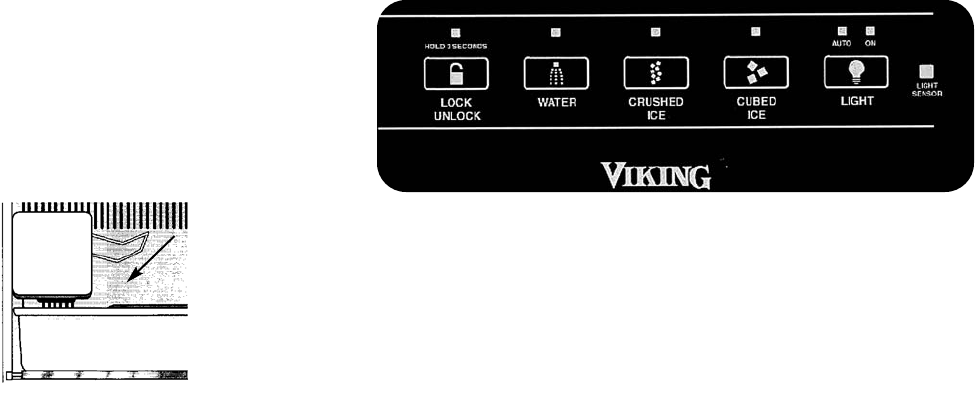
When the dispenser pad is pressed, the selection chosen on the
dispenser control panel will dispense.
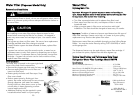
RReemmoovvaabbllee TTrraayy
The Removable Tray at the bottom of the dispenser area is designed to
collect small spills and may be easily removed for cleaning and
emptying purposes.
IIMMPPOORRTTAANNTT::
Removable tray does not drain. Do
not allow tray to overflow. If it does, remove tray and wipe up overflow.
FFrreeeezzeerr FFeeaattuurreess
AAuuttoommaattiicc IIccee MMaakkeerr


