


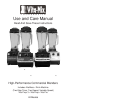
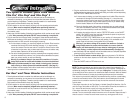
10
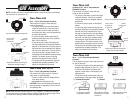
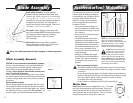
Blade Agitator Assembly. The blade assembly
includes a precision-hardened stainless steel blade
with enclosed steel ball bearings for maximum durability.
The rugged blade assembly literally explodes molecules
of food and ice in the container, helping every batch to
homogenize more effectively. The blade does not
need to be removed for normal cleaning. (Refer to the
information below to remove or replace.)
Drive Spline. Mates with drive socket on the motor
base to turn the blade.
NOTE: Removing and replacing
your container while the coupling is still rotating
will strip the drive spline “teeth.” (This part is
NOT
removable.)
Retainer Nut. Must be snug. Order the available
Retainer Nut Wrench for best results. (Refer to the
information below to remove or replace.)
CAUTION: Do not remove blades unless absolutely necessary!
At times, it may be necessary to give your blades additional
cleaning. An easy-to-use blade assembly removal wrench
(Item #15596) may be purchased through your Vita-Mix
Distributor.
Never attempt to take the blade assembly itself
apart. This will void the warranty.
Turn the container upside down and grip firmly. Insert retainer
nut wrench in groove of retainer nut and rotate counterclockwise
to loosen. Then grip blades with a cloth and remove retainer
nut by hand.
Replacing Blade Assembly
With the container upside down, grip blades with cloth, insert
into the container bottom and align with flat sides of container
opening. Place retainer nut on and hand tighten. Last, carefully
turn clockwise until secure, using wrench.
Do not force. If it is
not tight enough, you will notice increased container noise.
Blade Assembly Removal
Never use a blade assembly with loose, damaged or nicked components.
Retainer Nut Wrench
in use.
11
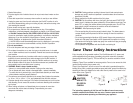
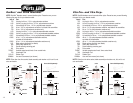
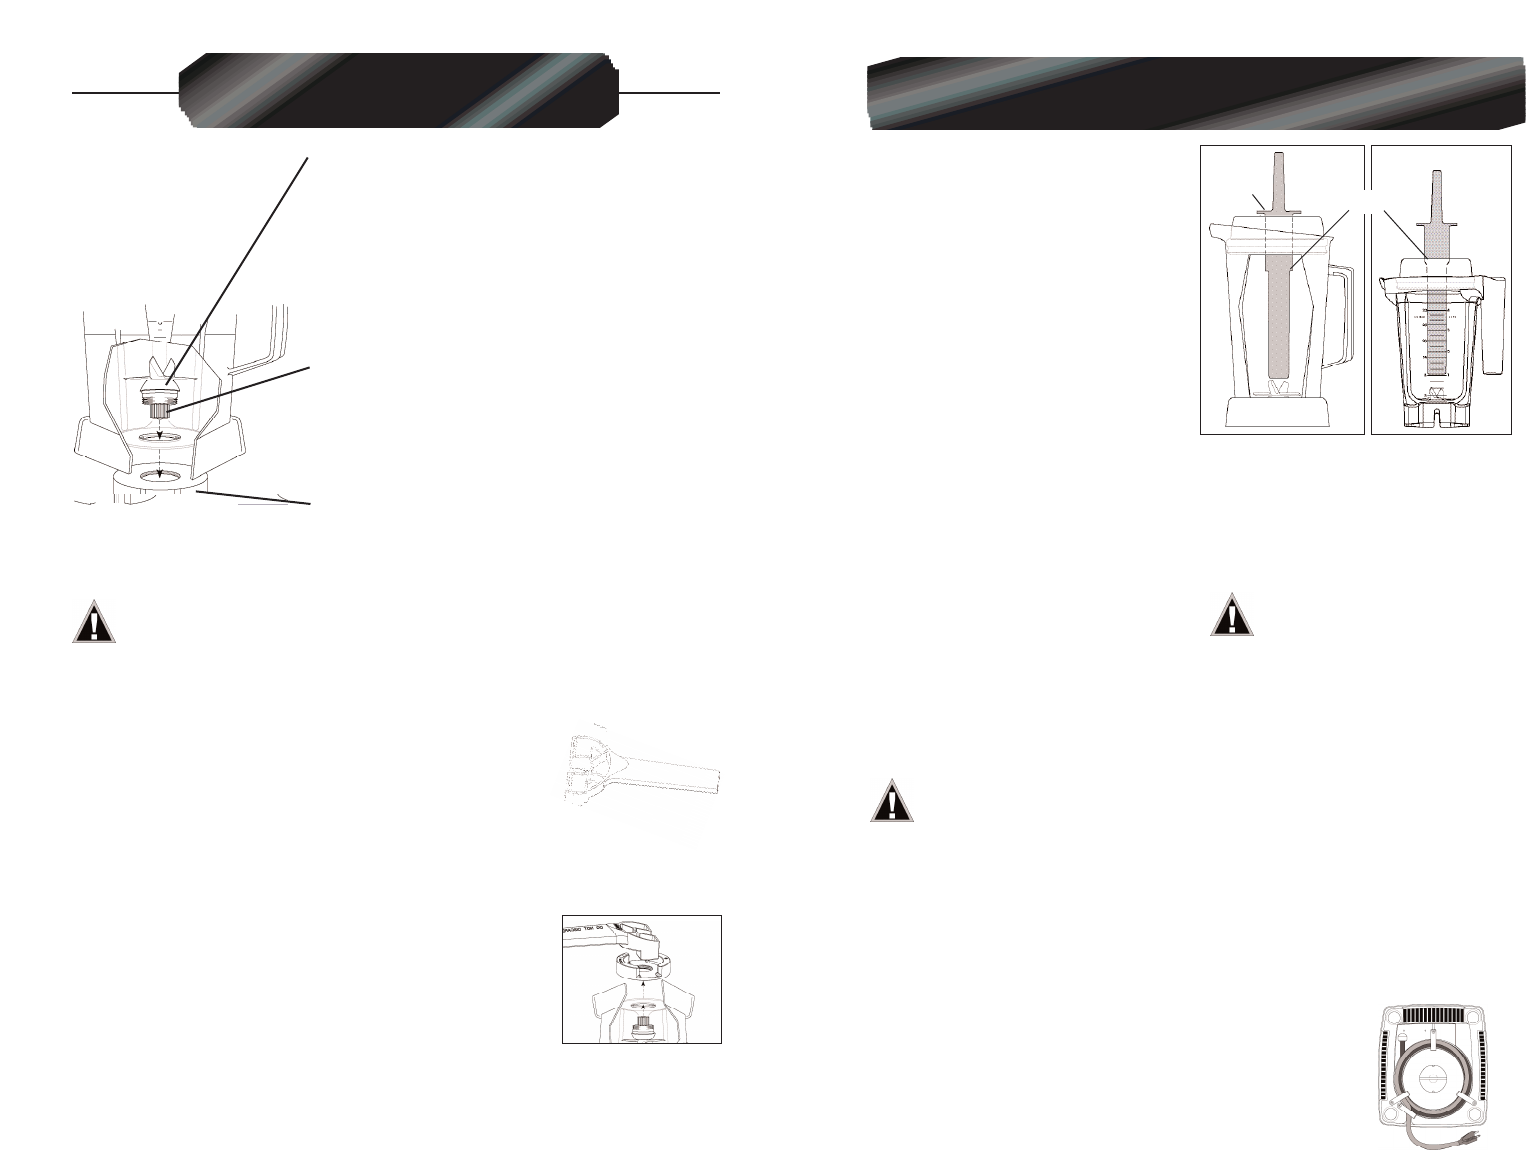
The accelerator tool prevents an air bubble
from forming while blending and allows for
the processing of very thick and/or difficult-
to-process frozen mixtures. While the
machine is running, use the accelerator
tool to push ingredients into the blades.
Accelerator Tool use:
• If thick mixtures stop circulating, you
may have trapped an air bubble. Insert
the accelerator tool through the lid and
stir to release it.
• Use it only with the lid locked in place
and lid plug removed.
• The splash disk (near the top of the
accelerator tool) and lid prevent the
accelerator tool from hitting the blades.
• The container should not be more than
2/3 full when the accelerator tool is used.
• Do not use the accelerator tool for
more than 30 consecutive seconds (to
avoid overheating).
• Holding the accelerator tool straight
should allow extra thick ingredients to
circulate. If not, point the accelerator
tool toward the side or corner of the
container.
When processing hot liquids:
• The two-part latching lid must be securely locked in place. This allows steam
to escape naturally and will prevent the lid from coming off when the machine
is turned on.
• Do not start processing hot liquids on HIGH speed. Always start processing hot
liquids on LOW speed, then switch to HIGH speed while the machine is running.
• Use caution with hot liquids. Liquids may spray from under the lid plug
or escaping steam may cause scalding.
• Do not process hot ingredients with the Vita-Mix non-latching lid.
NOTE:
The accelerator tool has a small
“step” on it to prevent contact with the
blades Do not push the accelerator tool “step”
past the lip of the 32 oz. / 0.9 Ltr. compact
container. The accelerator tool cannot be
used with a one-piece non-latching lid.
DO NOT force the accelerator tool
into the 32 oz. / 0.9 Ltr. container.
Excessive force may cause the
accelerator tool to extend too far into the
container and may cause damage to the
blades.
DO NOT use the older accelerator
tool that has a straight and smooth surface
and no “step.” Use of the older model may
cause damage to the blades.
Blade Assembly
General Instructions
Service Contract
Accelerator Tool/Motor Base
Retainer Nut Wrench
Step
Motor Base
Power Cord. Y
our machine is equipped with a 6 ft. / 1.8 m power
cord. Store the unused portion neatly underneath. Plastic cord
retainer clips hold the cord securely
. They are flexible and will
return to position after the cord is lifted out. There is no need to
unscrew the cord retainer clips to let out more cord.
Front
Splash
Disk
Back