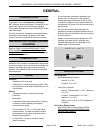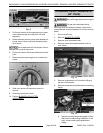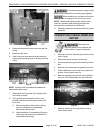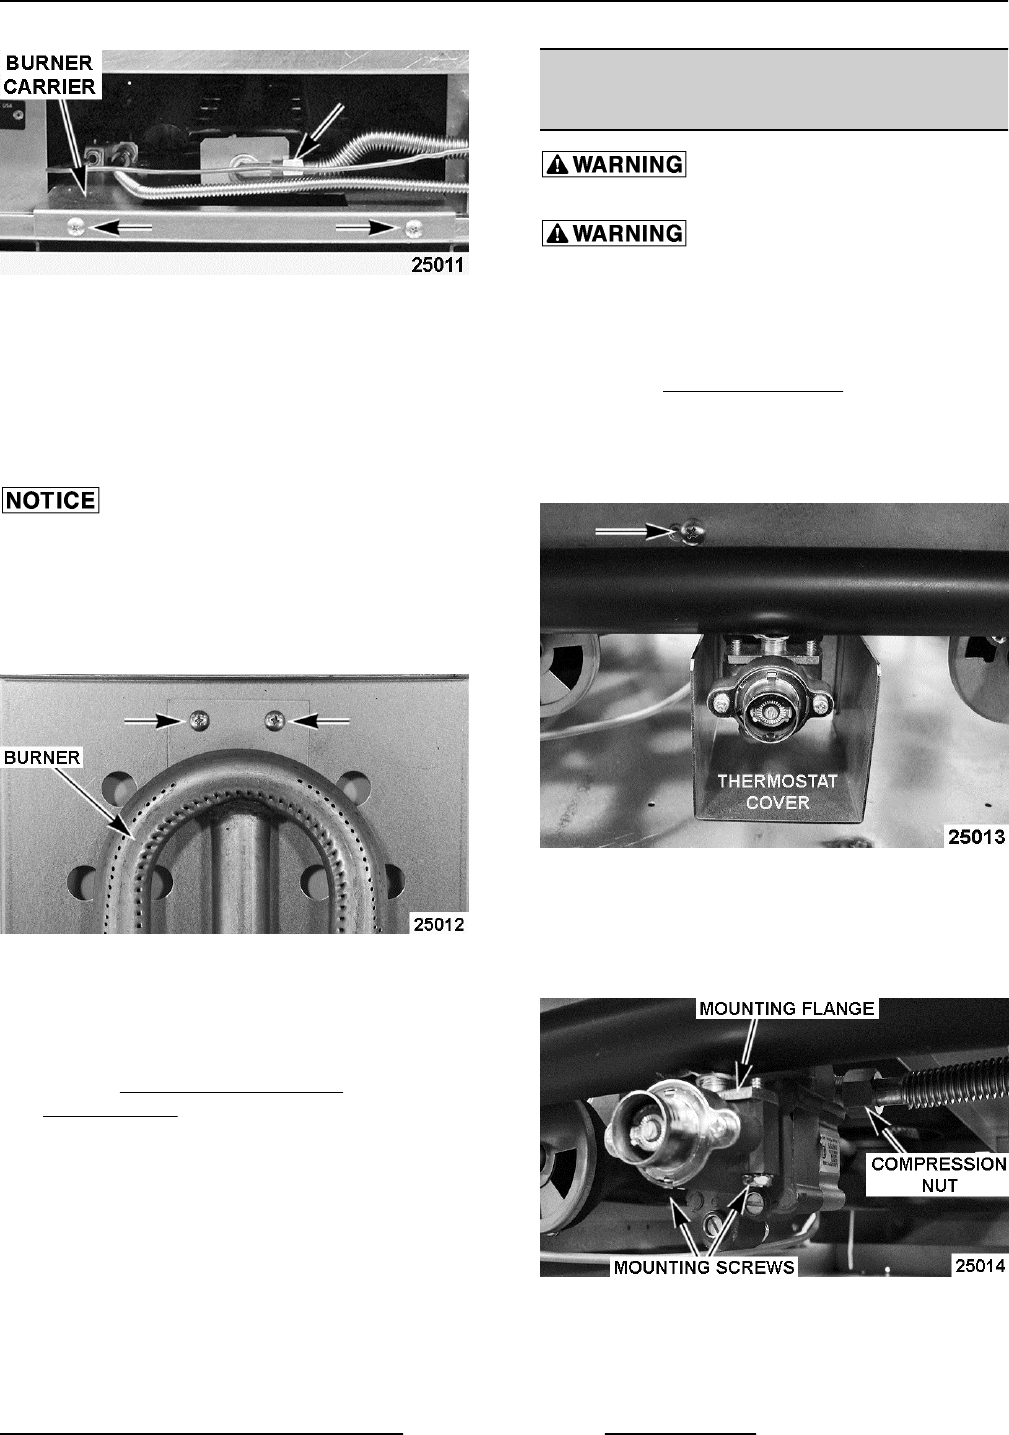
Fig. 11
4. Pull burner carrier out through opening in lower
oven frame enough to access the oven pilot
assembly.
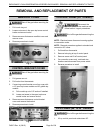
5. Remove screws securring oven pilot assembly to
burner carrier. Move oven pilot assembly away
from burner.
Do not bend and kink the capillary tube or
damage to the control may occur.
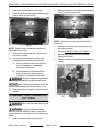
6. Pull burner carrier with burner attached out from
oven.
7. Remove screws securring burner to the burner
carrier.
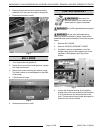
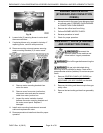
Fig. 12
8. Slide oven burner off the burner nozzle to
remove.
9. Reverse procedure to install.
10. Perform BURNER AIR SHUTTER
ADJUSTMENT.
STANDARD OVEN THERMOSTAT
(24" OVEN)
Shut off the gas before servicing the
unit.
All gas joints disturbed during
servicing must be checked for leaks. Check with a
soap and water solution (bubbles). Do not use an open
flame.
1. Pull out crumb tray.
2. Remove MANIFOLD COVER.
3. Remove oven thermostat knob.
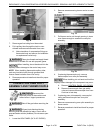
4. Remove screw securing thermostat cover to
oven frame.
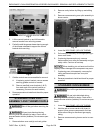
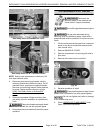
Fig. 13
5. Remove compression nut from elbow fitting at
the rear of thermostat.
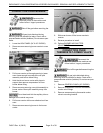
6. Remove screws securing thermostat to mounting
flange.
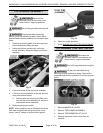
Fig. 14
A. Inspect mounting flange and gasket. If okay,
they may be used during installation. If not
okay, remove and install replacement
flange.
ENDURANCE / CHALLENGER MODULAR SERIES GAS RANGES - REMOVAL AND REPLACEMENT OF PARTS
Page 9 of 38 F45471 Rev. A (0615)


