CONVECTION OVEN DOOR
SWITCH
Disconnect the
electrical power to the machine and
follow lockout / tagout procedures.
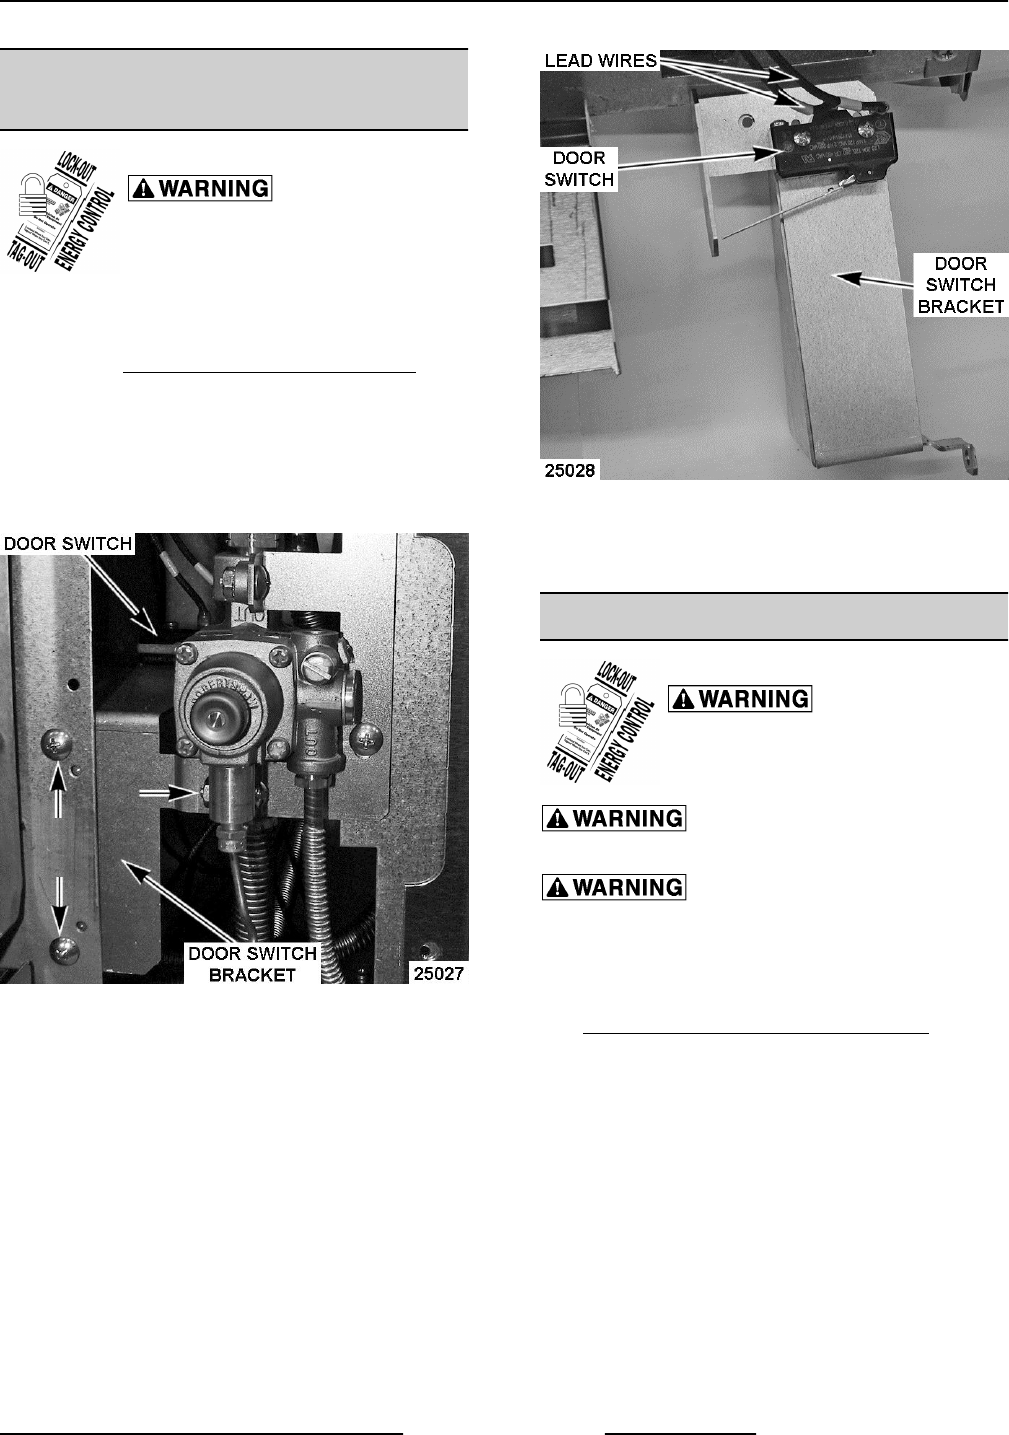
NOTE: Door switch is installed on Convection Ovens
only.
1. Remove
CONTROL PANEL (30" OVENS).
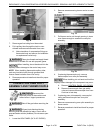
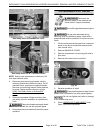
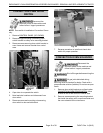
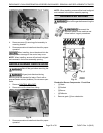
2. Remove single mounting nut securing door
switch bracket to safety valve mounting bracket.
3. Remove screws securing door switch bracket to
oven frame and remove bracket from control
area.
Fig. 37
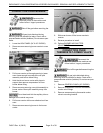
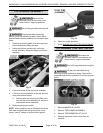
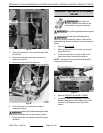
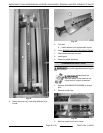
4. Open door to unoperate the switch.
5. Note lead wire locations and disconnect from
door switch.
6. Remove screws and mounting nuts securing
door switch to door switch bracket.
Fig. 38
7. Reverse procedure to install and check door
switch for proper operation.
CONVECTION OVEN SOLENOID
Disconnect the
electrical power to the machine and
follow lockout / tagout procedures.
Shut off the gas before servicing the
unit.
All gas joints disturbed during
servicing must be checked for leaks. Check with a
soap and water solution (bubbles). Do not use an open
flame.
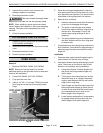
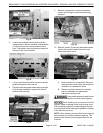
1. Remove door switch bracket as outlined under
CONVECTION OVEN DOOR SWITCH. Allow
bracket to rest at the bottom of control area.
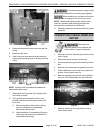
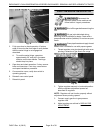
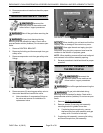
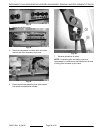
2. Remove screws securing the mounting bracket
that holds the safety valve, oven thermostat and
the oven solenoid to the oven frame.
ENDURANCE / CHALLENGER MODULAR SERIES GAS RANGES - REMOVAL AND REPLACEMENT OF PARTS
Page 19 of 38 F45471 Rev. A (0615)


