SERVICE PROCEDURES AND ADJUSTMENTS
OVEN PILOT FLAME HEIGHT
Oven Pilot Adjustment
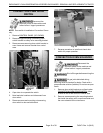
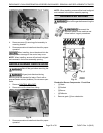
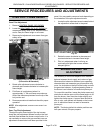
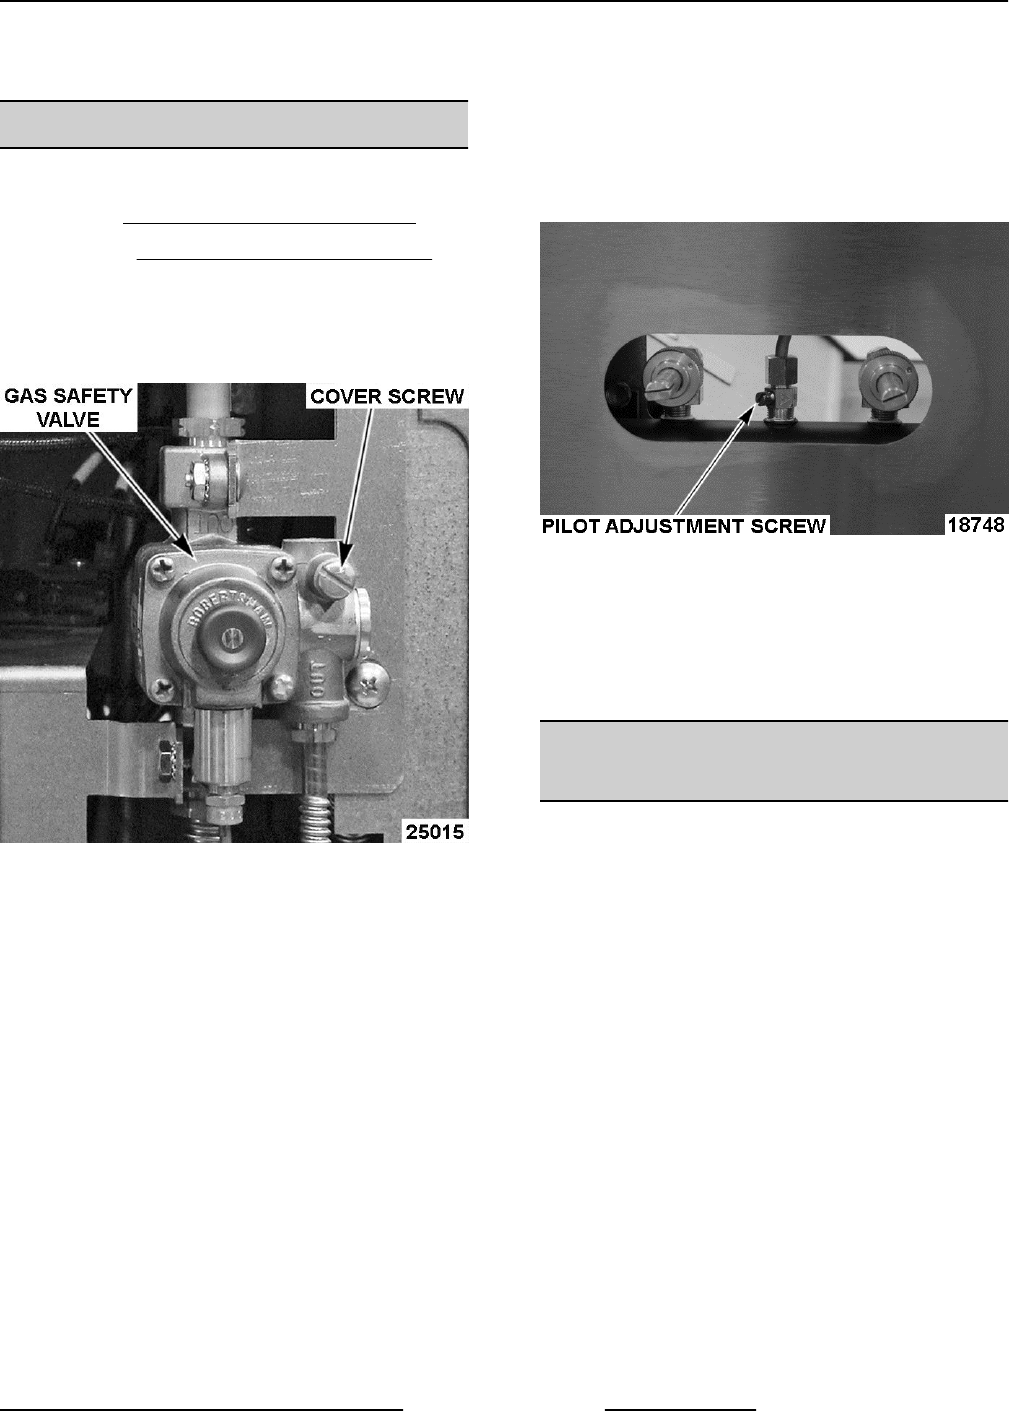
1. Remove CONTROL PANEL (30" OVENS).
2. Lower the KICK PANEL (24" & 30" OVENS) to
access gas safety valve on 24" standard ovens
and to view pilot flame height on all ovens.
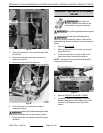
3. Remove pilot adjustment cover screw from gas
safety valve.
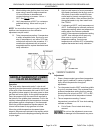
Gas Safety Valve on 30" Ovens Shown
(Convection & Standard)
4. Rotate pilot adjustment screw clockwise to
decrease and counterclockwise to increase pilot
flame height.
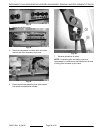
5. Pilot flame is in adjustment when it is
approximately ½" tall and flame surrounds one
third of the thermocouple down from the tip of the
hot junction end.
6. Reverse procedure to install and check for proper
operation.
NOTE: After adjustment, ensure cover screw is re-
installed.
Open Top Pilot Adjustment
To adjust the pilot flame height of the top burners,
locate the pilot adjustment screws found on the front
manifold pipe between the burner control knobs. It is
not necessary to remove the gas manifold cover as
adjustment access holes have been provided in the
panel. You may need to remove a knob depending on
the orientation of the pilot adjustment screw.
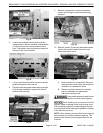
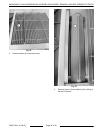
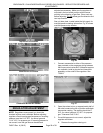
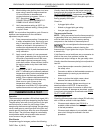
1. Locate the pilot adjustment screw located behind
the adjustment access hole in the panel.
Fig. 62
2. Rotate the screw clockwise to decrease and
counterclockwise to increase flame height.
3. Pilot is in adjustment when it will stay on
continually and lights the burners without
delayed ignition.
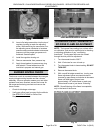
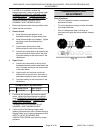
BURNER AIR SHUTTER
ADJUSTMENT
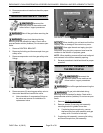
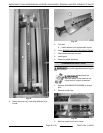
The efficiency of the burner depends on a delicate
balance between the air supply and volume of gas.
Whenever this balance is disturbed, poor operating
characteristics and excessive gas consumption may
occur. An air shutter on the front of the burner controls
the gas mixer balance. A yellow streaming flame on
the burner is an indication of insufficient primary air.
To correct this condition, loosen the shutter screw and
rotate the air shutter open until the flame begins to lift
from the burner, then close the shutter slightly and
tighten the shutter screw. A proper flame should be
blue in color, well-defined and seated on the burner
port. A white-blue flame is a result of excessive
primary air.
NOTE: The factory default air shutter positions are
half open natural; full open propane.
ENDURANCE / CHALLENGER MODULAR SERIES GAS RANGES - SERVICE PROCEDURES AND
ADJUSTMENTS
Page 27 of 38 F45471 Rev. A (0615)


