– 6 –
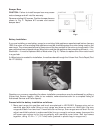
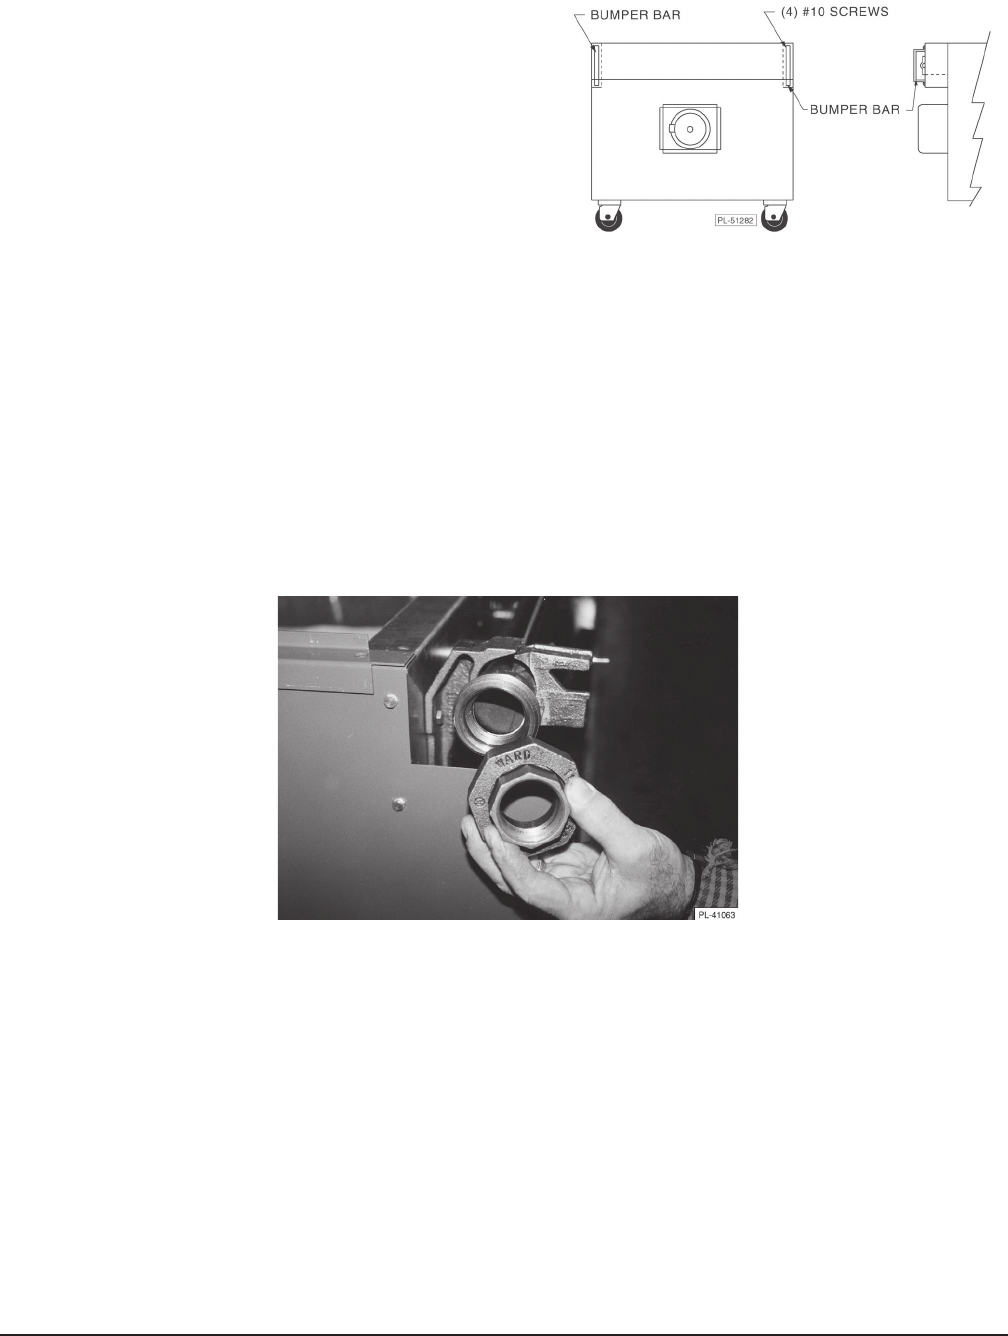
Bumper Bars
CAUTION: Failure to install bumper bars may cause
motor damage and will void the warranty.
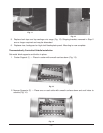
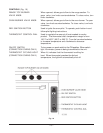
Remove existing #10 screws. Position bumper bars as
shown in Fig. 2. Replace #10 screws and secure
bumper bars.
Battery Installation
If you are installing a new battery range to an existing field appliance manufactured before January
1998, the union on the existing field appliance must be checked against the union being used on the
new range. The union manufacturer's name around the face surface of the union nut must match. If the
new range has been shipped using a Ward union and the old appliance has something different — i.e.,
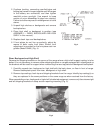
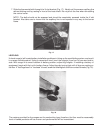
Stockham — it must be replaced with a Ward union (Fig. 3). Failure to replace this union could result
in a gas leak.
If a Ward union is needed for installation, it must be ordered through the Vulcan-Hart Parts Depot (Part
No. FP-088-89).
Fig. 3
Questions or concerns regarding the above installation procedures may be addressed by calling a
Vulcan-Hart Service Agency. (refer to our website, www.vulcanhart.com for a complete listing of
Authorized Service and Parts depots).
Proceed with the battery installation as follows:
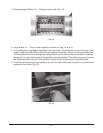
1. Move next range into position and level as explained in LEVELING. Engage union nut on
manifold pipe with male fitting on next range and draw up union nut hand-tight. Be sure
ranges butt both front and rear. If manifolds do not line up, then ranges are not level. Do not
adjust manifold brackets to make manifolds line up, except in extreme cases, because this
will cause gas valves not to line up perfectly with manifold cover holes. Bolt top frames
together, using 10-24 x
1
/2" (12.7 mm) bolts (packed in plastic bag in range oven).
Fig. 2


