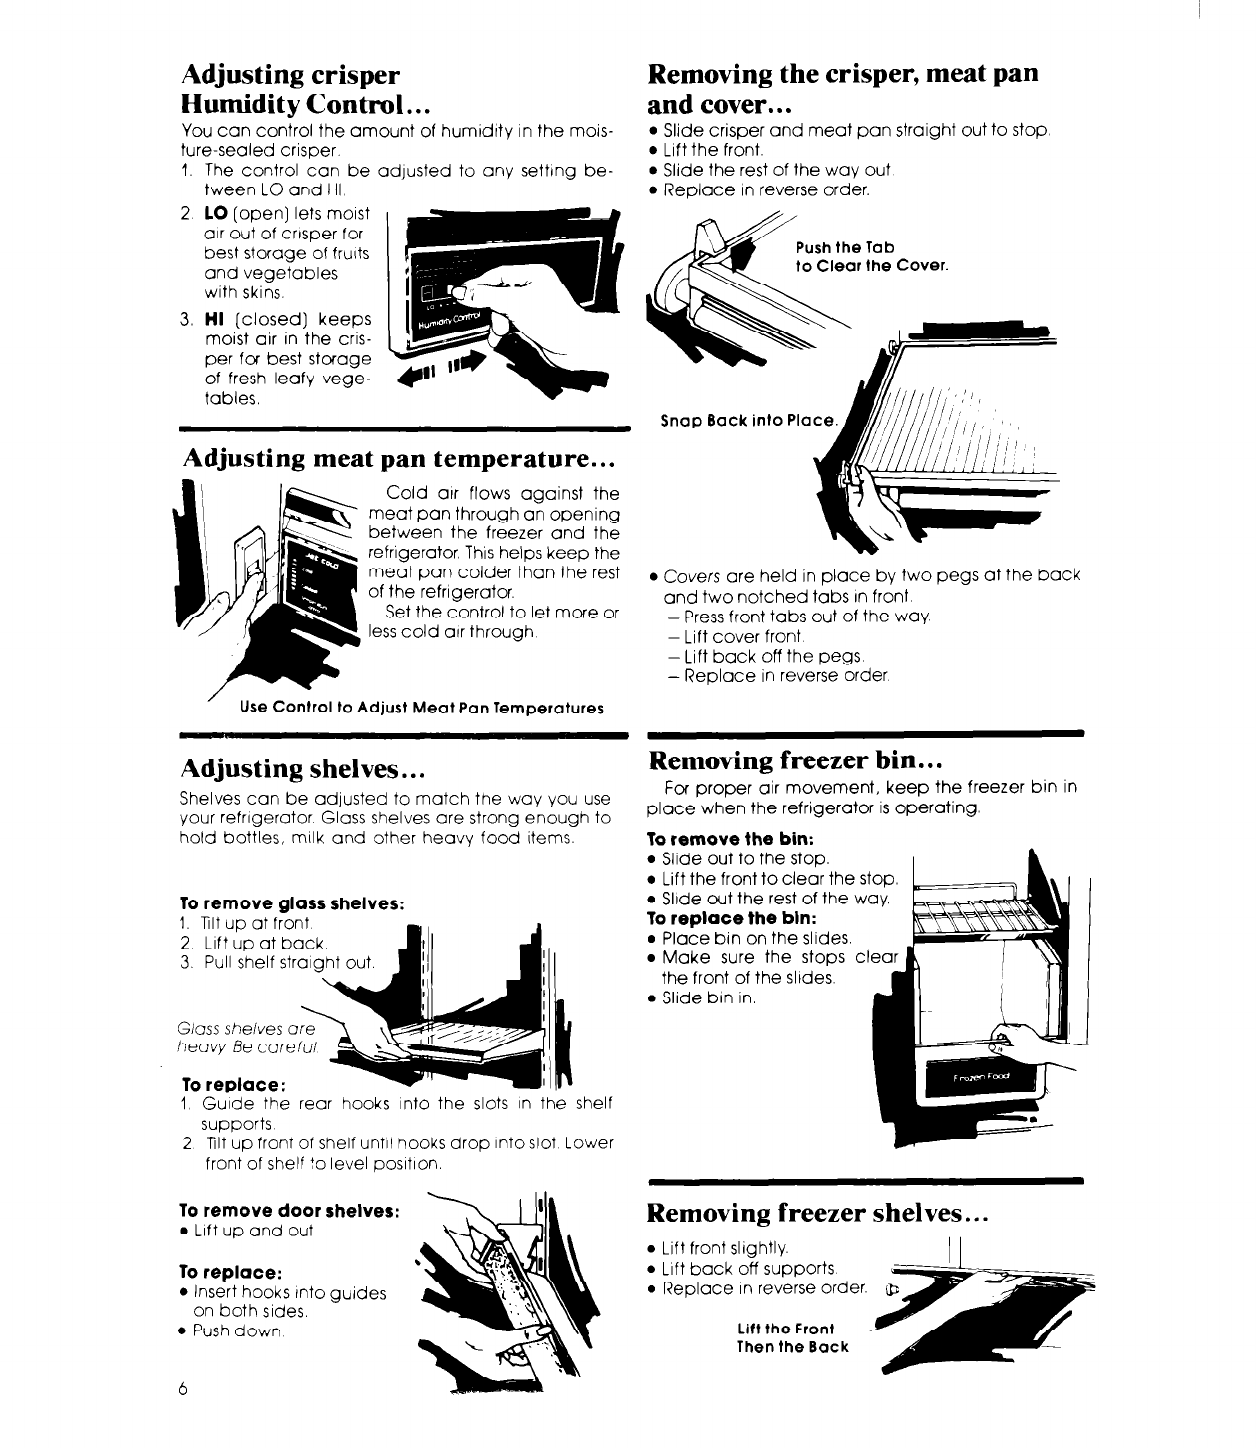
Adjusting crisper
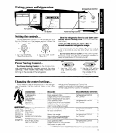
Humidity Control.. .
You can control the amount of humidrty in the mois-
ture-sealed crisper.
1. The control can be adjusted to any setting be-
tween LO and HI
2
LO [open] lets moist
air out of crisper for
best storage of fruits
and vegetables
with skins.
3.
HI (closed] keeps
moist air in the cris-
per for best storage
of fresh leafy vege-
tables.
Adjusting meat pan temperature...
Cold arr flows against the
meat pan through an opening
between the freezer and the
refrigerator. This helps keep the
meat pan colder than the rest
of the refrigerator.
Set the control to let more or
less cold arr through
Use Control to Adjust Meat Pan Temperatures
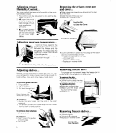
Adjusting shelves.. .
Shelves can be adjusted to match the way You use
Your refrrgerator. Glass shelves are strong enough to
hold bottles, mrlk and other heavy food items.
To remove alass shelves:
Gioss sheives o
heavy Be corefui
To reDlace:
1 Girde the rear hooks into the slots in the shelf
supports
2 Tilt up front of shelf until hooks drop into slot Lower
front of shelf to level posItron.
To remove door shelves
l
Lrft up and out
To replace:
l
Insert hooks Into guides
on both sides.
l
Push down
6
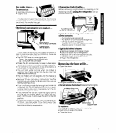
Removing the crisper, meat pan
and cover.. .
l
Slide crisper and meat pan straight out to stop
l
Lift the front.
l
Slide the rest of the way out
l
Replace in reverse order.
Push the lab
to Clear the Cover.
Snap Back into Plac
l
Covers
are held in place by two pegs at the back
and two notched tabs In front
- Press front tabs out of the way.
- Lift Cover front
-Lift back off the pegs
- Replace in reverse order
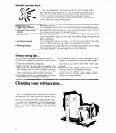
Removing freezer bin.. .
For proper air movement, keep the freezer bin in
place when the refrigerator is operating.
To remove the bin:
l
Slide out to the stop.
l
Lift the front to clear the stop.
l
Slide out the rest of the way.
To replace the bln:
l
Place bin on the slides.
l
Make sure the stops
clea
the front of the slrdes.
l
Slide brn in
Removing freezer shelves.. .
l
Lift front sliahtlv. I I
l
Lrft back o?f supports
l
Replace in reverse order.
Lift the Front
J
Then the Back


