Using Your Refrigerator
In This Section
Page
Setting the controls . . . . . . . . . . . . . . . . . . . . . . . . . . . .
7
Changing the control
settings . . . . . . . . . . . 8
Adjusting the refrigerator shelves . ...9
Removing the meat drawer
and cover . . . . . . . . . . . . . . . . . . . . . . . . . . . . . . . . . , . . . . . . . . . . . 9
Removing the crispers and
crisper cover
. . . . . . . . . . . . . . . . . . . . . . . . . . . . . . . . . . . . . 10
Using the
ice cube trays . . . . . . . . , . . . . . . . . . 10
Page
Using the optional automatic
ice maker
. . . . . . . . . . . . . . . . . . . . . . . . . . . . .
. . . . . . . . . . . . . . 11
Changing the
light bulbs . . . . . . . . . . . . . . . . . 12
Removing the
base grille . . . . . . . . . . . . . . . . . 12
Reversing
the door swing . . . . . . . . . . . . . . . . 13
Understanding the sounds
you may hear . . . . . . . . . . . . . . . . . . . . . . . . . . . . . . . . . . . . 13
Saving energy
. . . . . . . . . . . . . . . . . . . . . . . . . . . . . . . . . . . 13
To obtain the best possible results from your refrigerator, it is important that you operate it
properly. This section tells you how to set the controls, remove and adjust some of the
features in your refrigerator, and how to save energy.
Setting the controls
Temperature controls
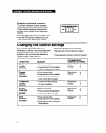
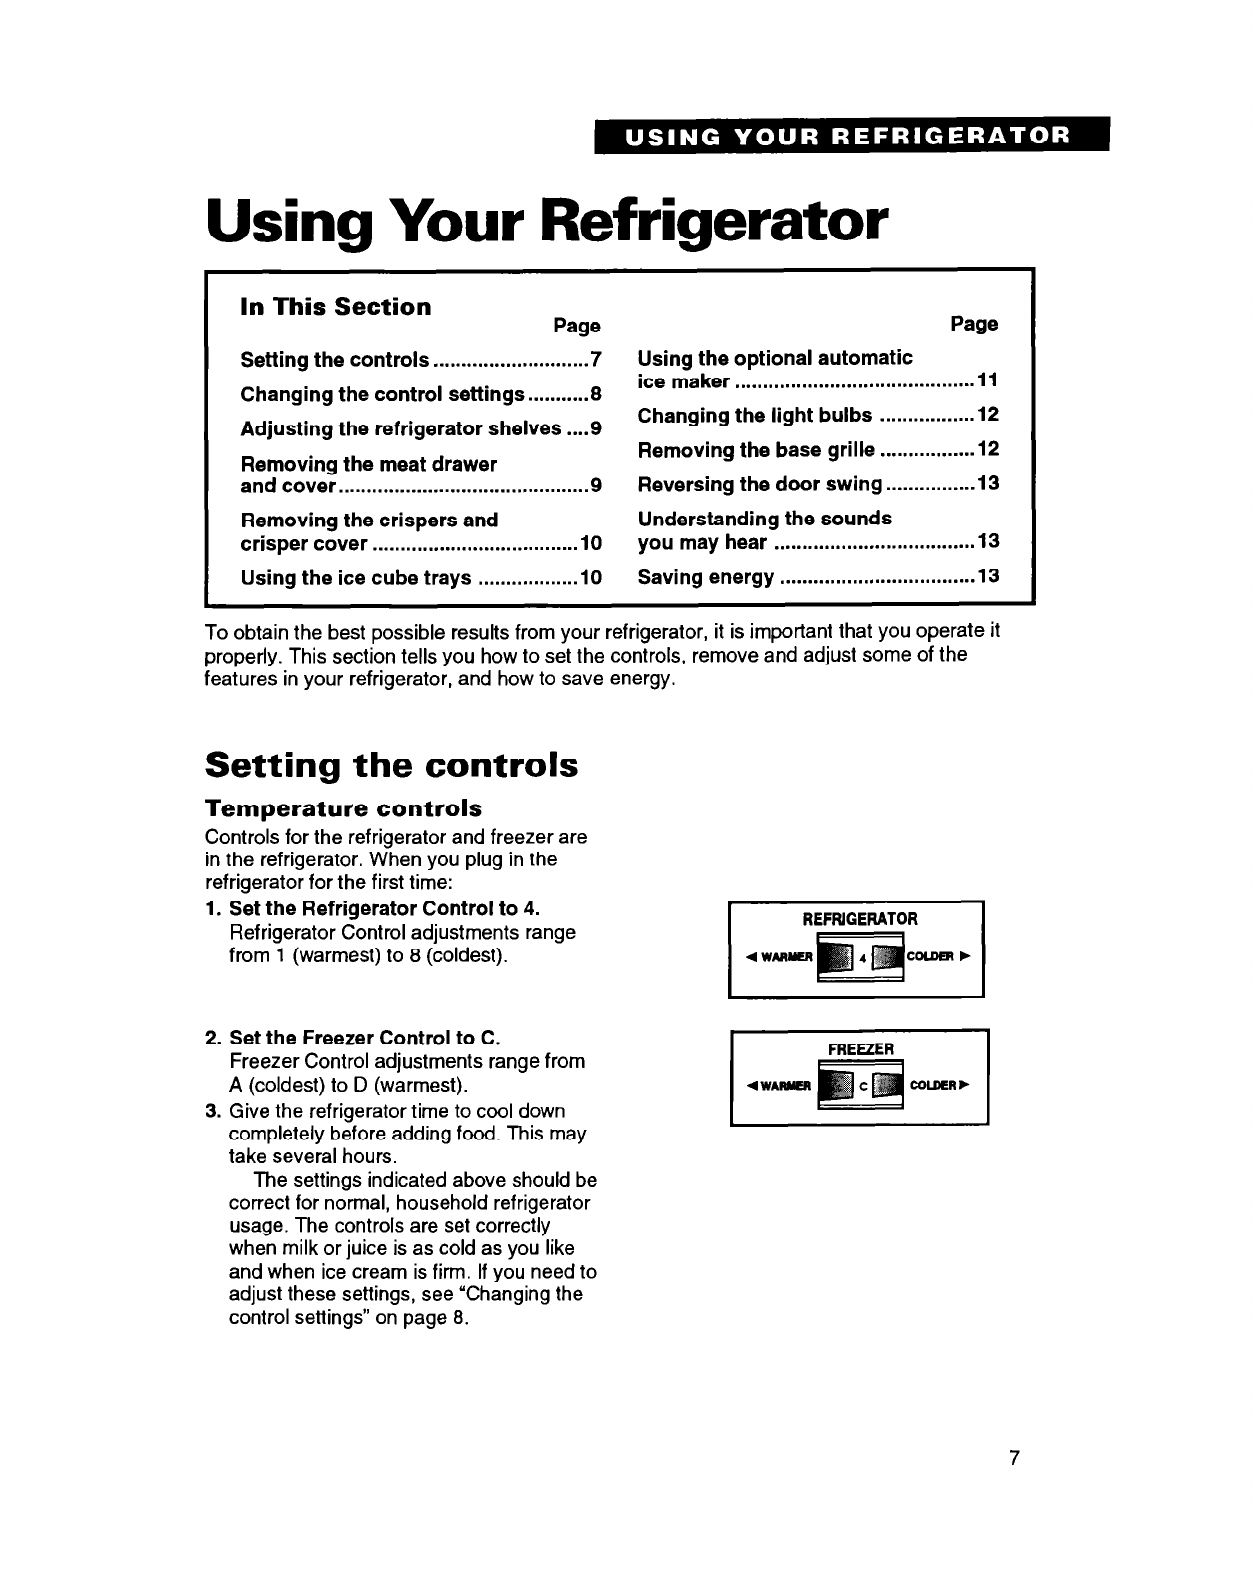
Controls for the refrigerator and freezer are
in the refrigerator. When you plug in the
refrigerator for the first time:
1. Set the Refrigerator Control to 4.
Refrigerator Control adjustments range
from 1 (warmest) to 8 (coldest).
2. Set the Freezer Control to C.
Freezer Control adjustments range from
A (coldest) to D (warmest).
3. Give the refrigerator time to cool down
completely before adding food. This may
take several hours.
The settings indicated above should be
correct for normal, household refrigerator
usage. The controls are set correctly
when milk or juice is as cold as you like
and when ice cream is firm. If you need to
adjust these settings, see “Changing the
control settings” on page 8.
7


