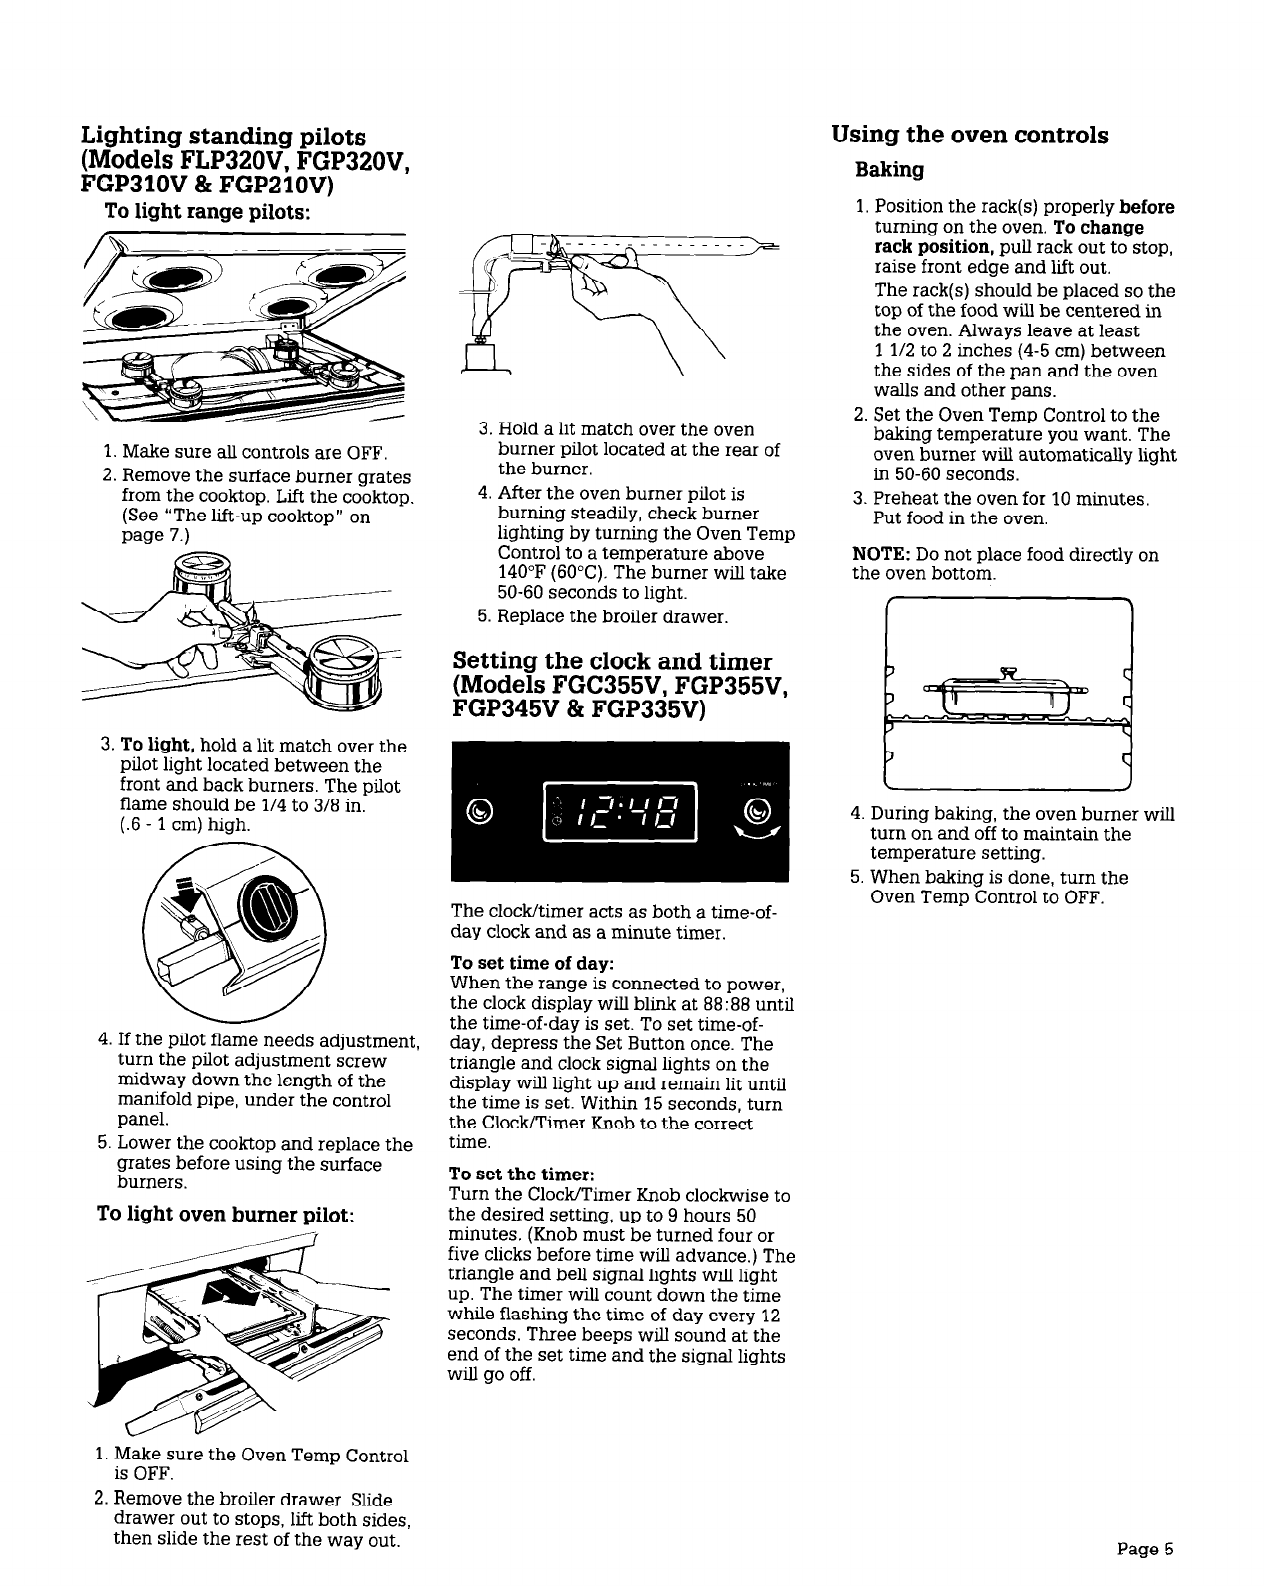
Lighting standing pilots
(Models FLP320V, FGP320V,
FGP310V & FGPZlOV)
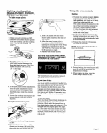
To light range pilots:
1. Make sure alI controls are OFF.
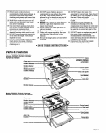
2. Remove the surface burner grates
from the cooktop. Lift the cooktop.
(See “The lift-up cooktop” on
page 7.)
3. To light,
hold a lit match over the
pilot light located between the
front and back burners. The pilot
flame should be l/4 to 3/8 in.
(.6 - 1 cm) high.
4. If the pilot flame needs adjustment,
turn the pilot adjustment screw
midway down the length of the
manifold pipe, under the control
panel.
5. Lower the cooktop and replace the
grates before using the surface
burners.
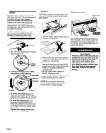
To light oven burner pilot:
1. Make sure the Oven Temp Control
is OFF.
2. Remove the broiler drawer. Slide
drawer out to stops, lift both sides,
then slide the rest of the way out.
3. Hold a lit match over the oven
burner pilot located at the rear of
the burner.
4. After the oven burner pilot is
burning steadily, check burner
lighting by turning the Oven Temp
Control to a temperature above
140°F (60°C). The burner wilI take
50-60 seconds to light.
5. Replace the broiler drawer.
Setting the clock and timer
(Models FGC355V, FGP355V,
FGP345V 81 FGP335V)
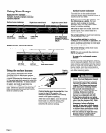
The clock/timer acts as both a time-of-
day clock and as a minute timer.
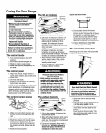
To set time of day:
When the range is connected to power,
the clock display wilI blink at 88:88 until
the time-of-day is set. To set time-of-
day, depress the Set Button once. The
triangle and clock signal lights on the
display wilI light up and remain lit until
the time is set. Within 15 seconds, turn
the Clock/Timer Knob to the correct
time.
To set the timer:
Turn the Clock/Timer Knob clockwise to
the desired setting, up to 9 hours 50
minutes. (Knob must be turned four or
five clicks before time will advance.) The
triangle and bell signal lights wiIl light
up. The timer wilI count down the time
while flashing the time-of-day every 12
seconds. Three beeps will sound at the
end of the set time and the signal lights
will go off.
Using the oven controls
Baking
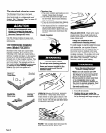
1. Position the rack(s) properly
before
turning on the oven.
To change
rack position,
pull rack out to stop,
raise front edge and lift out.
The rack(s) should be placed so the
top of the food will be centered in
the oven. Always leave at least
1 l/2 to 2 inches (4-5 cm) between
the sides of the pan and the oven
walls and other pans.
2. Set the Oven Temp Control to the
baking temperature you want. The
oven burner wiIl automatically light
in 50-60 seconds.
3. Preheat the oven for 10 minutes.
Put food in the oven.
NOTE:
Do not place food directly on
the oven bottom.
/
‘)
L
J
4. During baking, the oven burner
turn on and off to maintain the
temperature setting.
5. When baking is done, turn the
Oven Temp Control to OFF.
Witl
Page 5


