


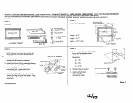
INSTALLdTlON INSTRUCTION
FOR WHIRLPOOL TRIM-KIT MODELS: MK6124XAQ MK6124XAB
(KEEP FOR FUTURE REFERENCE)
FOR USE WITH WHIRLPOOL MICROWAVE OVEN MODELS: MT5120XAQ. MT6120X-YQ MT6120XYB. MT6900XW, MT6901X-W. KCMS122YWH, KCMS125YWH
[ UL USTED - FOR USE OVER GAS & ELECTRIC HEAT SOURCE INCLUDING MODELS: SB130PER.
SBiGOPD(.
RBlGOPXY. KEBl141Y, RBlZOPXY, RBlOOPXY. RBlOO5a )
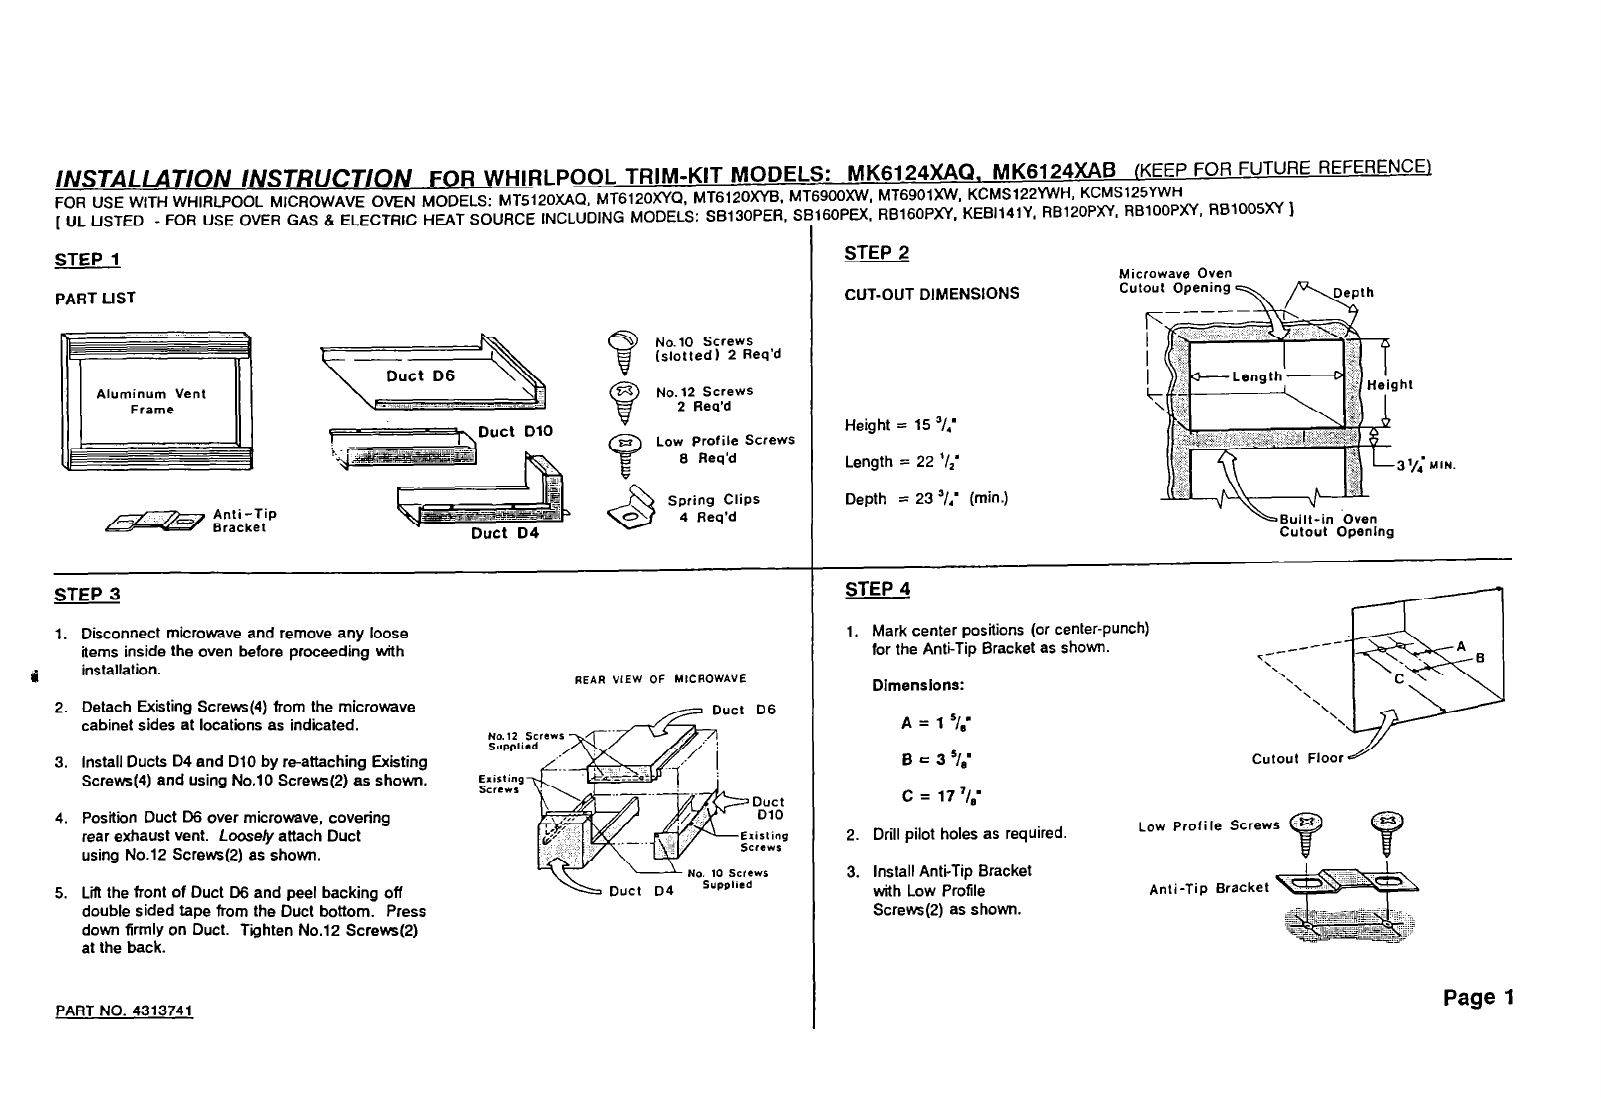
STEP 1
PART LIST
2 STEP
CUT-OUT DIMENSIONS
Microwave Oven
Cutout Openin
Aluminum Vent
Low Profile ScreWS
3 STEP
1. Disconnect microwave and remove any loose
items inside the oven before proceeding with
d
installation.
2. Detach Exiting Strews(4) from the microwave
cabinet sides at locations as indicated.
3. Install Ducts D4 and DlO by m-attaching Existing
Strew.(4) and using No.10 Strews(2) as shown.
4. Position Duct D6 over microwave, covering
rear exhaust vent.
Loosely
attach Duct
using No.12 Strews(2) as shown.
5. Lii the front of Duct D6 and peel backing off
double sided tape from the Duct bottom. Press
down firmly on Duct. Tighten No.12 Screws(S)
at the back.
PART NO. 4313741
REAR VIEW OF MICROWAVE
,./za Duct D6
Height = 15 ‘/,’
Length = 22 ‘&’
Depth = 23 “I,’ (min.)
\Built-in ‘Oven
Cutout openklg
STEP
4
1. Mark center positions (or center-punch)
for
the Anti-Tip Bracket as shown.
Dimenslons:
A = 1 =/,’
0 = 3 ‘I,’
c = 17 ‘I.’
2. Drill pilot holes as required.
3. Install Anti-Tip Bracket
with Low Profile
Low Profile Screws 7
$$J
Anti-Tip Bracket *
Screw(P) as shown.
Page 1