


14
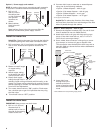
4. Open door about 3 inches (7.6 cm) and check that space
between inner door and tub is equal on both sides. If
spacing is not equal, loosen bracket screws and shift
tub. Tighten bracket screws.
5. Check that top of door does not contact screws,
brackets, or countertop. If it does, dishwasher must be
lowered and re-leveled.
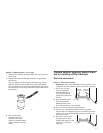
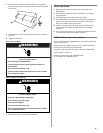
6. If securing to sides of cabinet, replace the plastic
buttons.
7. Remove towel from dishwasher.
8. Reinstall the lower dishrack.
Complete installation
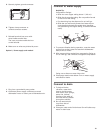
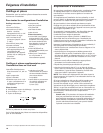
1. Check that grounding clip is attached to the lower panel.
2. Place the lower panel behind the access panel. Some
models have insulation on the access panel which must
fall behind the insulation on the lower panel.
3. Hold the two panels together and place them against
dishwasher leg.
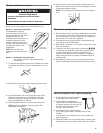
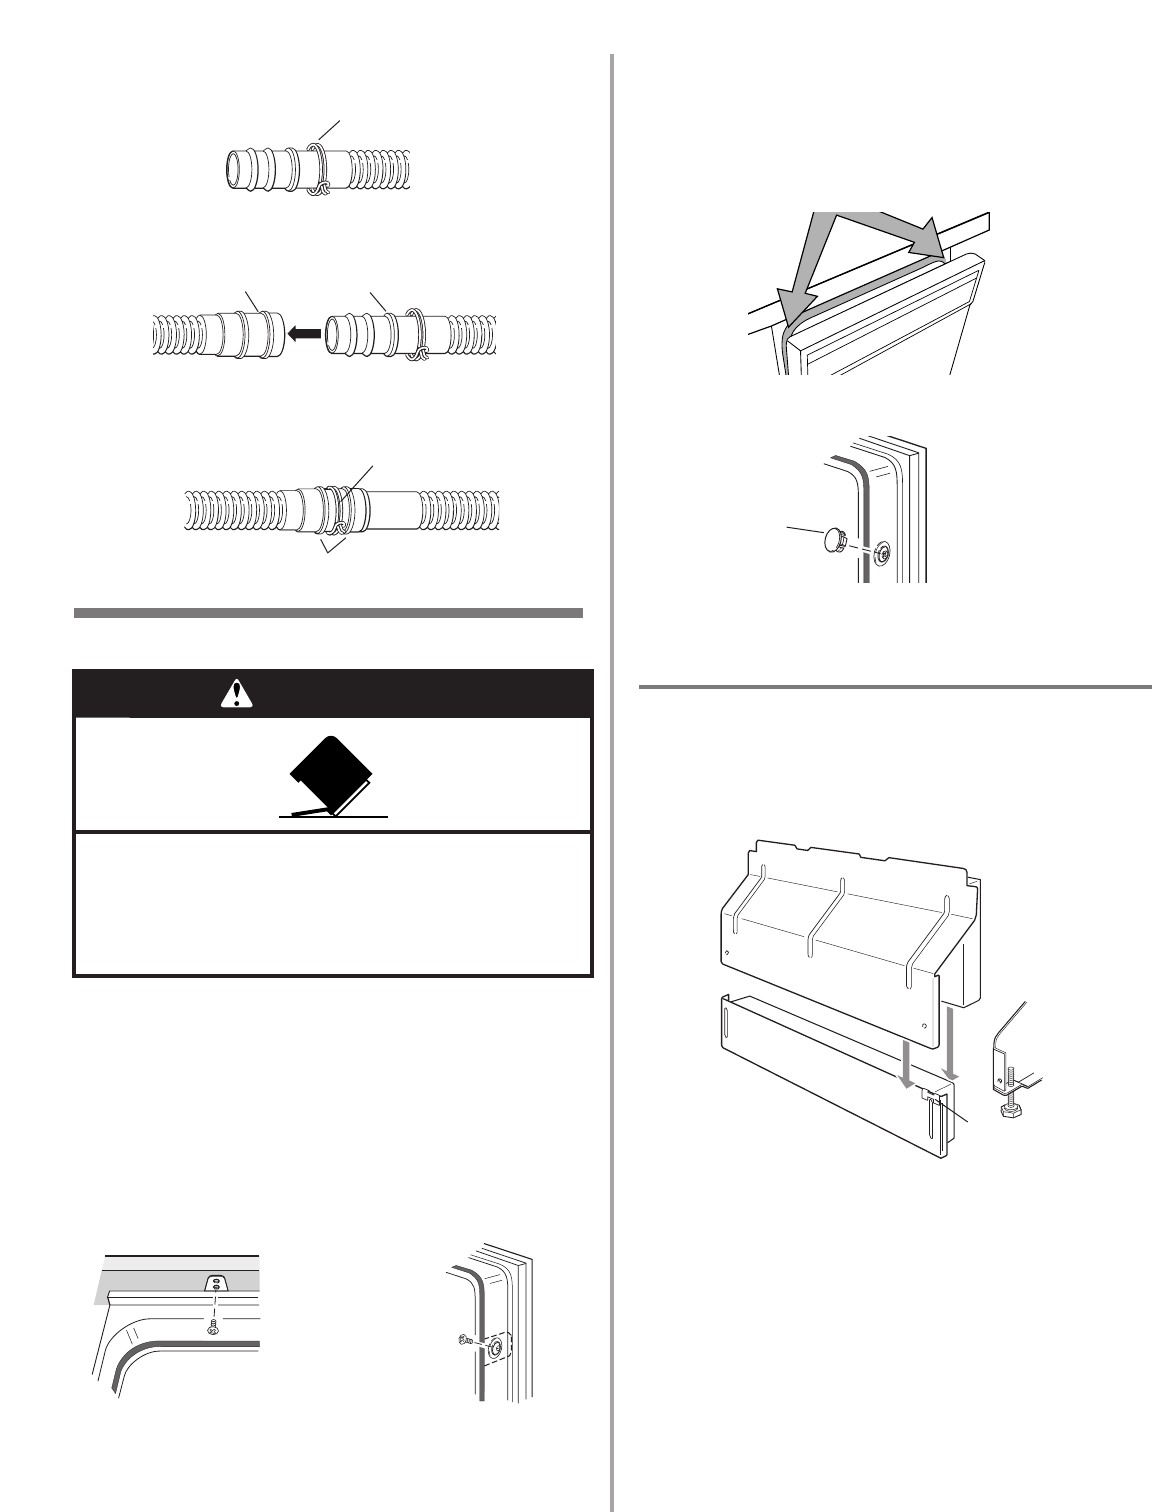
plastic
button
4. Place the smaller drain hose clamp onto the small end
of the drain hose.
5. Push the drain hose into the connector up to the stop
on the drain hose.
6. Use pliers to open clamp and slide clamp onto
connector between stops on connector as shown.
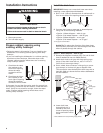
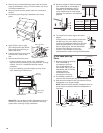
Secure dishwasher in cabinet opening
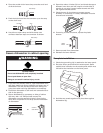
1. If you have not already done so, open dishwasher door
and place towel over pump assembly and spray arm of
dishwasher. This will prevent screws from falling into
pump area when securing dishwasher to countertop.
2. Check that dishwasher is still level and centered side to
side in the opening.
3. Secure dishwasher to countertop or sides of cabinet
with two, #10 x 1/2" Phillips-head screws. The
dishwasher must be secured to keep it from tipping
when door is opened. Do not drop screws into bottom
of dishwasher.
hose clamp
stops
lower
panel
access panel
grounding
clip
hose clamp
stop
connector
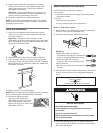
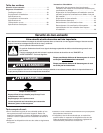
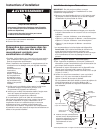
WARNING
Tip Over Hazard
Do not use dishwasher until completely installed.
Do not push down on open door.
Doing so can result in serious injury or cuts.
screw to countertop
screw to
side cabinet
OR