


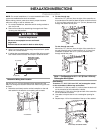

11
Complete Installation
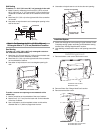
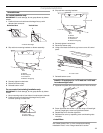
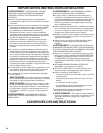
Reinstall blower
For vented installation only:
IMPORTANT: To avoid damage, do not grasp blower by blower
wheels.
1. Position blower so that blower discharge lines up with
damper/vent connector.
2. Slip rods into mounting brackets on blower assembly.
3. Securely tighten knurled nuts.
4. Reconnect blower plug.
5. Reinstall bottom cover.
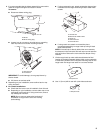
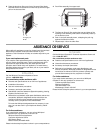
For non-vented (recirculating) installation only:
IMPORTANT: To avoid damage, do not grasp blower by blower
wheels.
1. Move mounting rods to front holes in hood support channels.
2. Position blower so that blower discharge lines up with
louvered opening on hood front.
3. Slip rods into mounting brackets.
4. Securely tighten knurled nuts.
5. Reconnect blower plug.
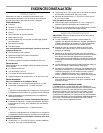
6. Using a flat-blade screwdriver, pry louver cover off control
panel.
7. Reinstall bottom cover.
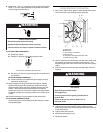
Install 2 x 75-watt (max.) or 1 x 75-watt and 1 x 25-watt
incandescent light bulbs.
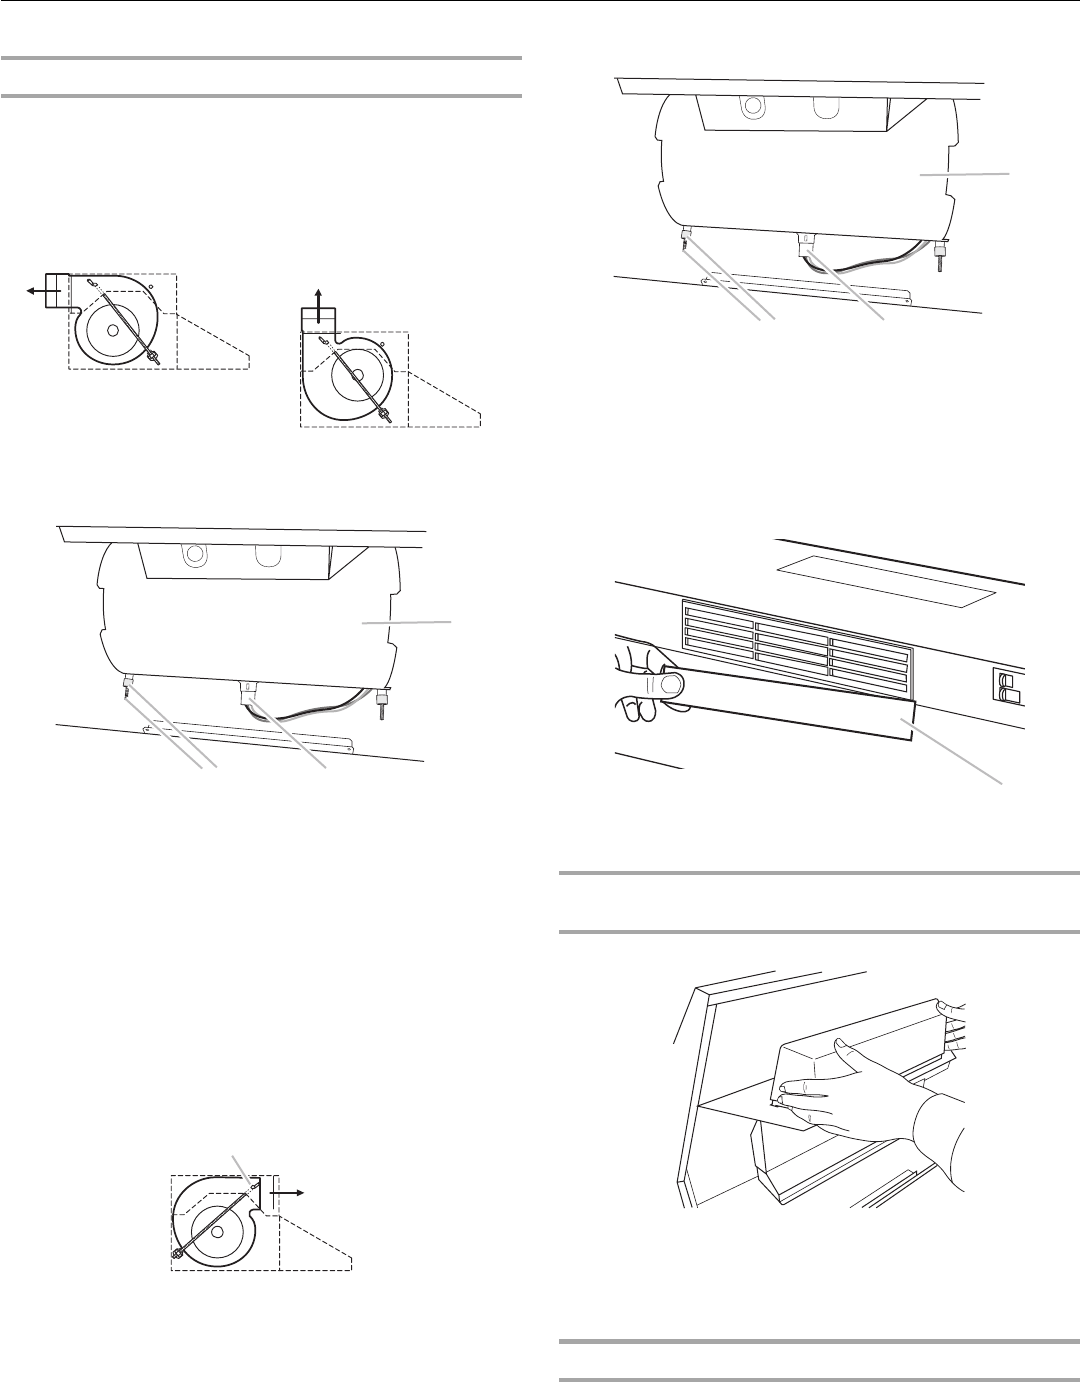
1. Squeeze the plastic lens cover and remove it from the hood.
2. Screw light bulb into socket. If you are using a 25-watt light
bulb as a night light, screw into right-hand socket.
3. Repeat Step 2 for the other light bulb.
4. Replace lens cover by squeezing cover and inserting tabs
into slots.
Install filters
See “Metal Grease Filter” or “Non-vented (recirculating)
Installation Filters” in the “Range Hood Care” section.
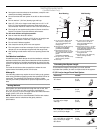
Horizontal Vent Vertical Vent
A. Blower discharge
A. Blower
B. Mounting rod
C. Knurled nut
D. Blower wiring plug
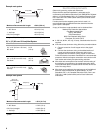
A. Front holes
B. Blower discharge
A
A
A
B
C
D
B
A
A. Blower
B. Mounting rod
C. Knurled nut
D. Blower wiring plug
A. Louver cover
A
B
C
D
A