FILTERS AND ACCESSORIES
15
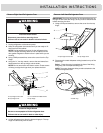
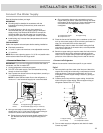
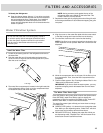
To Steady the Refrigerator:
■ Open the freezer drawer. Using a ¹⁄₄" hex driver, turn both
brake feet clockwise the same amount until the brake feet
are snug against the floor. Check again. If not satisfied,
continue to adjust the brake feet by half turns of the
screw until the refrigerator does not roll forward when the
drawer is opened.
NOTE: Having someone push against the top of the
refrigerator takes some weight off the brake feet. This
makes it easier to turn the screws.
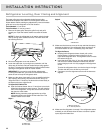
7. Replace the base grille by aligning the ends of the grille with
the leveling assemblies on each side and snapping the grille
into place.
Water Filtration System
Install the Water Filter
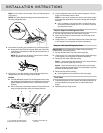
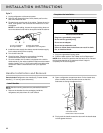
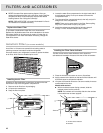
1. Locate the accessory packet in the refrigerator and remove
the water filter.
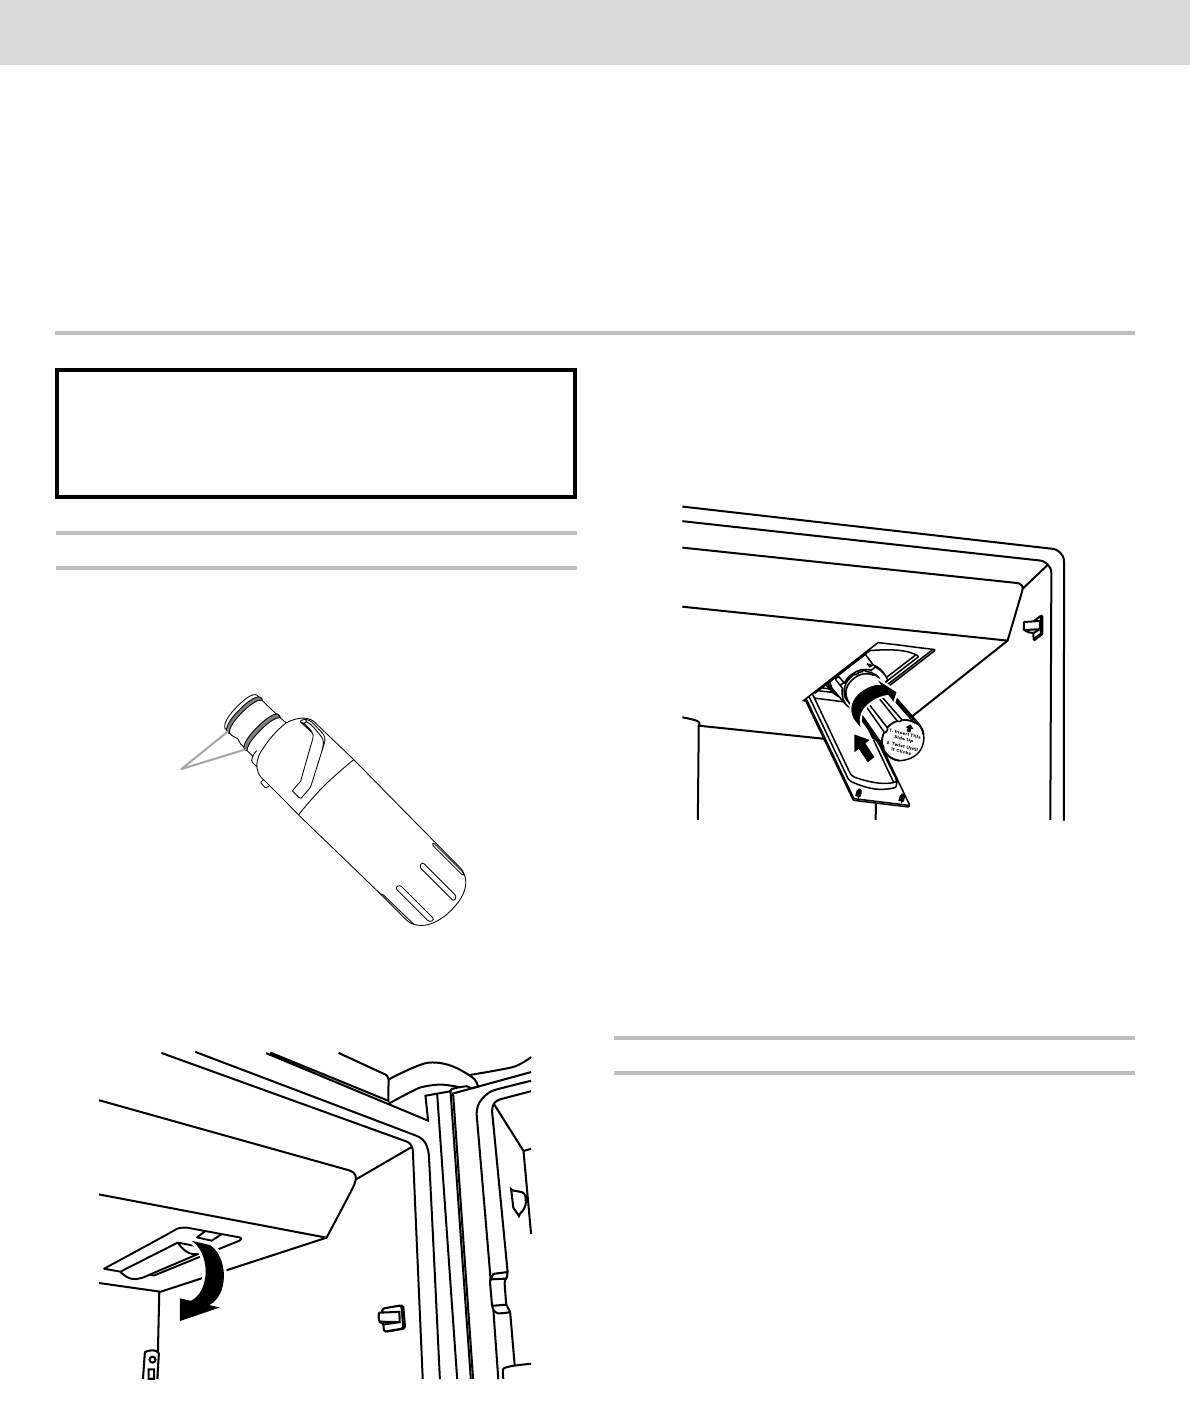
2. Take the water filter out of its packaging and remove the
cover from the O-rings. Be sure the O-rings are still in place
after the cover is removed.
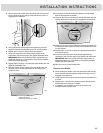
3. The water filter compartment is located in the right-hand side
of the refrigerator ceiling. Push up on the compartment door
to release the catch, then lower the door.
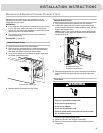
4. Align the arrow on the water filter label with the cutout notch
in the filter housing and insert the filter into the housing.
5. Turn the filter clockwise until it locks into the housing.
NOTE: If the filter is not correctly locked into the housing, the
water dispenser will not operate. Water will not flow from the
dispenser.
6. While the compartment door is still open, lift the filter up into
the compartment. Then, close the filter compartment door
completely.
7. Flush the water system. See “Flushing the Water Filter” in the
“Water and Ice Dispensers” section.
IMPORTANT: If you do not flush the water system, you may
experience dripping and/or decreased flow from the water
dispenser.
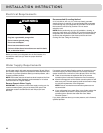
The Water Filter Status Light
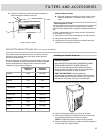
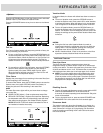
Press OPTIONS on the control panel to launch the Options menu.
Press OPTIONS, under Filter Status, again to display the
percentage of filter life remaining (from 99% to 0%). Press ICE/
WATER, under Back, to return to the Normal screen.
The water filter status lights will help you know when to change
your water filter.
■ ORDER FILTER (yellow) - it is almost time to change the water
filter. While you are dispensing water, “Order Filter” will blink
seven times and sound an alert tone three times.
■ REPLACE FILTER (red) - Replace the water filter. While you
are dispensing water, “Replace Filter” will blink seven times
and an alert tone will sound three times.
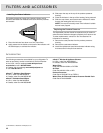
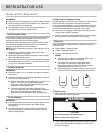
A.O-rings
Do not use with water that is microbiologically unsafe or
of unknown quality without adequate disinfection before
or after the system. Systems certified for cyst reduction
may be used on disinfected waters that may contain
filterable cysts.
A


