


3
INSTALLATION
ThisUse&CareManualprovidesspecicoperatinginstructions
foryourmodel.Usetherefrigeratoronlyasinstructedinthis
Use&CareManual.Before starting the refrigerator, follow
these important first steps.
LOCATION
• Chooseaplacethatisnearagroundedelectricaloutlet.
Do Notuseanextensioncordoranadapterplug.
• Ifpossible,placetherefrigeratoroutofdirectsunlight
andawayfromtherange,dishwasherorotherheat
sources.
• Therefrigeratormustbeinstalledonaoorthatislevel
andstrongenoughtosupportafullyloadedrefrigerator.
• Considerwatersupplyavailabilityformodelsequipped
withanautomaticicemaker.
INSTALLATION
caution
Do Not install the refrigerator where the temperature
will drop below 55°F (13°C) or rise above 110°F (43°C).
The compressor will not be able to maintain proper
temperatures inside the refrigerator.
Do Not block the toe grille on the lower front of your
refrigerator. Sufficient air circulation is essential for the
proper operation of your refrigerator.
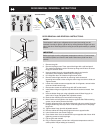
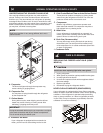
Installation Clearances
• Allowthefollowingclearancesforeaseofinstallation,
properaircirculation,andplumbingandelectrical
connections:
Sides&Top 3/8”
Back 1”
note
Ifyouseeblackcoils/tubingonthebackofyourrefrigerator
(air-cooledcondenser)leave3”clearanceattopofrefrigerator.
DOOR OPENING
Yourrefrigeratorshouldbepositionedtoalloweasyaccess
toacounterwhenremovingfood.Tomakethispossible,the
directioninwhichthedoorsopencanbereversed.SeeDoor
Removal & Reversal Instructions.
note
Ifyourrefrigeratorisplacedwiththedoorhingesideagainsta
wall,youmayhavetoallowadditionalspacesothedoorcan
beopenedwider.
IMPORTANT
Ifyouinstallyourrefrigeratorinagarageorotherunheated
area,youmayexperiencefreezertemperatureproblems
duringthewintermonthswhentemperaturesdipbelow55°F.
UpgradingyourrefrigeratorwithaGarageKitwilllowerthe
minimumoperatingtemperatureofyourunitto34°F.Thiskit
canbeorderedthroughtheElectrolux Solutions Hotline(see
backcover).
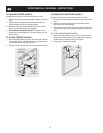
LEVELING
Allfourcornersofyourrefrigeratormustrestrmlyonasolid
oor.Yourrefrigeratorisequippedwithadjustablefrontrollersor
frontlevelingscrewstohelplevelyourunit.
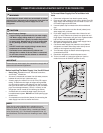
2. Useat-bladescrewdriver
or3/8”socketwrenchto
adjustfrontrollers.Use
adjustablewrenchto
adjustlevelingscrews.
Raise
AdjustableFrontRoller
(somemodels)
StationaryFrontRoller
withLevelingScrew
(somemodels)
note
Raisethefrontoftherefrigeratorenoughsothedoorsclose
freelywhenopenedhalfway.Therefrigeratorshouldslope¼”
to½”fromfronttoback.Thenleveltherefrigeratorfromside
toside.
To Level Your Refrigerator:
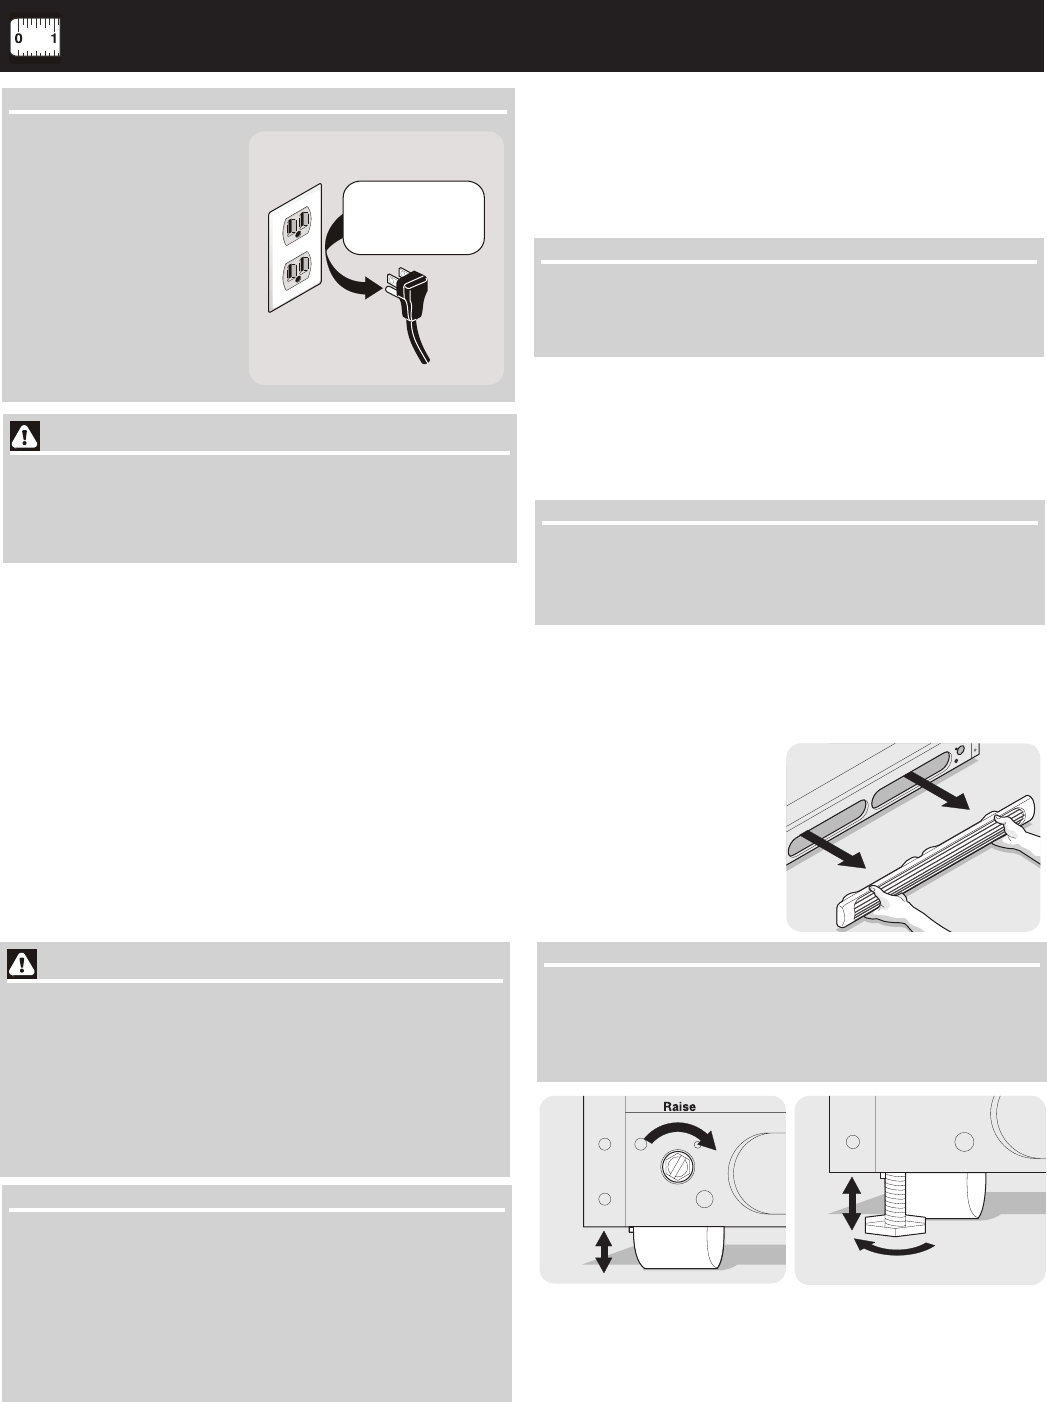
1. Removetoegrille.
IMPORTANT
TurningtheFreezerand
FreshFoodControlsto“0”
turnsoffthecompressor
andpreventsyour
refrigeratorfromcooling,
butdoesnotdisconnectthe
powertothelightbulband
otherelectricalcomponents.
Toturnoffpowertoyour
refrigeratoryoumustunplug
thepowercordfromthewall
outlet.
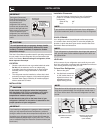
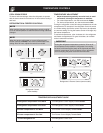
Groundingtype
wallreceptacle
Powercordwith
3-pronggroundedplug
Do not, under
any circumstances,
cut, remove,
or bypass the
grounding prong.
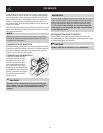
caution
To avoid personal injury or property damage, handle
tempered glass shelves carefully. Shelves may break
suddenly if nicked, scratched, or exposed to sudden
temperature change.