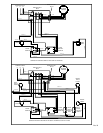
3) Mount the hood and install wiring and ducting per Hood Installation Instruction.
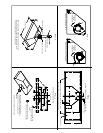
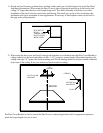
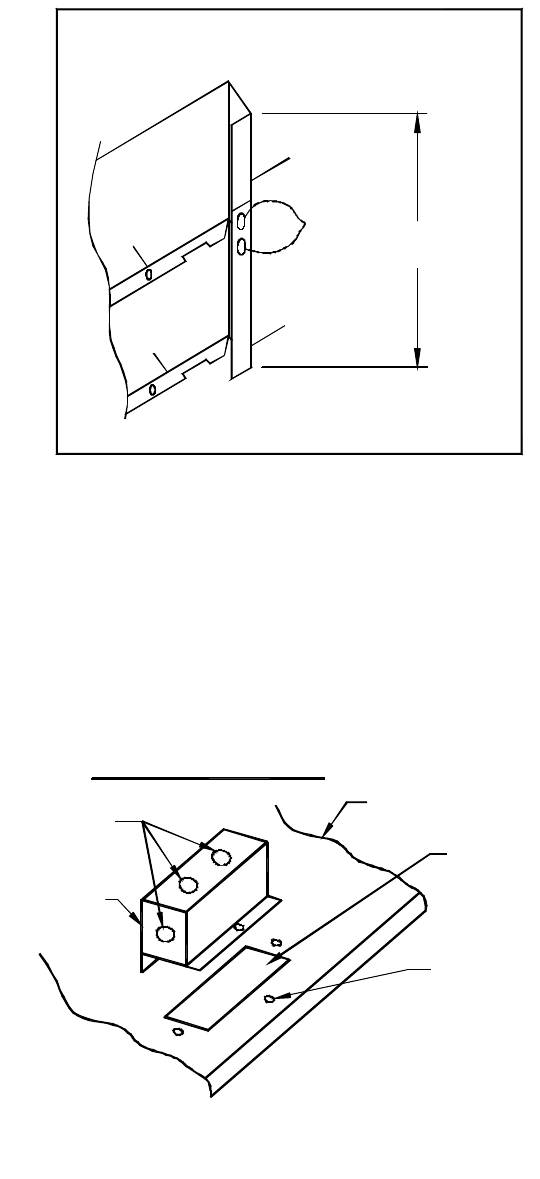
4) When using Duct Cover sections 1 & 2, set in length of duct needed and secure sections together using four #8 x 3/8”
screws. Flanges on Duct Cover Section should be positioned facing toward same end of Duct Cover assembly. HINT:
Predrive screws into holes, remove screws, remove protective cover from Duct Cover Sections, assemble Duct Cover
sections and set length (Use extreme caution to avoid scratching Duct Cover Sections), reinstall screws and
tighten. This will ease assembly of screws and prevent scratching of Duct Cover.
REMINDER: Length of Duct Covers should be 1/8” smaller than spacing of hood top to ceiling.
DESIRED
DUCT COVER
HEIGHT
SCREW, BOTH
SIDES WITH
#8 X 3/8 SCREWS
15" SECTION
19" SECTION
15" SECTION
FLANGE
19" SECTION
FLANGE
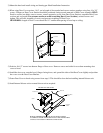
5) Predrive #8x1/2” screws into bottom flange of duct cover. Remove screws and aside for use when mounting duct
cover to hood.
6) Install the duct cover onto the hood, flanges facing down, and spread the sides of the Duct Cover slightly and position
the cover over the Duct Cover Bracket.
7) Fasten Duct Cover to hood using screws from step-5. This should be done before installing internal blower unit.
8) Install internal blower unit or remote blower unit as required.
KNOCK OUTS
COVER
HOOD TOP
HOOD WIRING
MOUNTING
ACCESS
SCREW
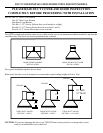
REMOVE APPROPRIATE KNOCK OUTS AND CONNECT WIRING
ACCORDING TO HOOD AND BLOWER INSTALLATION INSTRUCTIONS.
CAUTION: ALWAYS INSTALL RECEPTACLE BOX COVER.
RECEPTACLE BOX COVER
COVER IS PACKED WITH FILTERS


