


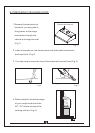

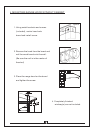

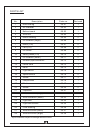
1.Positionthehoodinplacesothat:
a.TheelectricallineisroutedthroughtheappropriateKnockoutopening.
Thisstepwillhavetobeaccomplishedwhilepositioningthehood(Fig.10)
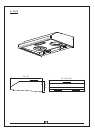
b.Thelargepartofthekeyholemountingslotsonthehoodfitontothehood
mountingscrewsprojectingfromthebottomofthecabinet.(Fig.11)
2. Adjustthehoodsothefrontisflushwiththecabinetfront.
3.Tightenthehoodmountingscrewsallthewayintothecabinetorinto
the1"x2"woodstripssothehoodissecure.
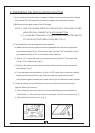
Fig.10
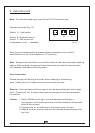
Color:
green/white/black
Knockoutopening
8
Fig.10
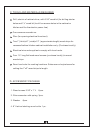
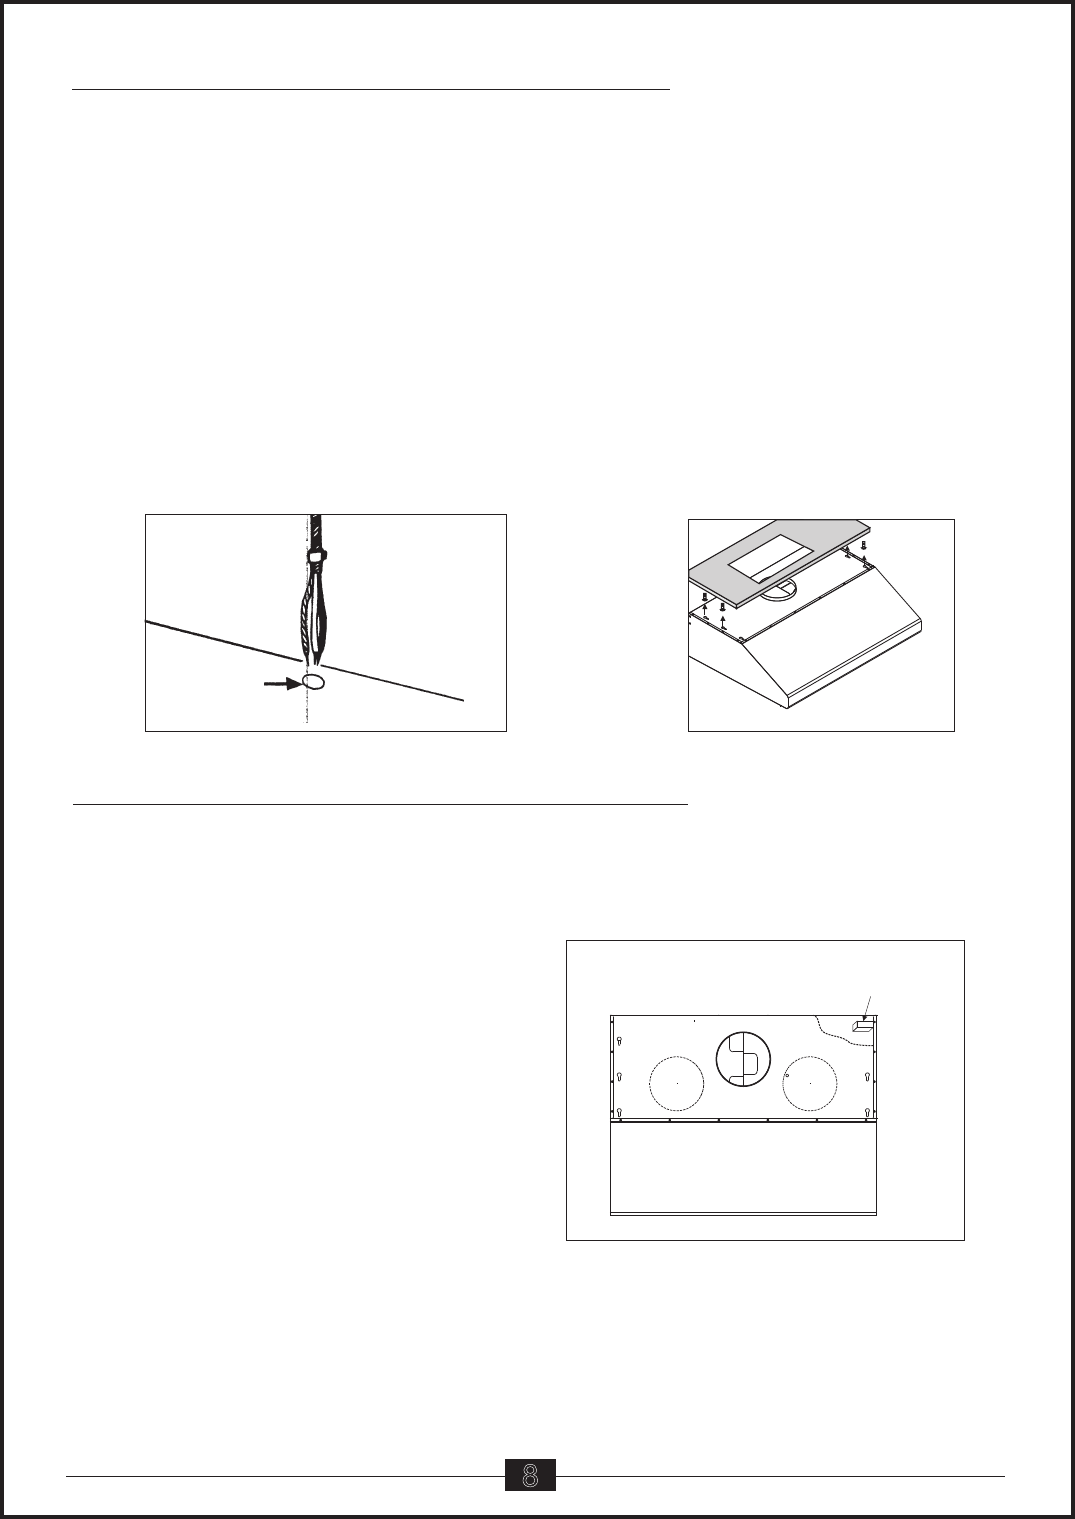
H.MOUNTINGRANGEHOODTOCABINET
1.Turnthethreenutsatthefrontofbottomboard.
2.Removescrewsonwiringcase,
fishoutwiresthroughthe
knockout.(Fig.12)
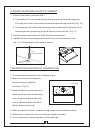
3.Marktheelectricalconnectionby
fasteningallwirestotheexisting
wallwiringaccordingtothetheir
colors.(BlacktoBlack,Whiteto
White,GreentoGround)
4.Afterconnectionisdone,reinstallwiringcasecoverandbottomboard.
5.Slideplasticcollectioncupsontothebackmetalmounting.
6.Turnonpowerandcheckoperationoffanandlight.
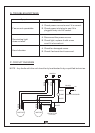
Fig.12
wirecase
I.MAKINGTHEELECTRICALCONNECTION
Fig.11
Fig.11