


11
1
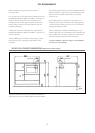
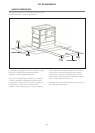
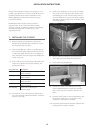
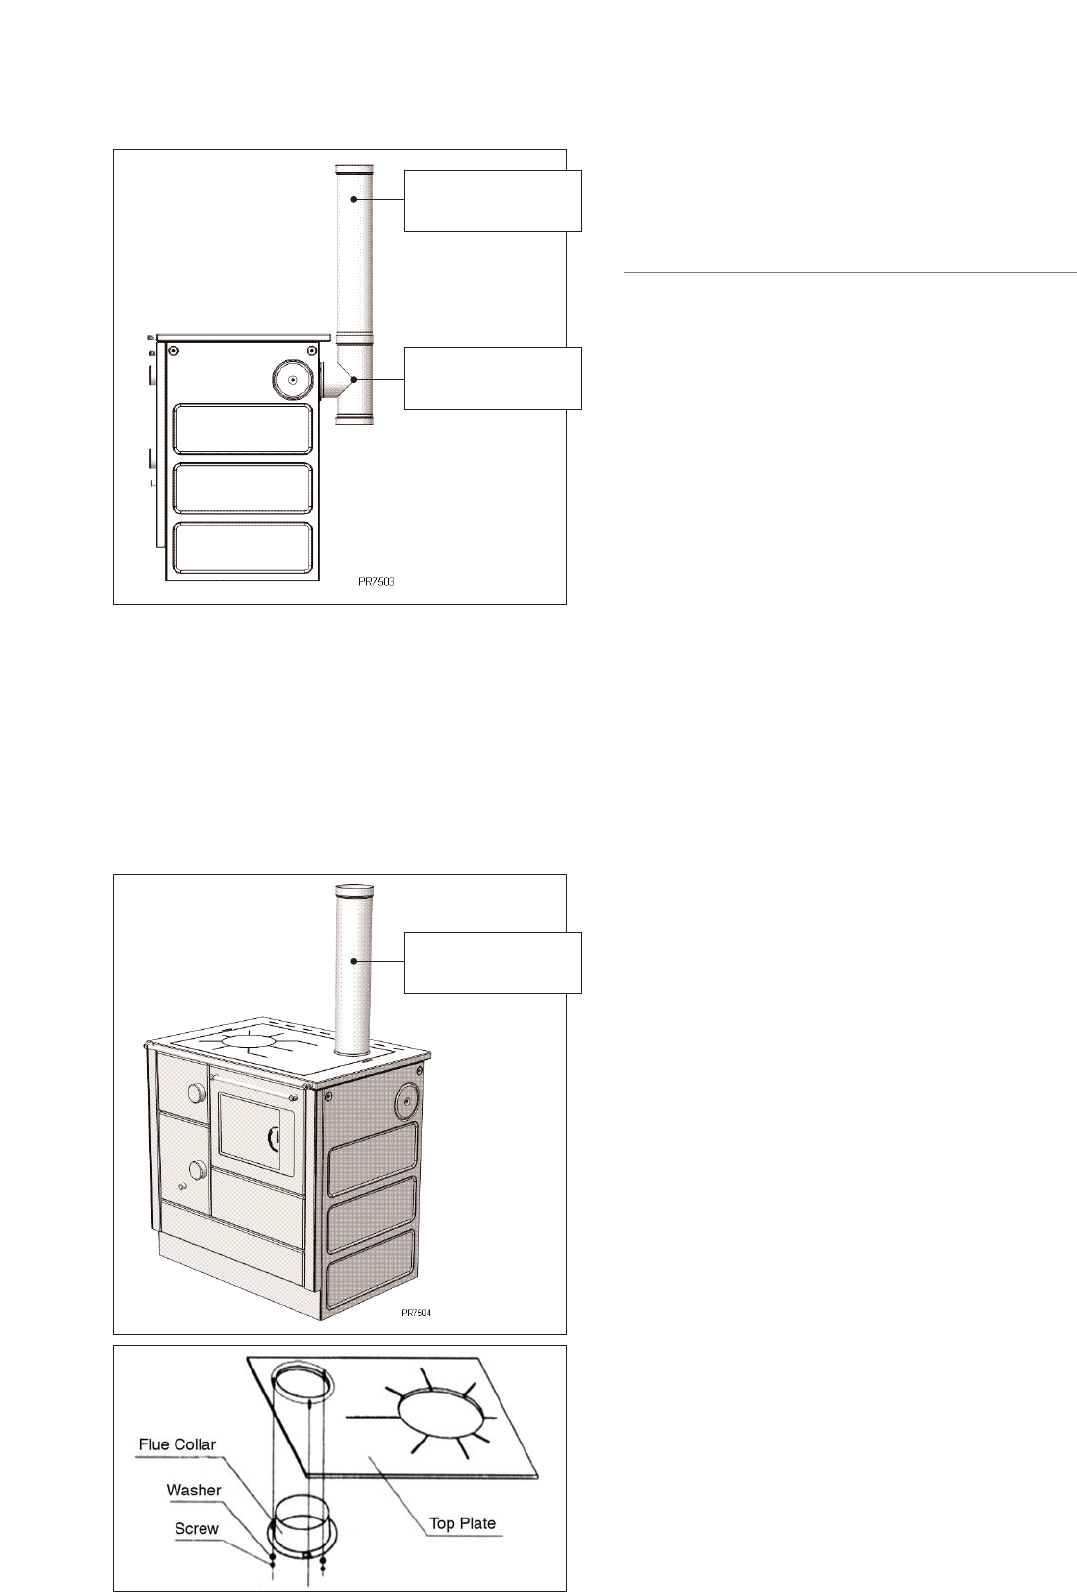
.15 Connect a flue pipe 612mm long (Stovax part no 4501
(
5” pipe)) by inserting it into the flue spigot and sealing
using fire cement.
2. COMMISSIONING
2.1 Before lighting the Solid fuel cooker, check the
following items:
a
) Fit of internal parts (firegrate, firebricks, baffles,
a
nd log retainer).
b) Door alignment, seals and catch operation.
c) Operation of air controls.
d) Operation of riddling grate system.
e) Check no items have been left in the warming
drawer, oven, firebox and ashpan.
2.2 If there are any problems with the fit or operation of
any of these items this should be corrected before
continuing with the commissioning of the Solid fuel
cooker.
2.3 Carry out a final smoke draw test, by first warming the
flue with a blowlamp, or similar, for about 10 minutes.
Then place a smoke pellet on the centre of the grate,
with the air controls open, and close the door. Smoke
should now be drawn up the flue and be seen to exit
from the flue terminal. This test should be completed
with all doors and windows in the room where the
Cooker is fitted closed. Should this test fail the
suitability of the flue system and ventilation should be
re-checked.
2.4
Light the appliance and gently allow the temperature to
increase slowly to operating levels. Check that no
combustion products are entering the room. When the
Cooker has reached a steady operating condition open
the main firedoor and carry out a spillage test with a
smoke match or pellet around the door opening.
2.5 If excessive spillage does occur allow the appliance to
cool and re-check the suitability of the flue system and
ventilation.
2.6 Explain the safe operation of the cooker and the use of
the controls to the user, along with the need to only use
suitable fuels. Also explain the cleaning and routine
maintenance requirements.
2.7
Explain the requirements to use a suitable protection
when children, elderly or infirm persons may be near
the appliance.
2.8
Record dealer/supplier details and installer details in
user instructions.
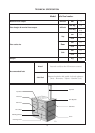
INSTALLATION INSTRUCTIONS
1
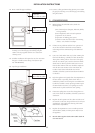
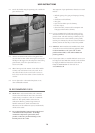
.11 Rear or side flue pipe installation
1.12 Connect a tee (Stovax part no 4516 (5” pipe)) by
inserting it into the flue spigot and sealing using fire
cement. The cap supplied with the tee is used as the
cleaning access.
1.13 Side flue installation will require the use of an extension
flue pipe to enable correct fitting of tee (Stovax part
No. YM-CKADAP).
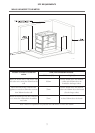
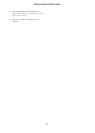
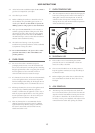
1.14 Top flue pipe installation
5” Flue Pipe
(
Stovax Part No. 4501)
5” Flue Pipe
(Stovax Part No. 4501)
5” Tee
(Stovax Part No. 4516)