7
STEP 4
Peel off the paper protective backing from the black seal-
ant that is around the dome and discard. Make sure the
sealant material does not contact objects or clothing as it
is very sticky and intended to provide a secure, longlasting
seal to the concrete throughout the duration of the test.
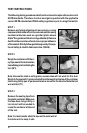
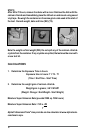
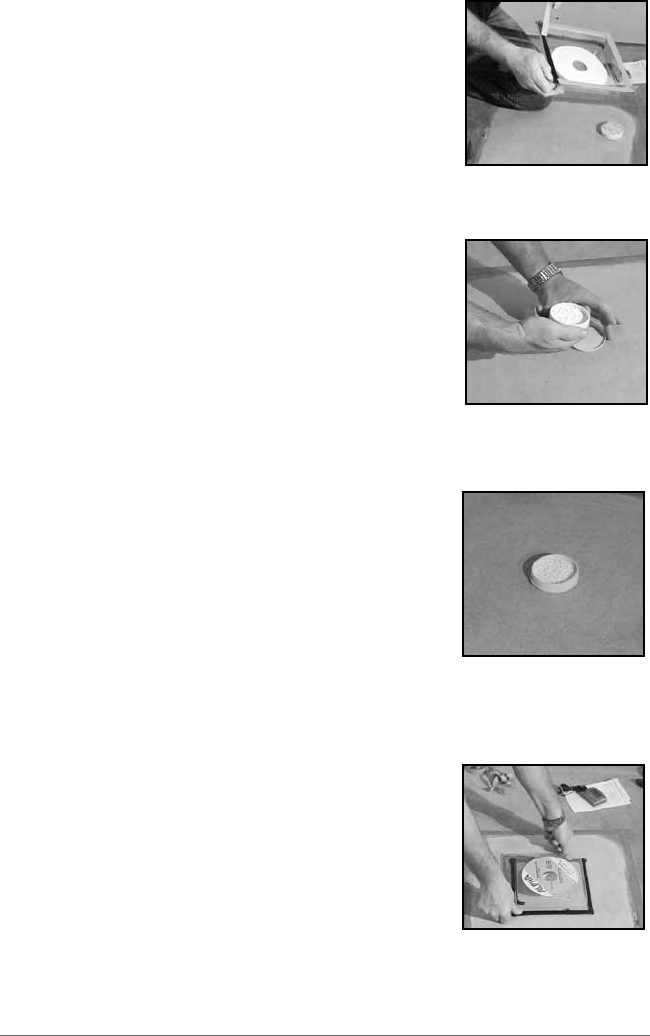
STEP 5
Carefully remove the lid from the container that holds
the calcium chloride crystals. Do not spill the crystals.
It is easiest to turn it over and place it under the dish as
shown. It may also be secured to the top of the dome or
any other location as long as it is stored safely for reuse.
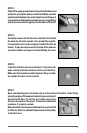
STEP 6
Install the test kit on the concrete oor. First, place the
open calcium chloride container on the concrete oor.
Make sure the crystals are relatively level. If any crystals
are spilled the test can be invalid.
STEP 7
Next, immediately place the dome unit over the center of the dish. Press rmly
along the edges of the sealant material to securely bond
the unit to the oor. To test for an airtight seal, press
rmly on the center of the cover. The cover should resist
pressure, if properly sealed.
Allow the test kit to remain undisturbed for a period of 60
to 72 hours. Note the ambient temperature and humidity
at the test area.