56
Adjusting the Projector Settings
Use the projector’s remote control to adjust the following settings.
Note
If you need to restore the projector’s factory settings, open the Reset menu and select Reset All.
1 Press the HDMI button on the remote control to select HDMI as the source.
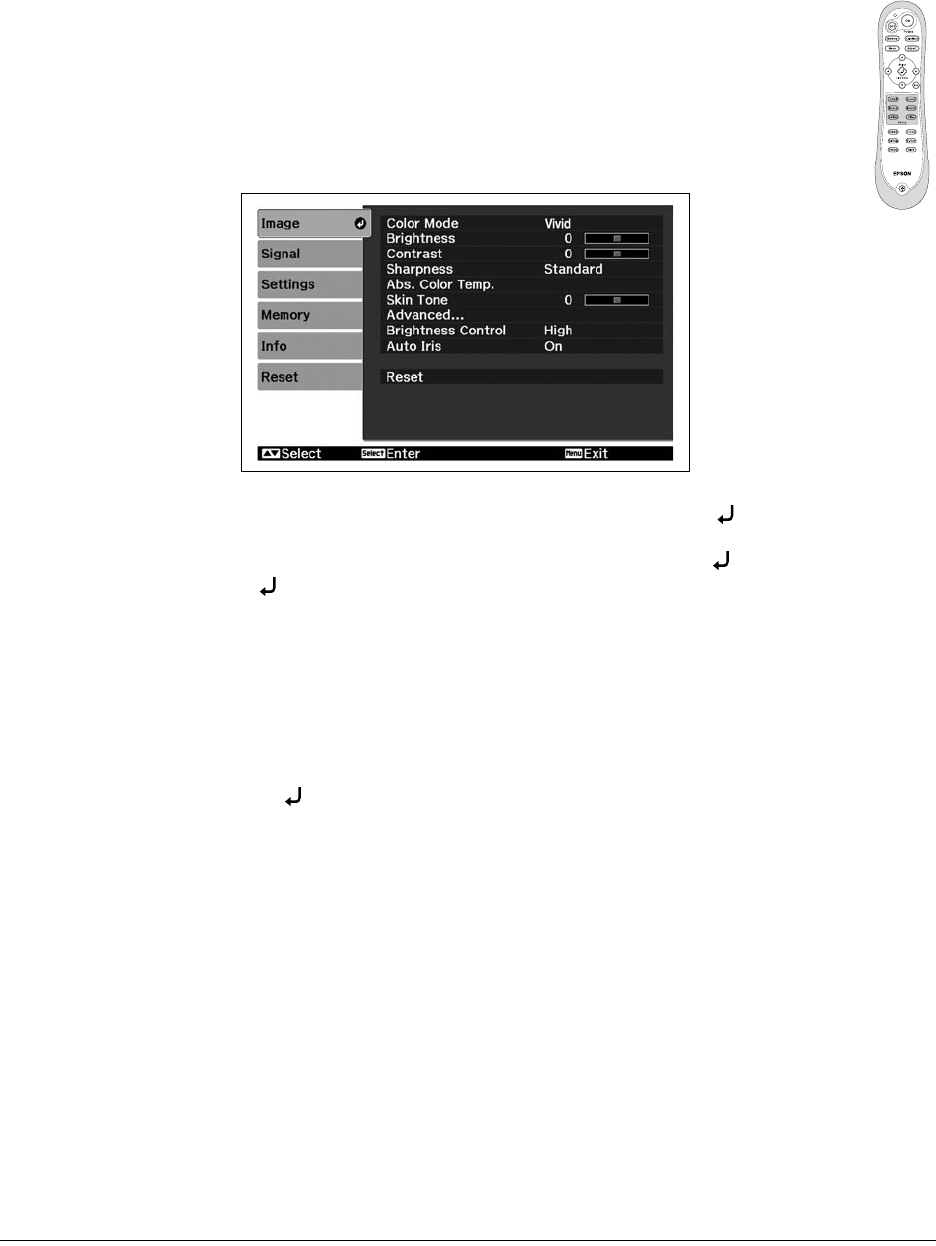
2 Press the
Menu button on the remote control. You see the main menu screen:
3 Open the
Settings menu (press the d button to highlight Settings, then press Select).
4 To invert the image, press the d button to highlight
Projection, then press the Select button. Select
Front/Ceiling, then press . The image is inverted.
Press the
Esc button to return to the Settings menu.
5 If the projector is installed above 4900 feet (1500 meters), turn on
High Altitude Mode so the fan can
properly cool the projector.
Press the
Esc button to return to the Settings menu.
6 Highlight
Display and press . For the Startup Screen setting, select Off.
Press the
Esc button twice to return to the main menu.
7 Open the
Signal menu and set Output Scaling to 100%.
Note
To adjust this setting, the AV controller must be turned on so that the projector is receiving a signal.
8 Press the Esc button as needed to exit the menu system.
Projector
remote control


