Epson Stylus Pro 3800
12 - Epson Stylus Pro 3800 12/06
❏ To check job history, press d to select
JOB HISTORY,
then press r. For the last 10 print jobs saved in the
printer, you see the total ink used (in milliliters) and the
paper size used most recently. The most recent job is
saved as No. 0. When done, press l.
❏ To check the total number of prints, press d to select
TOTAL PRINTS, then press r. You see the total
number of pages that have been printed. When done,
press l.
4. Press the +
Cancel button to exit the menu.
For more information about the Printer Status menu, see your
on-screen User’s Guide.
Checking and Cleaning the Print Head
If your printed image shows a color shift or horizontal or
vertical lines, you should check the print head to see if any
nozzles are clogged.
You can automatically check and clean the print head using
the Auto Cleaning feature in your printer utility software, as
described below. This enables the printer to print a nozzle
check pattern, read it, and run a cleaning cycle if necessary.
Note: You can also run a cleaning cycle by holding down the Menu
button for three seconds, and you can use the printer’s menu to run a
power cleaning cycle. See page 13 for details.
1. Make sure several sheets of letter-size (or larger) paper are
loaded in the auto sheet feeder.
2. Do one of the following to access the printer utilities:
❏ Macintosh: Open the
Applications folder and double-
click
Epson Printer Utility2. Select Stylus Pro 3800
and click
OK.
❏ Windows XP: Click
Start and select Control Panel.
Double-click
Printers and Faxes. Right-click your
printer icon and select
Printing Preferences. Click the
Utility tab.
❏ Windows 2000: Click
Start, point to Settings, then
select
Printers. Right-click your printer icon and select
Printing Preferences. Click the Utility tab.
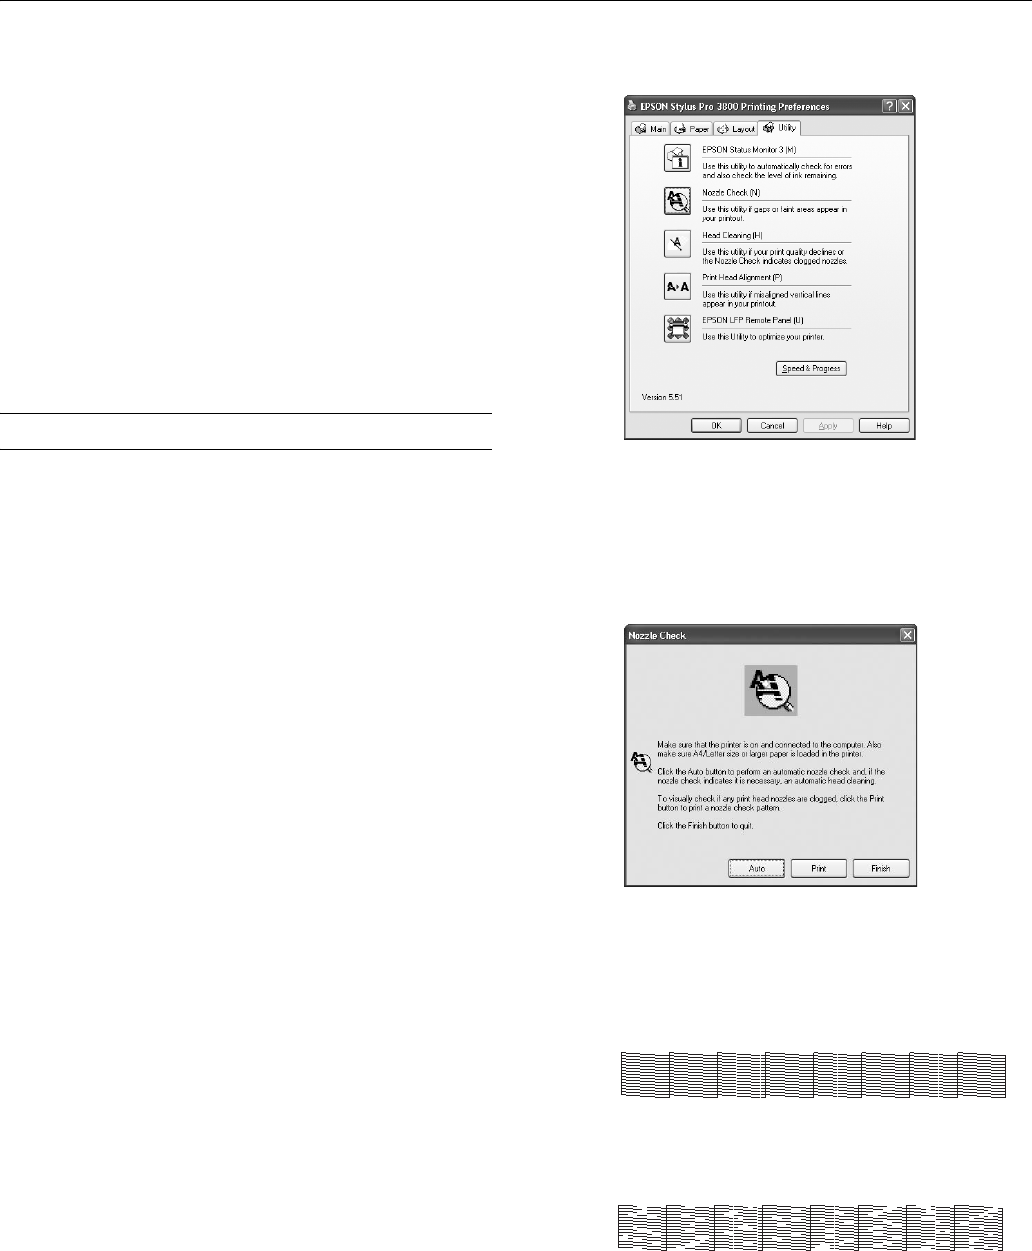
You see a screen like the following:
3. Click the
Nozzle Check icon.
4. Click
Print to print the nozzle check pattern so you can see
if the print head needs to be cleaned. Or click
Auto if you
want to run the nozzle check and have the printer
automatically clean the print head if necessary.
5. Examine the nozzle check pattern to make sure it has no
gaps or lines.
❏ If the printout looks okay as shown below, you’re done.
Click
Finish.
❏ If you see any gaps as shown below, click
Clean to clean
the print head and follow the on-screen instructions.
6. If the nozzles do not clear after a few cleaning cycles, run a
Power Cleaning Cycle, as described in the next section.


