G0516 Lathe/Mill -17-
Test Run Mill/Drill
Before continuing to the Operations section, test
run the mill/drill to verify that it runs properly.
To test run the mill/drill:
1. Make sure that the factory installed drill
chuck is tight, that there is not a chuck key in
the chuck, and that the eyeshield is firmly
mounted between you and the drill chuck.
Make this step a habit that you perform every
time you start the lathe.
2. Plug the machine into the power outlet.
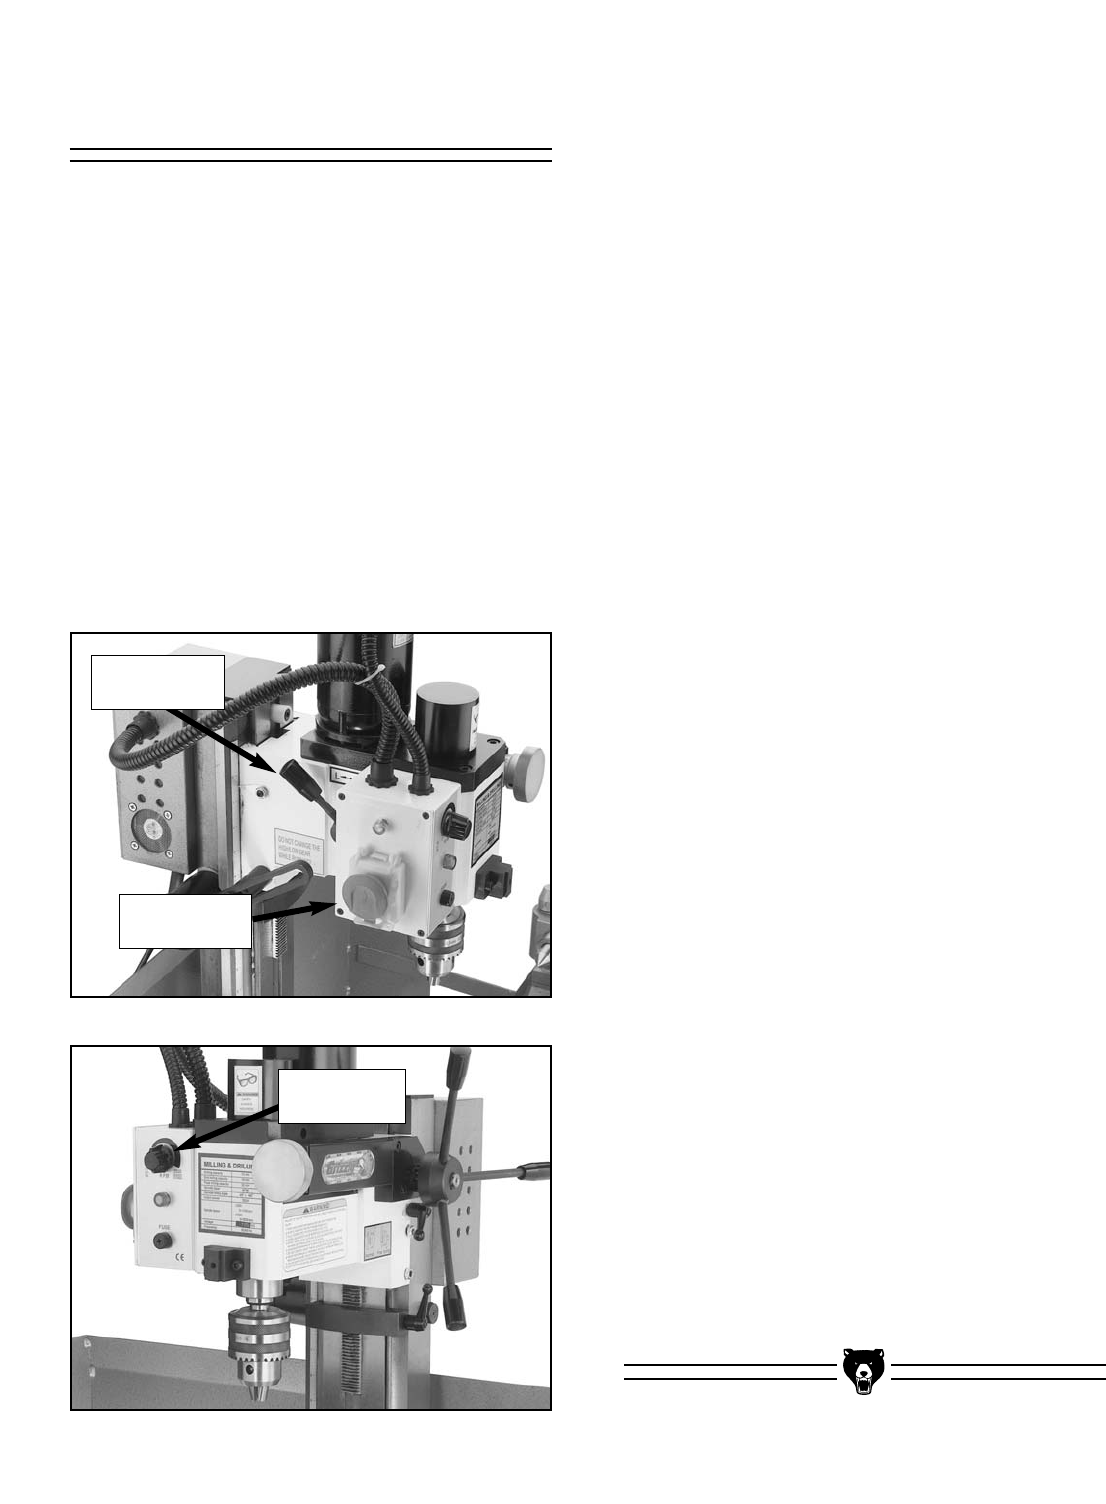
3. Familiarize yourself with the mill/drill controls
shown in Figures 11 and 12.
Figure 11. Mill/drill controls.
Figure 12. Mill/drill controls.
4. Rotate the Lathe/Mill selector switch to the
“MILLING” position.
5. Move the high/low speed lever to the “L”
position for low speed.
6. Unlatch mill/drill emergency stop switch
cover—this should make the mill/drill power
indicator light up.
7. Rotate the variable speed knob clockwise to
turn the mill/drill spindle ON. The farther you
rotate the variable speed knob, the faster the
mill/drill spindle will rotate.
8. Rotate the variable speed dial clockwise as
far as it will go, so the drill chuck is spinning
at top speed.
9. Rotate the variable speed dial counterclock-
wise as far as it will go. This should stop the
drill chuck.
10. Press the mill/drill emergency stop button to
turn the mill/drill OFF.
11. Move the high/low speed lever to the “H”
position for high speed.
12. Unlatch mill/drill emergency stop switch
cover—this should make the mill/drill power
indicator light up.
13. Rotate the variable speed knob clockwise to
turn the mill/drill spindle ON. The farther you
rotate the variable speed knob, the faster the
mill/drill spindle will rotate.
14. Rotate the variable speed dial clockwise as
far as it will go, so the drill chuck is spinning
at top speed.
15. Rotate the variable speed dial counterclock-
wise as far as it will go. This should stop the
drill chuck.
16. Press the mill/drill emergency stop button to
turn the mill/drill OFF.
Emergency
Stop Switch
High/Low
Speed Lever
Variable
Speed Knob
