15
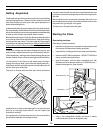
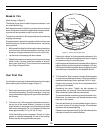
Break-In Fire
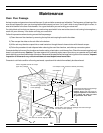
(Refer to page 13 figure 7)
The firebox of your stove is made of superior materials—cast
iron and firebrick lining.
Both materials could be broken by a sharp blow or thermal
shock. A little extra care and thoughtfulness during the break-
in period will help promote a long life for your stove.
The cast iron and firebrick will have picked up moisture during
shipping and storage.
During the break-in period it is important to let the cast iron and
firebrick slowly dry out and avoid thermal shock, caused by
strong hot fires.
• Build a small kindling fire (following the instructions below
for the first fire) and add small pieces of kindling. Let the
stove burn for approximately one hour on the first firing.
• Let the stove cool keeping the doors closed.
• Repeat the process for a few days or until you have had six
break-in fires. You may notice some smoke or “burnoff”
during your initial firing. This is normal and is caused by
the curing of the paint finish.
Your First Fire
It is advisable to read and understand this section thoroughly
before starting the fire (Refer to page 12 figure 7)
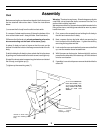
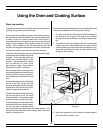
1. Open the oven damper (see Fig. 8 and 9) and air intake
controls (bell dampers). On damp cold days, it may help
to open the ash door slightly until a good draw develops in
the chimney.
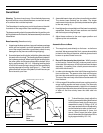
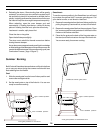
2. To kindle a fire. Lift the key plate lift handle and rest it in
the top slot of the closet bracket. Crumple six to eight
single sheets of newspaper into loose balls and place
them on the wood grate. Cut 10-15 pieces of kindling into
strips approximately 1/2” by 1/2” by 10” long.
Place the kindling on the newspaper. Place 2 or 3 more
pieces of crumpled newspaper on top of the kindling.
Ensure that the wood grate slides are open.
Lighting the ‘charge’ is of your personal preference. One
method is to roll a piece of newspaper into a torch, lighting
one end and using it to start the paper.
Light the paper at the bottom of the load and then light the
paper at the top, shut the key plate immediately. You may
find it helps to hold the key plate open just slightly for a few
seconds to give some extra air and establish the fire.
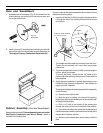
3. To Fuel the Fire. After a couple of minutes lift the key plate
or open the front loading door slowly. When the kindling is
established add larger pieces, perhaps 2”x2”x10” long.
Continue this process until the fire is established when
split logs can be added.
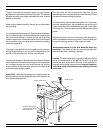
Dampering the stove. Tighten the bell dampers to
approximately 1/4” opening. This will slow the fire down.
Wait momentarily and close the oven damper.
The smoke and heat is now being routed around the oven.
Remember, by closing the oven damper resistance has
been put on the system.
If the stove/chimney is not yet heated enough or there is
too much volume of fire going through, this additional
resistance will cause backpuffing.
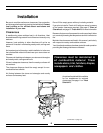
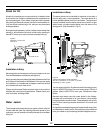
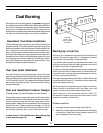
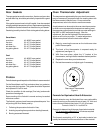
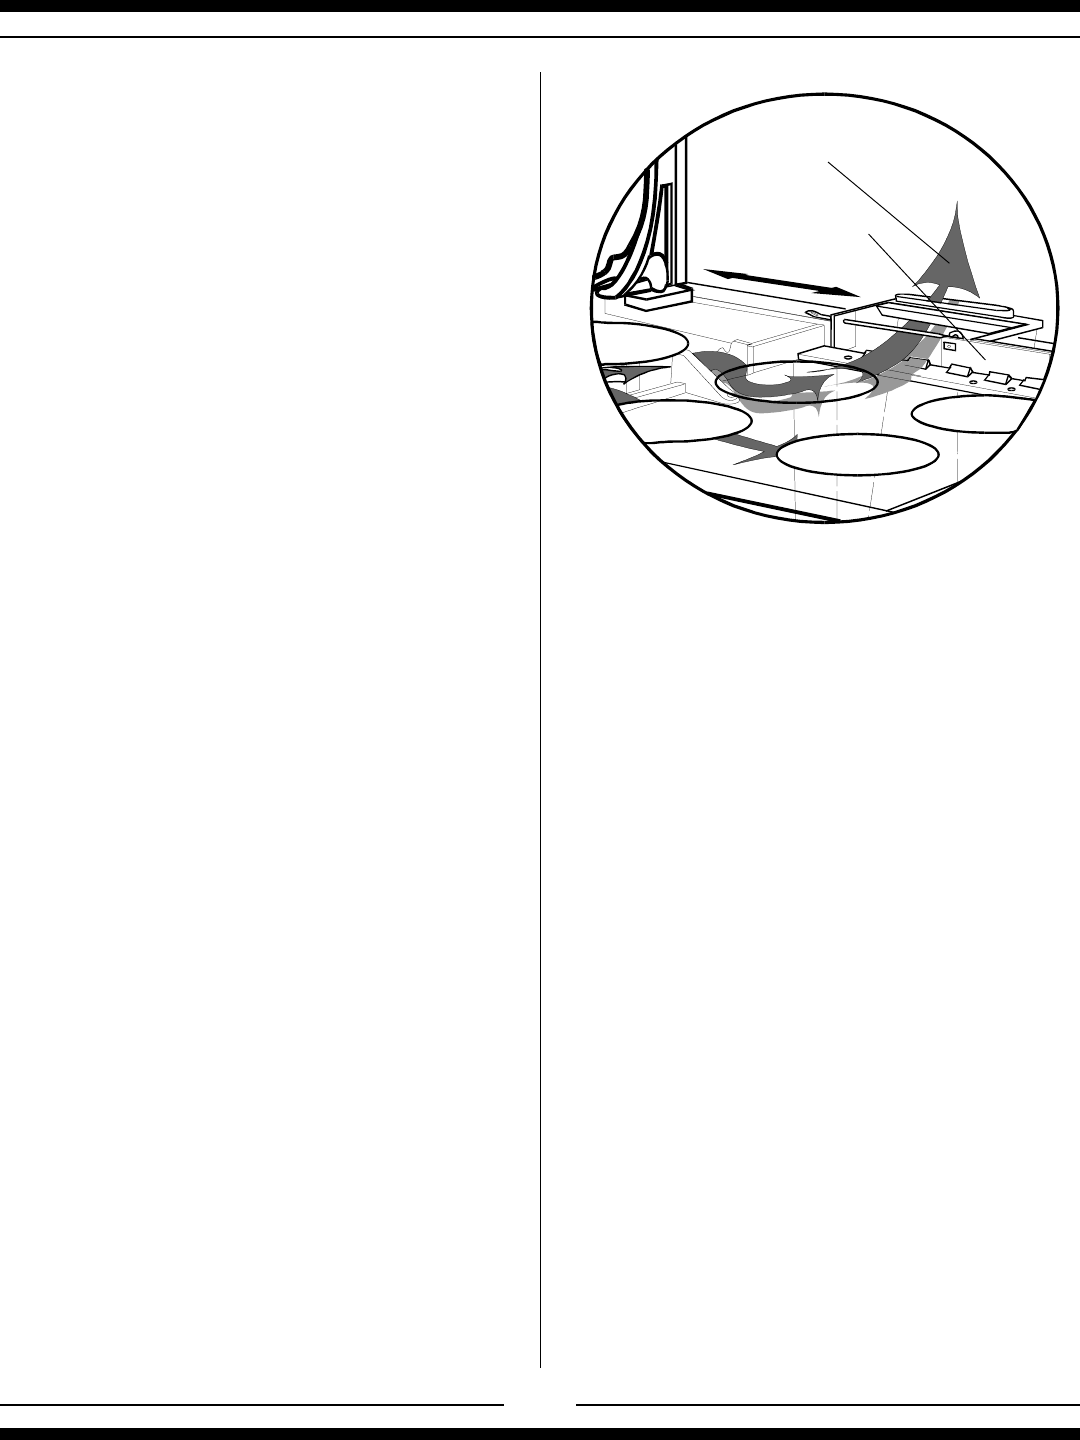
Close the oven damper slowly (Fig. 9) to allow the oven flue
chamber to absorb the smoke and heat.
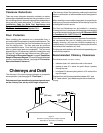
Figure 9 - shows oven damper open
Oven Damper
Flu Gases