78
Half Tone Screen Settings
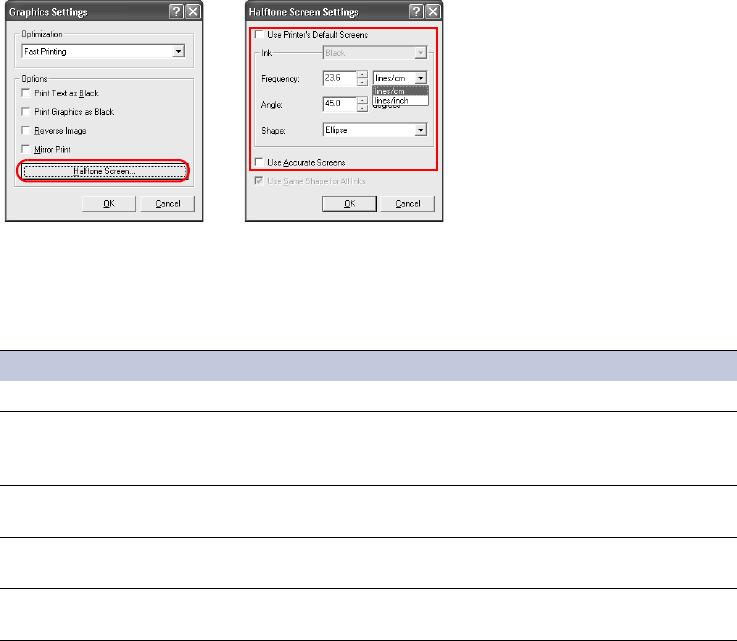
1Click Halftone Screen... on the Graphics Settings dialog box. The Halftone Screen
Settings
dialog box appears.
2 Clear the
Use Printer’s Default Screens check box.
3 Select from the list for each item, or enter values into the boxes to make settings. Refer to
the options and descriptions listed below.
4Click
OK to save the settings.
Adjusting Color
You can adjust attributes of text and graphics for your color printouts.
Color Mode You can switch between printing in Color (CMYK) and Monochrome modes. Specifying
Custom mode allows you to select the desired effects including
Gray Component
Replacement
, Continuous Tone, Gloss Mode, and Monochrome. Refer to Color Mode
Definitions
table below.
To adjust color settings:
1From the Print dialog box of the application, access the printer Properties. Select
Properties in the Print dialog box opened from the File menu.
2In the
Properties dialog box, click the Color tab.
Options Descriptions
Ink Determines the color used for the printed output.
Frequency Set the number of lines and units for halftone dots. The units are lines/
cm or lines/inch. Enter a value in the Frequency box, and select the
units from the list to the right.
Angle Determines the halftone dot angle. The setting can range from 0.0 to
180.0 degrees.
Shape Set the dot shape for halftones.
Choose from: Ellipse, Round, and Line.
Use Accurate Screens Fine adjusts the set values to ensure an accurate number of lines and
halftone angle.


