47
Basic Setup
—Continued
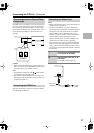
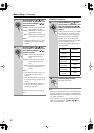
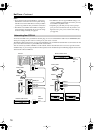
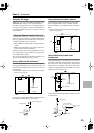
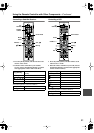
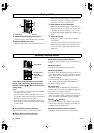
Component Video Setup
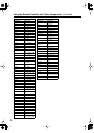
This section explains how to assign the component video
inputs to input sources. You only need to change this set-
ting if you connect a video component to a component
video input other than the default assignment listed in the
following table, or if you want to output composite video
or S-Video sources from the component video output.
There are no other reasons to change these assignments.
Notes:
• If you select Last Valid, the video source remains the
same when you select another input source. For exam-
ple, if you set the VIDEO 1 input source to Last Valid,
then select the DVD input source, then select the
VIDEO 1 input source, you can watch a DVD while
listening to the audio from the component connected
to the VIDEO 1 audio inputs.
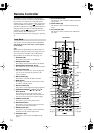
• This procedure can also be performed by using the
input selector buttons, [Setup] button, [ ]/[ ]/[ ]/
[] buttons, and [Enter] button.
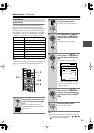
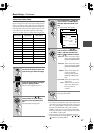
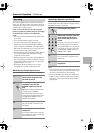
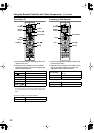
Input source
Analog audio
input (fixed)
Component
video inputs
DVDDVD INPUT1
VIDEO 1 VIDEO 1 INPUT2
VIDEO 2 VIDEO 2 INPUT2
VIDEO 3 VIDEO 3 INPUT2
VIDEO 4 VIDEO 4 INPUT2
VIDEO 5 VIDEO 5 INPUT2
TAPE TAPE Last Valid
TUNER TUNER Last Valid
PHONO PHONO Last Valid
CD CD Last Valid
NET AUDIO NET AUDIO Last Valid
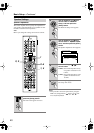
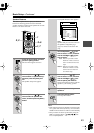
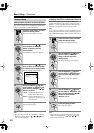
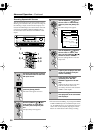
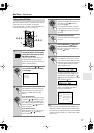
1
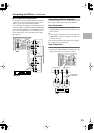
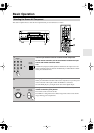
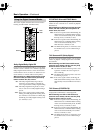
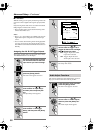
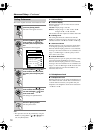
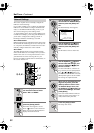
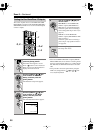
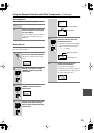
Press the [Input] button, and then
roll the scroll wheel to select the
input source you want to assign.
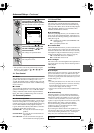
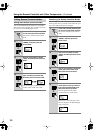
2
Press the scroll wheel, and then
press the [Setup] button.
The main menu appears onscreen.
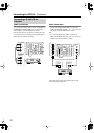
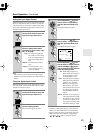
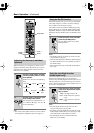
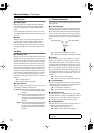
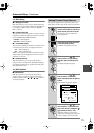
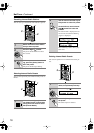
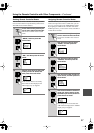
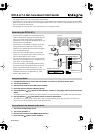
3
Use the Up/Down [ ]/[ ] but-
tons to select “2. Input Setup,”
and then press the [Enter] but-
ton.
The Input Setup menu appears.
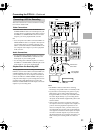
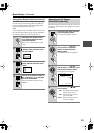
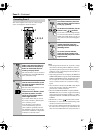
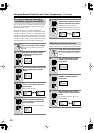
4
Use the Up/Down [ ]/[ ] but-
tons to select “3. Video Setup,”
and then press the [Enter] but-
ton.
The Video Setup menu appears.
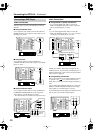
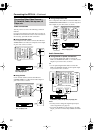
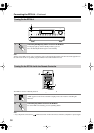
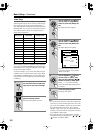
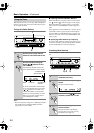
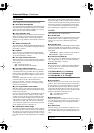
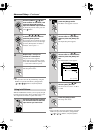
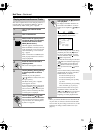
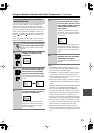
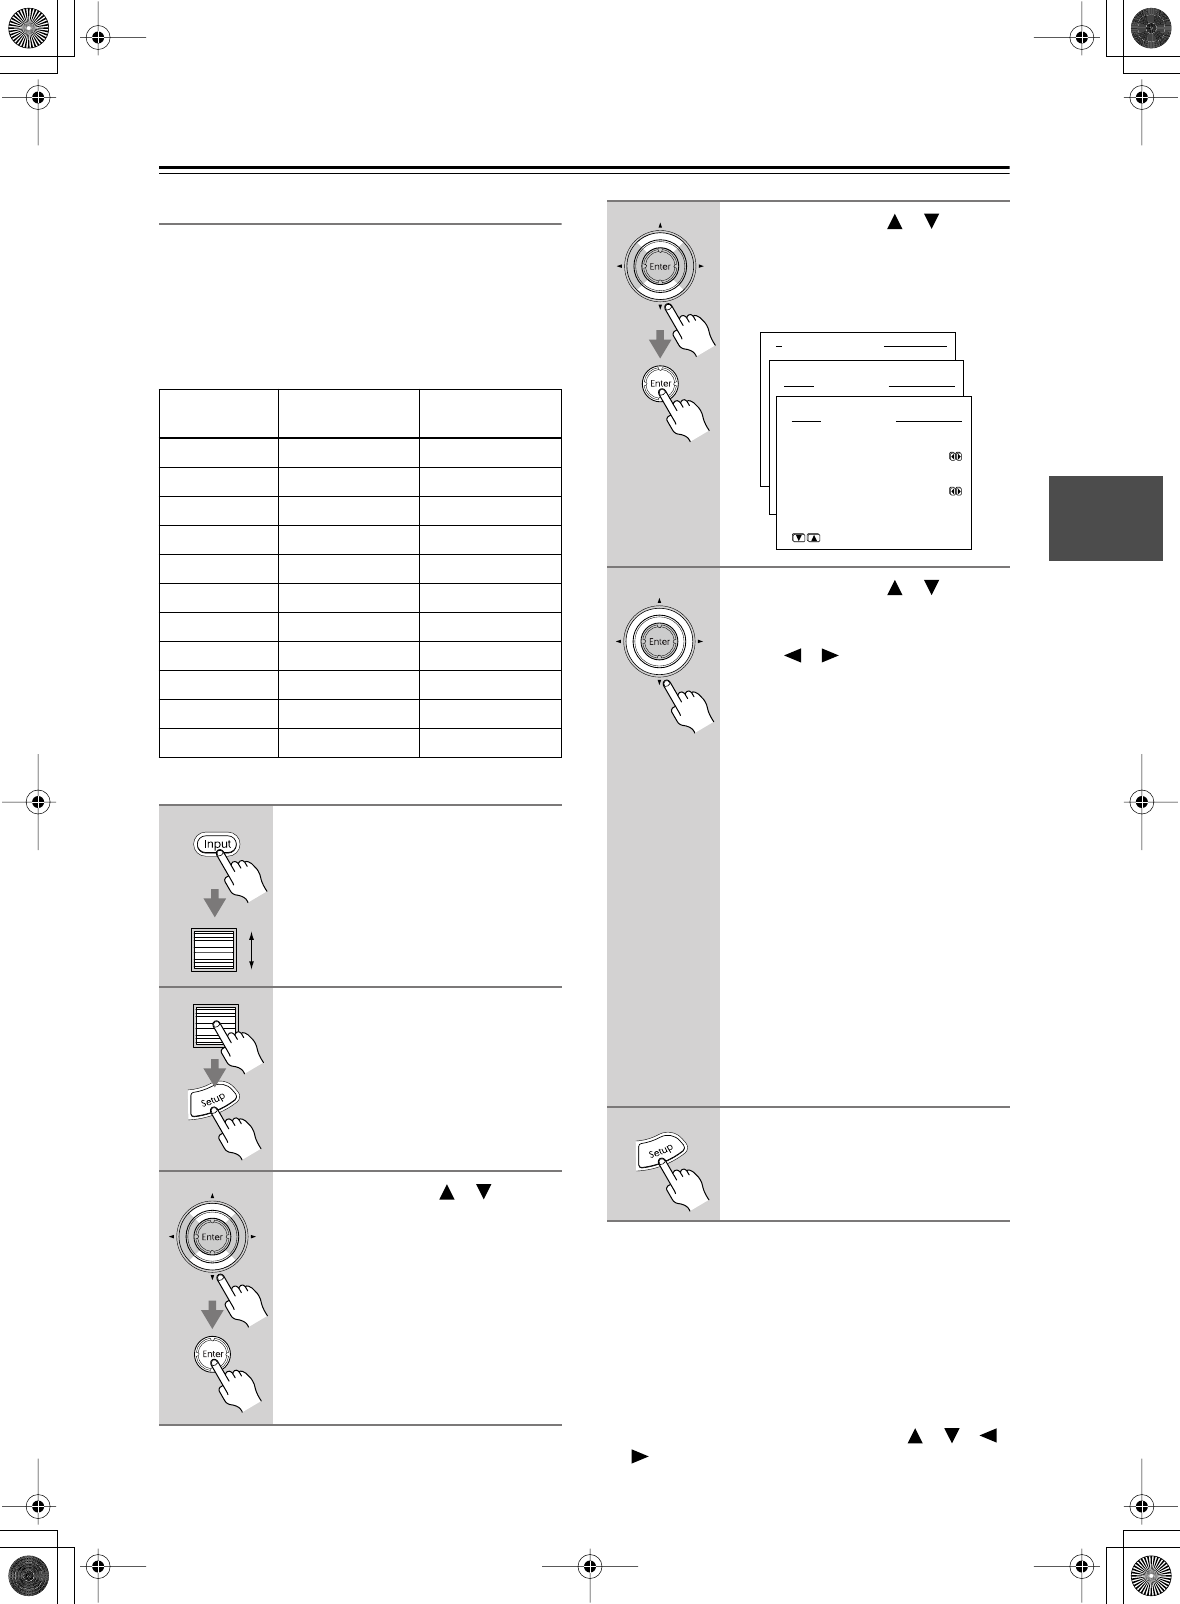
5
Use the Up/Down [ ]/[ ] but-
tons to select “b. Component
Video,” and then use the Left/
Right [ ]/[ ] buttons to select:
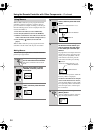
INPUT1:
Select if the video compo-
nent is connected to COM-
PONENT VIDEO INPUT
1.
INPUT2:
Select if the video compo-
nent is connected to COM-
PONENT VIDEO INPUT
2.
VIDEO:
Select this to output com-
posite and S-Video
sources from the COM-
PONENT VIDEO OUT-
PUT.
Last Valid:
Select this for audio-only
components.
None:
Select this if you want no
video to be output when
the input source is
selected.
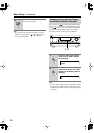
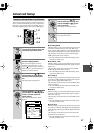
6
Press the [Setup] button.
The setup menu closes.
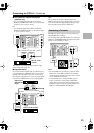
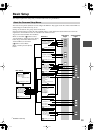
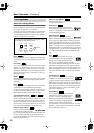
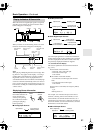
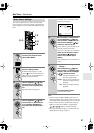
Advanced Menu
2.Input Setup
2-3.Video Setup
a.Video
:DVD
b.Component Video
:INPUT1
Quit:|SETUP|
Input:DVD
Input:DVD