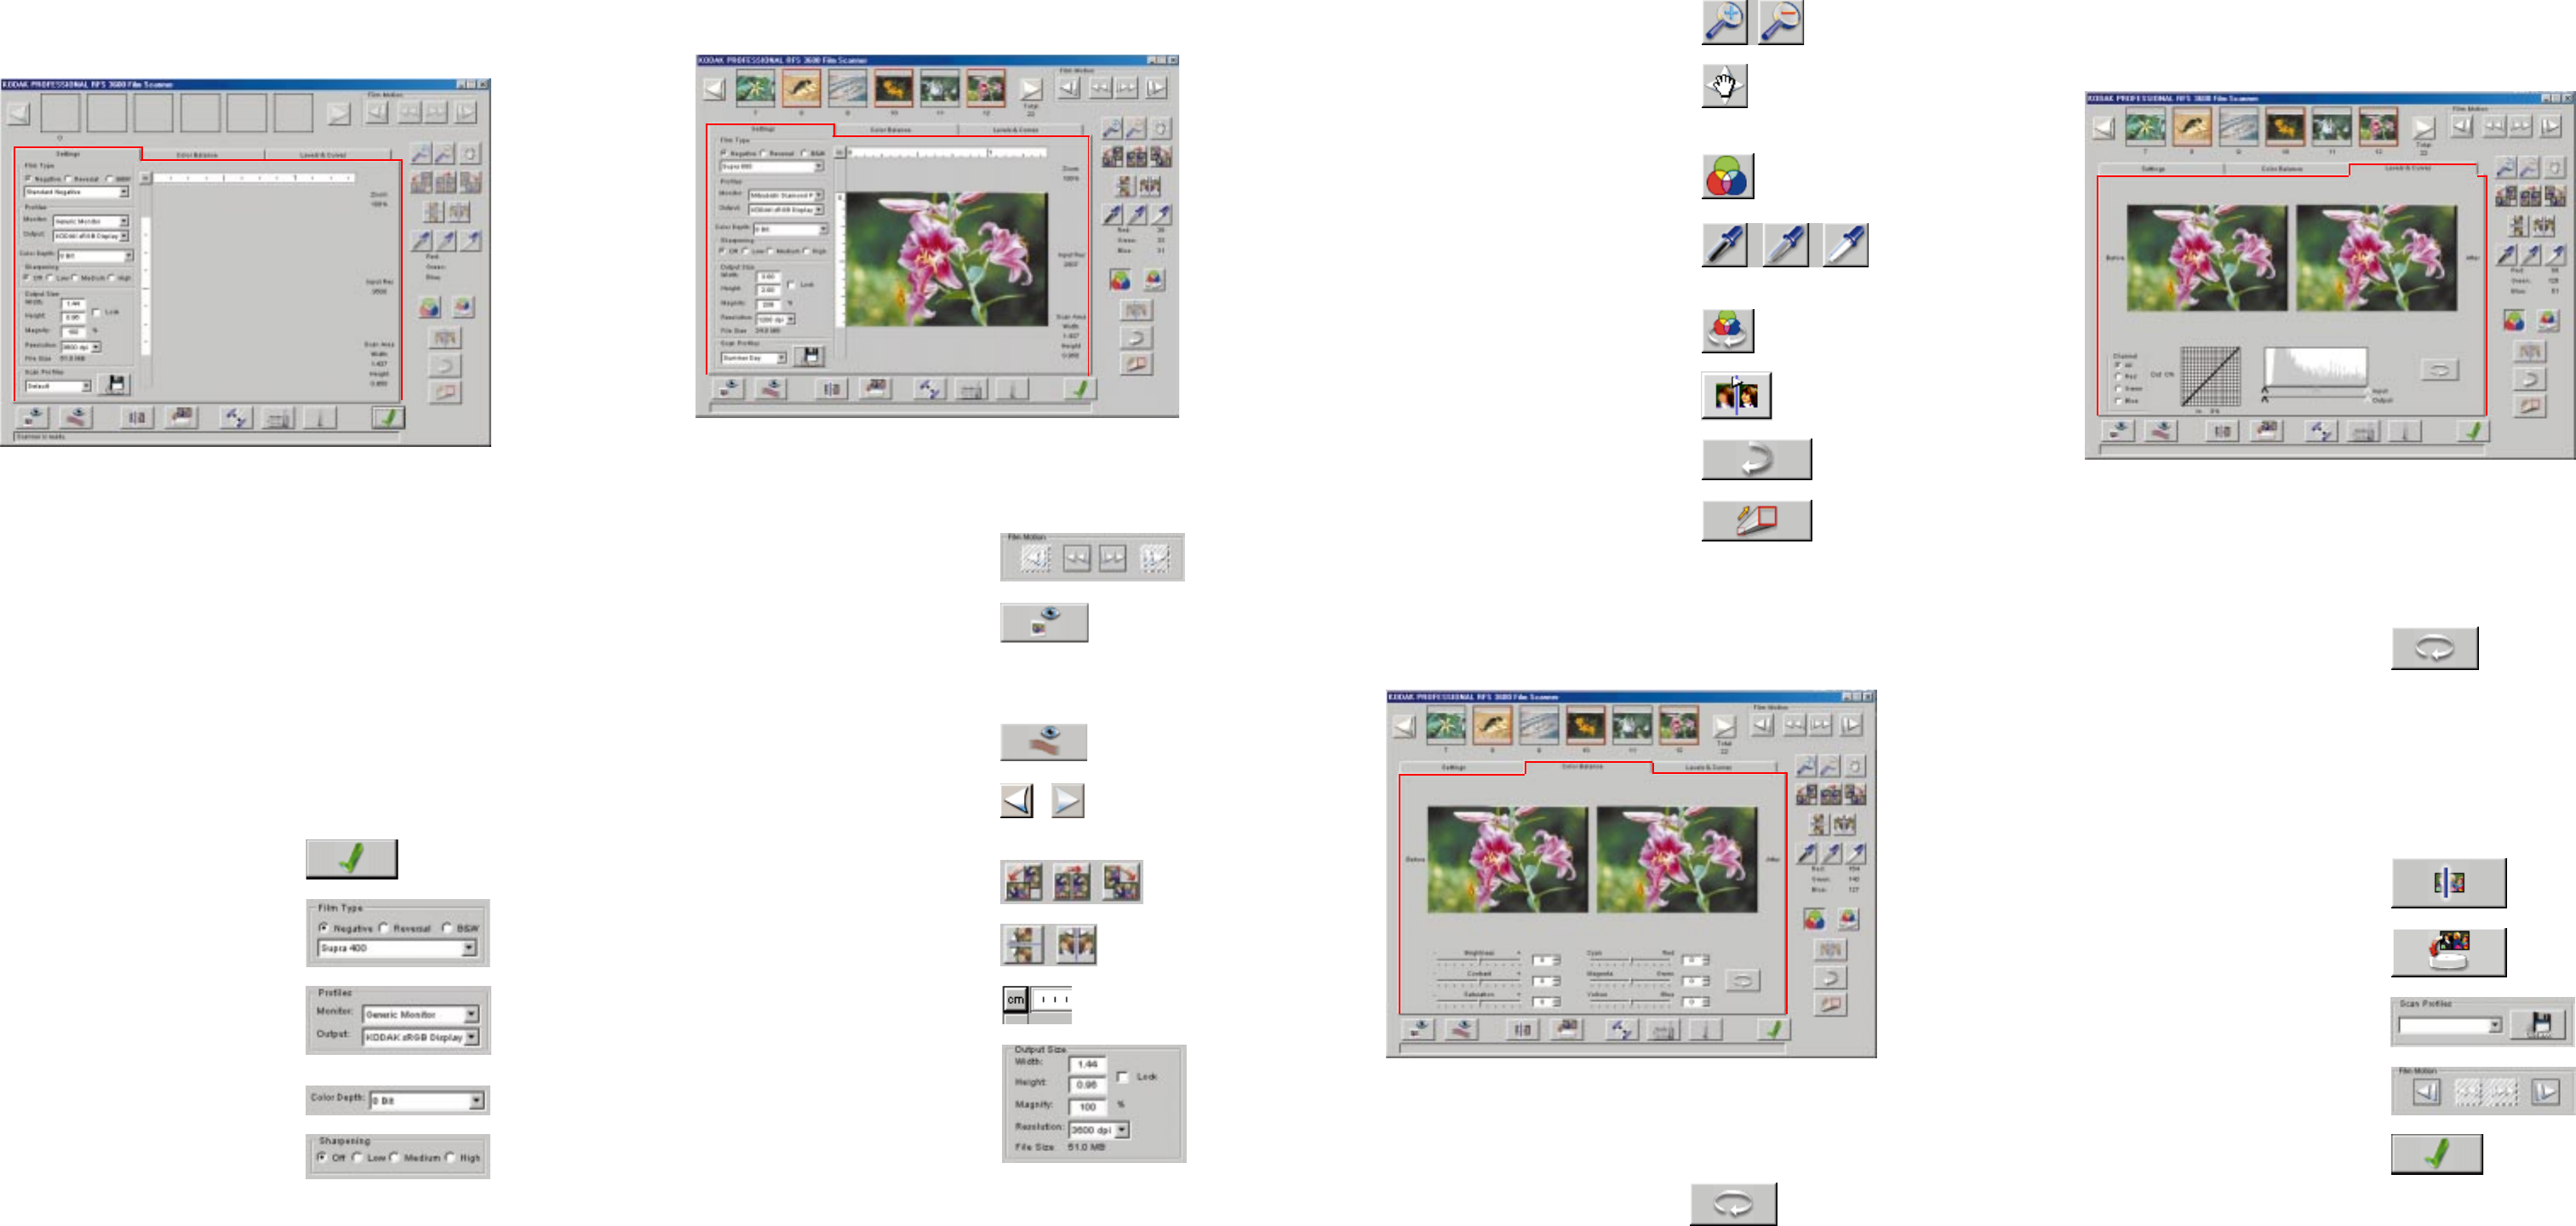
1. Open Photoshop.
2. Open the scanner window:
Macintosh: Choose KODAK RFS 3600 from the Photoshop Import
submenu of the File menu.
PC-compatible:
A. Choose Select TWAIN_32 Source on the Photoshop Import
submenu of the File menu.
B. Click RFS 3600 TWAIN Data Source.
C. Click Select.
NOTE: Do not repeat A to C each time you use the software;
instead, just follow D.
D. Choose TWAIN_32 on the Import submenu of the File menu.
3. The user interface appears; note three tabs surrounded by general
controls.
4. To quit at any time click Exit.
5. Choose Negative, Reversal (slide film), or
B&W.
6. Select film type (for example, Supra 400).
7. Select your color monitor; if it’s not listed
choose Generic Monitor.
8. Select your output device; if it’s not listed
choose KODAK sRGB Display.
9. Set Color Depth to 8 Bit or 12 Bit.
10. Choose Sharpening level.
PRESCAN IMAGES, ADJUST COLOR
FINE-TUNE COLOR ON
“COLOR BALANCE” TAB
FINE-TUNE COLOR ON
“LEVELS␣ &␣ CURVES” TAB
GENERATE SCAN, SAVE
SETTINGS, AND QUIT
7
8
9
10
6
ACCESS SOFTWARE, USE
“SETTINGS” TAB
1. Click the Color Balance tab.
2. Adjust Brightness, Contrast, and Saturation.
3. Adjust Cyan/Red, Magenta/Green, and Yellow/Blue.
Note: Click Reset to cancel adjustments.
1. Click the Levels & Curves tab.
2. Set Channel to All, or to Red, Green, or Blue.
3. Use the histogram and tone curve for ad-
vanced color adjustments. (Refer to User’s
Manual on CD for more information.)
Note: Click Reset to cancel adjustments.
7. Click a zoom button, click the image, click the
zoom button again to turn it off.
8. Click Move, drag zoomed image, click Move
again to turn it off.
9. Adjust color:
A. Click Auto Balance on/off (button down/
button up) to apply KODAK Scene
Balance Algorithm.
B. Use Black, Gray (neutral), and White
pointer buttons. For example: click White
button, click spot in image that should be
white.
Click Default Balance to undo changes
from Black, Gray, and/or White pointer.
10. Click Auto Focus.
11. Click Undo to undo the last function per-
formed.
Note: You can also click Image Window to open a
resizable window on which you can alter and view
color adjustments. Refer to the User’s Manual on
the CD for more information.
Note: These directions are for scanning a single image; to scan multiple
images see User’s Manual on CD.
1. Prescan a single image:
A. Click Reverse or Forward to move film-
strip to frame to be scanned.
B. Click Prescan Frame.
C. Center the image by tapping Reverse or
Forward on top of the scanner; click
Prescan Frame again.
2. Prescan multiple images:
A. Click Prescan Strip; the remainder of the
filmstrip␣ is prescanned.
B. Click arrows to scroll thumbnails.
C. Click the thumbnail of the image to be
scanned.
3. Rotate image.
4. Flip image.
5. Click Units to select centimeters (cm),
inches (in), or pixels (px).
6. Establish Output Size settings, for example:
• Set Magnify to 100%, set Resolution to
3600 dpi.
• Or, indicate crop area by dragging pointer
over image.
1. Click Scan; the selected frame is scanned to a
Photoshop window.
2. Click Scan to File; the selected image is saved
directly as a JPEG or TIFF file.
3. Click Manage Save Scan Profile; save the
current settings from all tabs for later recall.
4. Press Reverse Eject or Forward Eject (or Eject
button on top of scanner) to remove film-
strip.
5. Click Exit to quit the software.
6. Edit and save the image in Photoshop.
