TD-W8920G 108M Wireless ADSL2+ Router User Guide
are configured to automatically obtain IP settings that are connected to the Router though the
Ethernet port. When the Router is set for DHCP, it becomes the default gateway for DHCP
client connected to it. Keep in mind that if you change the IP address of the Router, you must
change the range of IP addresses in the pool used for DHCP on the LAN.
Start IP Address: Enter a value for the DHCP server to start with when issuing IP
addresses. Because the default IP address for the Router is 192.168.1.1, the default
Start IP Address is 192.168.1.2, and the Start IP Address must be 192.168.1.2 or greater,
but smaller than 192.168.1.254.
End IP Address: Enter a value for the DHCP server to end with when issuing IP
addresses. The End IP Address must be smaller than 192.168.1.254. The default End IP
Address is 192.168.1.254.
Leased Time (hour): The Leased Time is the amount of time in which a network user
will be allowed connection to the Router with their current dynamic IP address. Enter the
amount of time, in hours, then the user will be “leased” this dynamic IP address. After the
dynamic IP address has expired, the user will be automatically assigned a new dynamic
IP address. The default is 24 hours.
¾ Configure the second IP Address and Subnet Mask: You can configure the Router’s
second IP Address and Subnet Mask for LAN Interface though which you can also access to
the Web-based Utility as the default IP Address and Subnet Mask.
Note:
UPnP, DHCP Server and the second IP Address are not available for the connection type of
Bridge here, they won’t display on the screen above since only Bridge is selected.
5.4.3 NAT
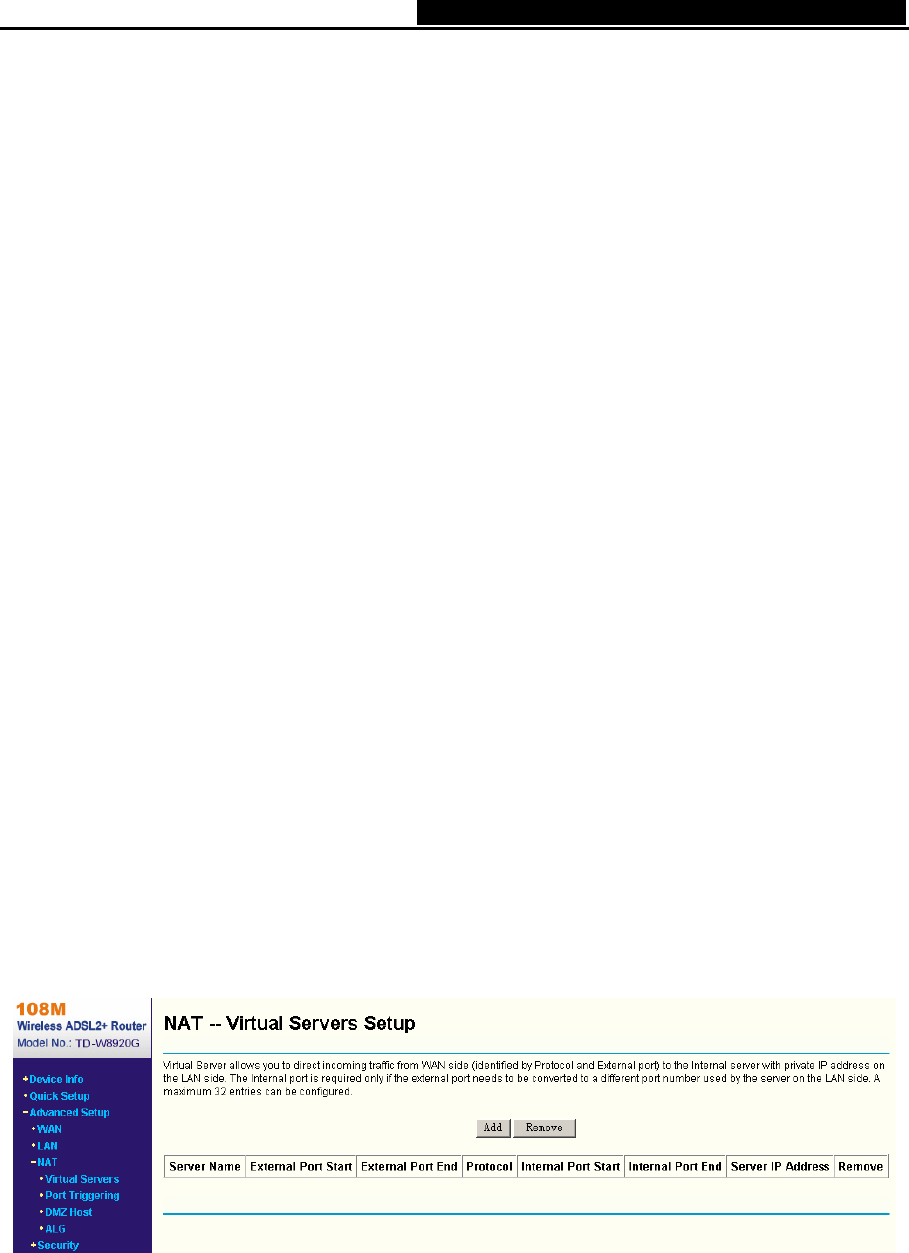
When you select PPPoA or PPPoE for the WAN Setup, or when you select Enable NAT (shown
in Figure 5-11) for the type of MER or IPoA connection, you will see the NAT menu in the
Web-based Utility (shown in Figure 5-16).
Figure 5-16
Choose “Advanced Setup”Æ“NAT”, there are four submenus under the main menu: Virtual
Servers, Port Triggering, DMZ Host and ALG. Click any of them, and you will be able to
configure the corresponding function.
36
