TL-WR941N/TL-WR941ND Wireless N Router
- 47 -
Other configurations for the entries:
Click the Delete button to delete the entry.
Click the Enable All button to enable all the entries.
Click the Disable All button to disable all the entries.
Click the Delete All button to delete all the entries.
Click the Move button to change the entry’s order after entering the ID number in the first box
and another ID number in second box
Click the Previous button to view the information in the previous screen, click the Next button to
view the information in the next screen.
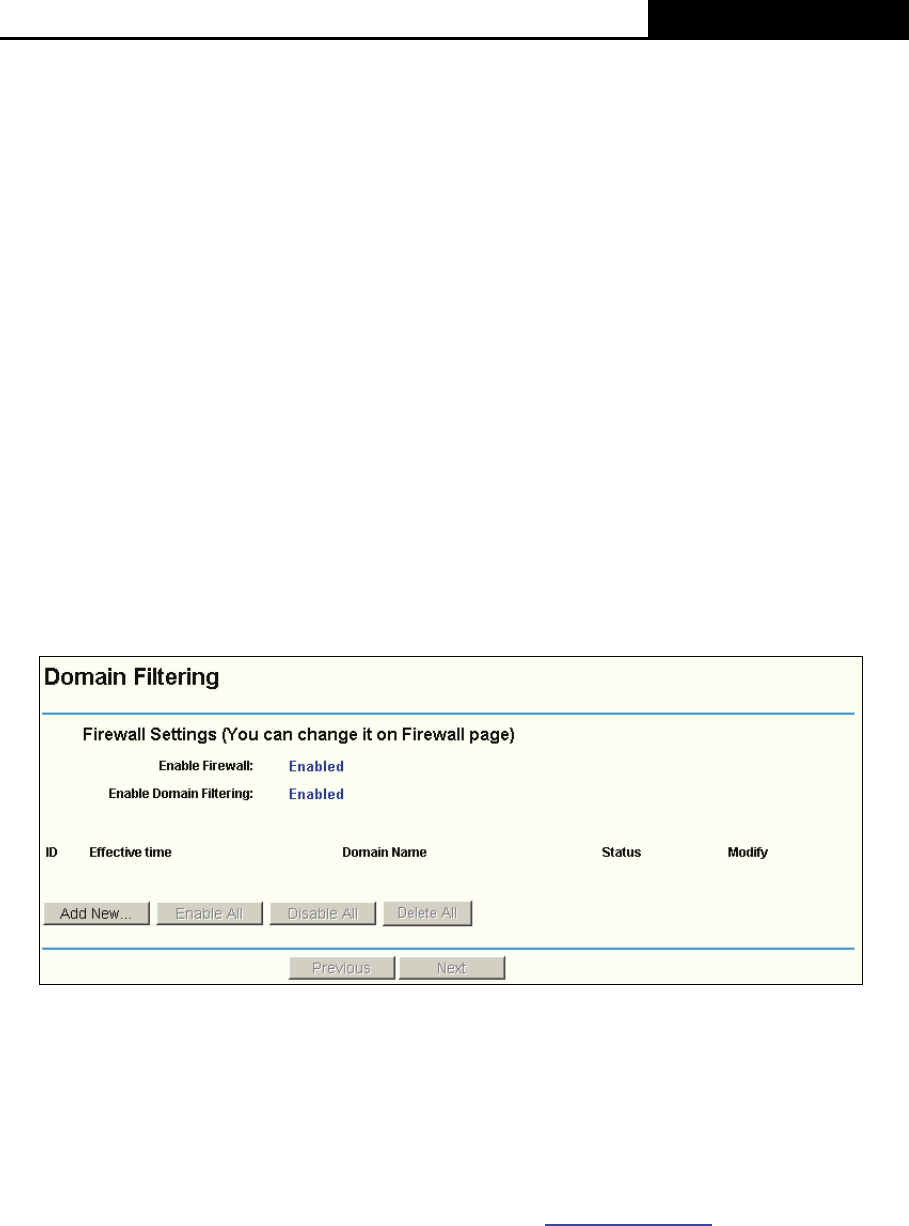
4.9.3 Domain Filtering
Choose menu “Security→Domain Filtering”, you can configure the Domain filtering rule in the
screen (shown in Figure 4-34). The Domain Filtering feature allows you to control access to
certain websites on the Internet by specifying their domains or key words.
Figure 4-34 Domain Filtering
¾ Effective Time - Enter a time in HHMM format to specify the period when the filtering will
take effect. For example, if the period is 0803 - 1705 then filtering will be active from 08:03 to
17:05.
¾ Domain Name - Type the domain or key word as desired in the field. A blank in the domain
field means all websites on the Internet. For example: www.xxyy.com.cn, .net.
¾ Status - Select Enabled or Disabled for this entry on the Status pull-down list. Enabled
means the rule is effective, Disabled means the rule is ineffective.
)
Note:
Before adding an IP Address Filtering entry, you should enable the Firewall and the IP Address
Filtering function first (shown in Figure 4-31).


