


COMBITOUCH® ES SERIES • ELECTRIC INSTALLATION MANUAL • 29.
INSTALLATION
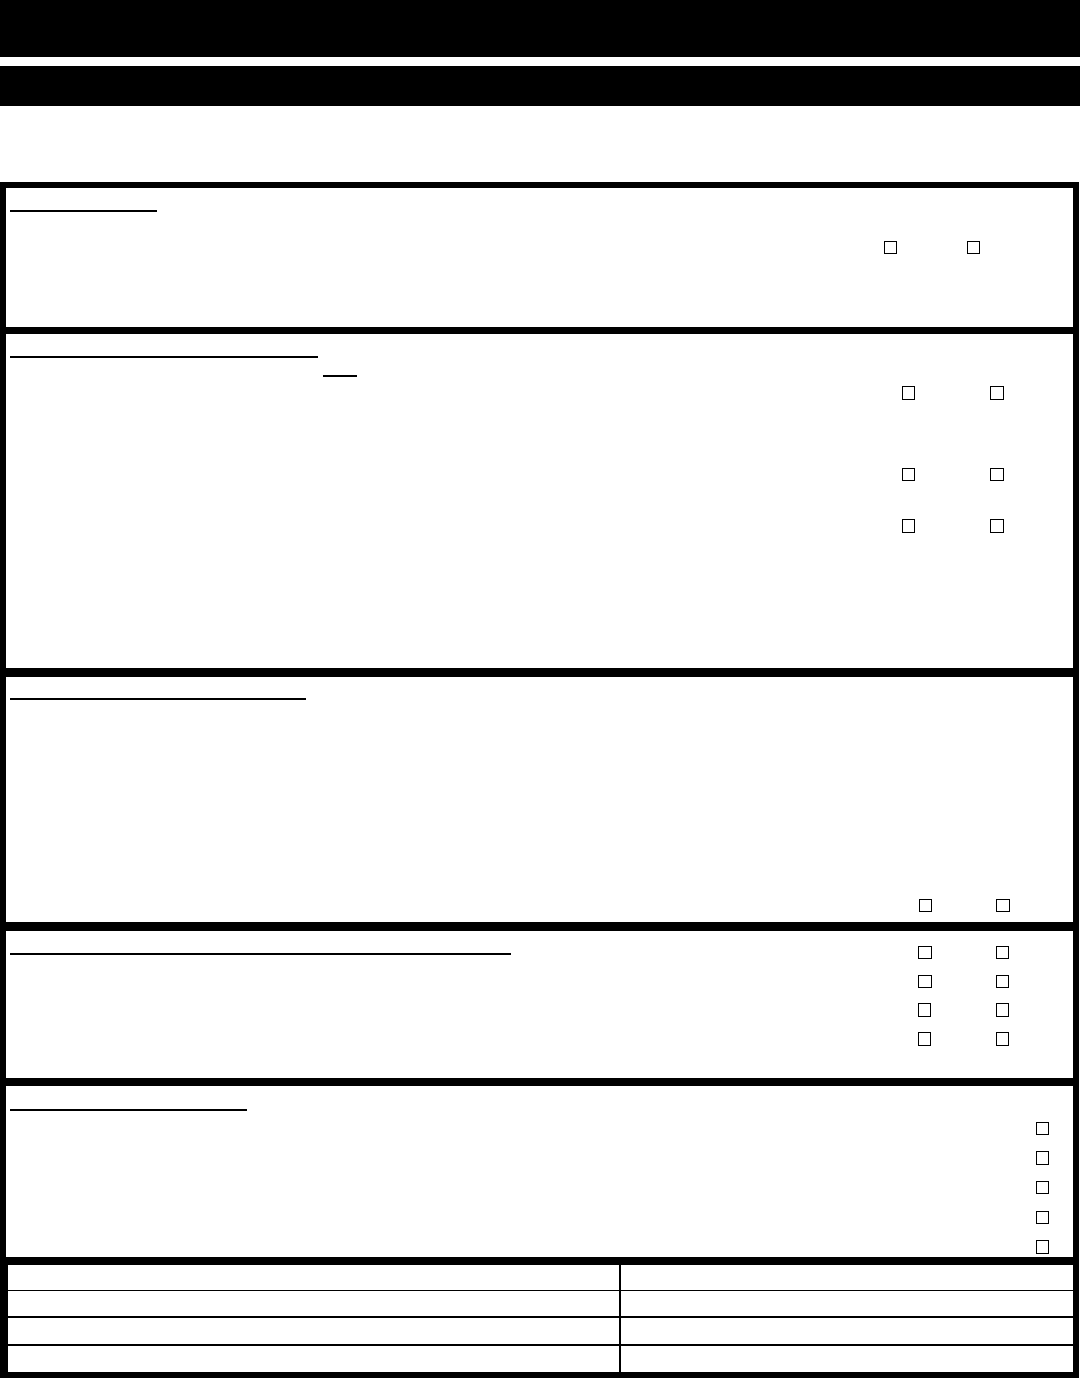
COMBITOUCH® CHECKLIST
Use this list as a nal check of oven installation conformance.
Damage directly attributed to improper set up, installation, or cleaning can invalidate warranty claims.
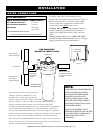
CLEARANCES:
Left: 6" (152mm) — Service access of 18" (457mm) recommended.
20" (508mm) from heat producing equipment.
Right: 4" (102mm)
Back: 4" (102mm) for plumbing
Top: 20" (508mm) for air movement
ARE ALL CLEARANCE
REQUIREMENTS MET?
YES NO
IF NO, EXPLAIN: ________________________
________________________________________
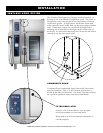
WATER SUPPLY AND DRAINS:
Verify hook-up to TWO (2) separate cold water supply lines with a
3
/
4
"
(19mm) water connection supply line. Verify inlet water pressure is at a
minimum of 30 PSI (2.8 bar). Maximum water pressure is not to exceed
90 PSI (6 bar). Verify drain diameter of 1-1/2" (41mm) with a positive
descending slope, and with a 2" (51mm) air gap which is free of
obstructions before connection to the site drain. Verify 1/8" (3.2mm) pitch
to 10' (305cm) of drain line.
IMPORTANT: Alto-Shaam has listed Water Quality Requirements in the
installation manual for this equipment. It is the responsibility of the end
user to have the water connected to this appliance tested to ensure these
standards are met before putting the oven into use. Failure to meet these
standards will void the warranty if damage to the oven is found to be
related to water quality.
ARE BOTH WATER SUPPLY LINES
PROPERLY CONNECTED?
YES NO
IF NO, EXPLAIN: ___________________________
IS A FILTER SYSTEM INSTALLED
ON THIS UNIT?
YES NO
STORE HAS SEEN THIS
RECOMMENDATION:
YES NO
SIGNATURE OF STORE REPRESENTATIVE:
___________________________________________
CONTROL BOARD CONNECTIONS & OPERATION:
With the Power
on, press the Set-Up Key to access software version, and record.
ALL BOARD CONNECTIONS TIGHT: YES NO
ALL FUNCTIONS ARE DISPLAYED:
YES NO
ALL FUNCTIONS ON CONTROL OPERATE:
YES NO
UNIT OPERATES IN ALL MODES:
YES NO
IF NO, EXPLAIN: _________________________________________
PHYSICAL CONDITION: *reference installation instructions for complete information 4
Bottom of oven has been checked for damage due to improper positioning on site ...................................................
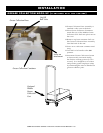
Verify all gaskets, hoses, and carts* are in place and function properly .....................................................................
If oven includes a cart, verify proper installation of the rack guide on companion warmer or chiller* ....................
Verify the installation of drip pans*, racks, shelves, drain screen, spray hose* ..........................................................
Verify the oven is level and installed on a solid, water resistant floor ........................................................................
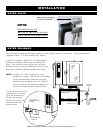
ELECTRICAL CONNECTIONS:
Verify electrical power requirements for oven.
Verify voltage at terminal block.
Check all terminals for tightness.
LINE VOLTAGE AT TERMINAL BLOCK (tO grOuNd):
 LINE 1: _________ LINE 2:_________ LINE 3: _________
LINE VOLTAGE (
phase to phase): LINE 1 to 2: __________
LINE 2 to 3: __________
LINE 3 to 1: __________
ELECTRICAL SUPPLY LINE SIZE: ______________
ALL ELECTRICAL TERMINALS TIGHT:
YES NO
VOLTAGE: ______________
PHASE: ______________
BREAKER SIZE: ______________
SOFTWARE VERSION:
RB_____________ DB_____________
service agency: start-up date:
installation name:
model no.: serial no.:
tech signature: customer signature: