6
PARTS AND FEATURES
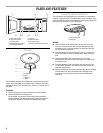
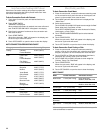
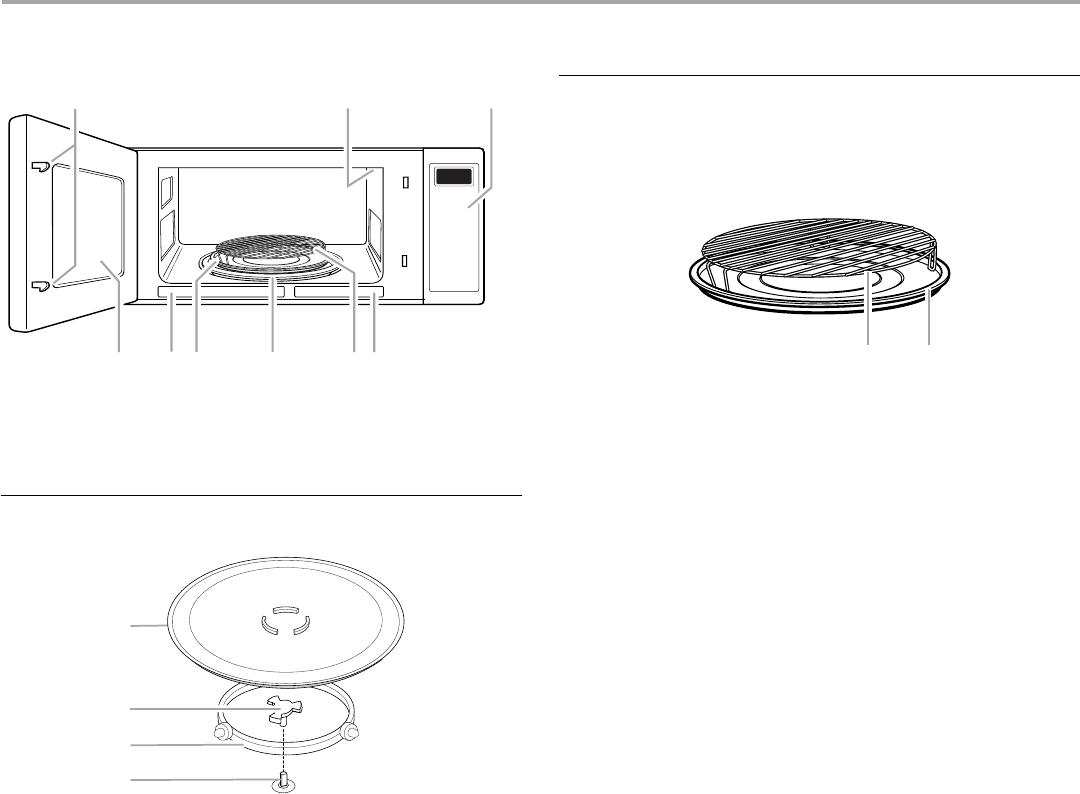
Turntable
The turntable rotates in both directions to help cook food more
evenly. Do not operate the microwave oven without having the
turntable in place. See “Assistance or Service” to reorder any of
the parts.
To Install:
1. Place the support on the microwave oven cavity bottom.
2. Place the turntable on the support.
Fit the raised, curved lines in the center of the turntable
bottom between the three spokes of the hub. The rollers on
the support should fit inside the turntable bottom ridge.
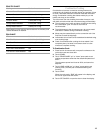
Convection Rack and Drip Pan
The convection rack is designed for convection or combination
cooking. It allows hot air to circulate freely in the microwave oven
cavity, surrounding food, and cooking the food quickly. Place the
drip pan under the rack to catch drippings.
NOTES:
■ The convection rack and drip pan will become very hot.
Use oven mitts to remove the hot rack and pan from the
microwave oven. To avoid damage, do not place drip pan
on heat-sensitive surfaces.
■ To avoid damage to the microwave oven, do not allow the
convection rack to touch the inside cavity walls, ceiling or
floor.
■ To avoid damage to the microwave oven, do not let
bakeware on convection rack touch the top or sides of the
microwave oven.
■ To avoid damage to the convection rack and drip pan, do
not use either of them in any other microwave oven or in a
standard thermal oven.
■ When not using the convection rack and drip pan for cooking,
remove them from the microwave oven. Damage to the
microwave oven could result if someone unintentionally
turns it on.
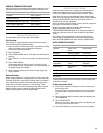
A.Door lock system
B.Light (not shown)
C.Control panel
D.Metal shielded window
E.Cooking guide label
F. Drip pan
G.Glass turntable
H.Convection rack
I.Model and serial number plate
A.Turntable
B.Hub
C.Support
D.Shaft
A B C
D E F G H I
A
B
C
D
A.Convection Rack
B.Drip Pan
A B


