7
7
UUSSIINNGG YYOOUURR EELLEECCTTRRIICC MMAANNDDOOLLIINNEE SSLLIICCEERR
NOTE:
• For best results, be sure food is evenly distributed near the blade.
• Stack food tightly into the food chute when possible, as this will
not only produce more sliced food, but will also result in more
consistent slices.
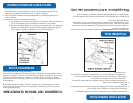
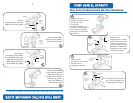
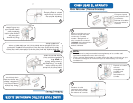
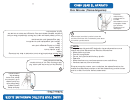
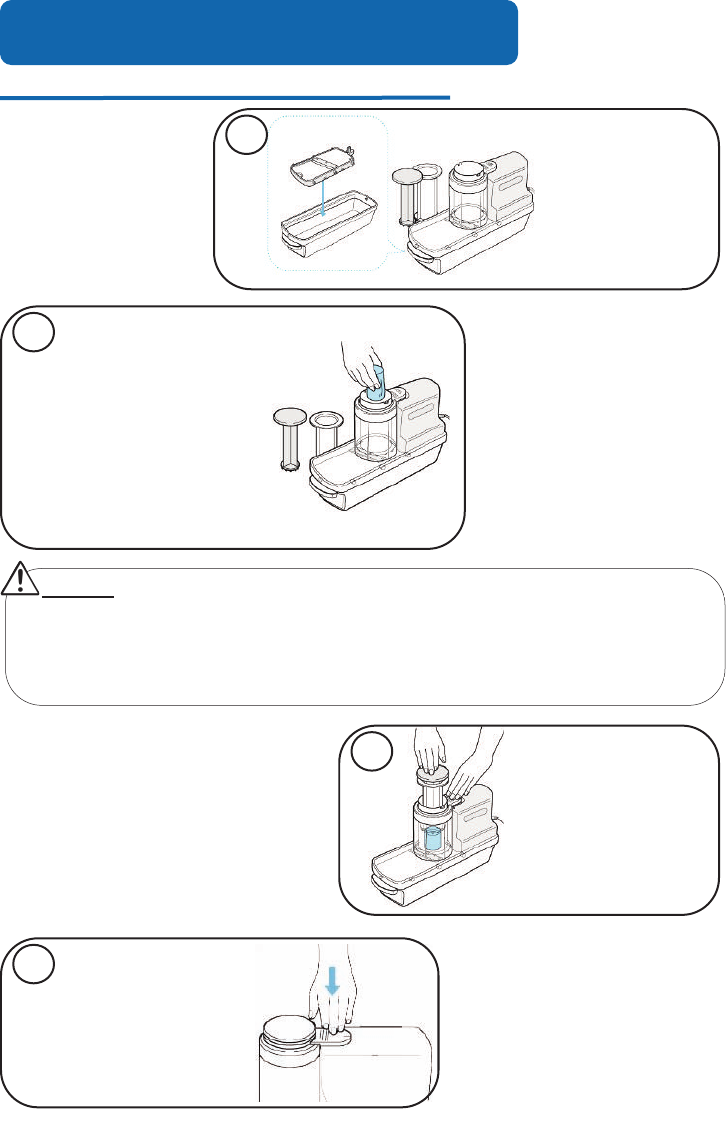
Place the blade
carriage into the
container. Attach
the motor housing
onto the cover.
2
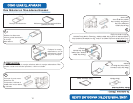
Insert food to be sliced
into the food chute.
Refer to “Choosing the
Correct Food Chute”
on page 6 to
determine which food
chute should be used.
3
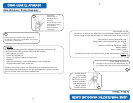
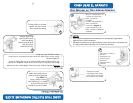
Plug the power
cord into the
proper wall outlet.
Press the food
down gently with
the food pusher.
4
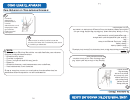
Press the switch ring
down into the power
switch to begin slicing.
5
CCOOMMOO UUSSAARR EELL AAPPAARRAATTOO
NOTA:
• Para obtener los mejores resultados, asegúrese que la comida esté
igualmente distribuida cerca de la navaja.
• Junte y apriete firmemente la comida dentro del tubo conductor, ya que
al hacerlo conseguirá un número mayor de rebanadas y con mejor
consistencia.
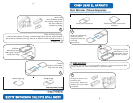
Coloque el porta
navajas dentro del
contenedor.
Adhiera el bastidor
del motor sobre la
cubierta
2
Meta la comida que va a
rebanar dentro del tubo
conductor. Consulte
nuestro “Escogiendo el
tubo conductor correcto”
(página 6) para determinar
cual tubo conductor
deberá utilizarse.
3
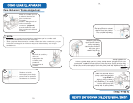
Enchufe el cordón y
utilice el
empujador de
comida para
presionar
suavemente la
comida.
4
Presione el anillo
interruptor para abajo
para iniciar el proceso
de rebanar la comida.
5
To Slice (Thick):
Para Rebanar (Trozos Gruesos):


