


11
FINAL PREPARATION
1. Some stainless steel parts may have a plastic protective wrap which must be removed. The interior of the oven
should be washed thoroughly with hot soapy water to remove film residues and any installation dust or debris
before using it for food preparation, then rinsed and wiped dry. Solutions stronger than soap and water are rarely
needed.
2. All stainless steel body parts should be wiped with hot, soapy water and with a liquid cleaner recommended for
use with stainless steel If buildup occurs, do not use steel wool, abrasive cloths, cleaners, or powders! If it is
necessary to scrape stainless steel to remove encrusted materials, soak with hot, wet cloths to loosen the
material, then use a wood or nylon scraper. Do not use a metal knife, spatula, or any other metal tool to scrape
stainless steel! Scratches are almost impossible to remove.
NOTE: These installation instructions should remain with the unit for future reference. The electrical diagram is located in
the backside or the appliance.
REPLACEMENT PARTS
Only authorized replacement parts may be used in performing service on the appliance. Replacement parts are available
from factory authorized parts distributors.
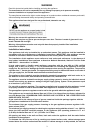
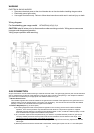
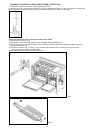
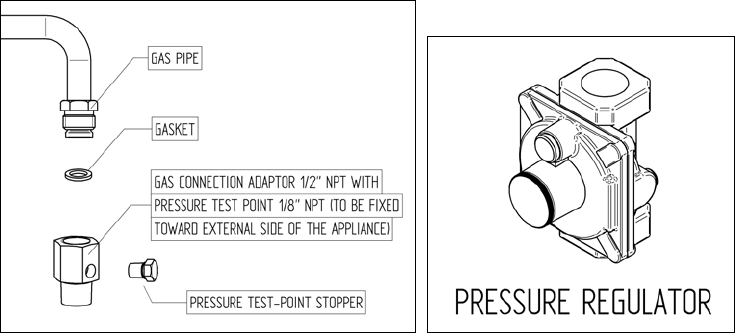
Conversion to different types of gas
Before carrying out any maintenance work, disconnect the appliance from the gas and electric
supply. For Natural Gas fit regulator assembly described in Fig.
Adaptation of the pressure regulator for use with different type of gas
The pressure regulator supplied with the appliance is a convertible type pressure regulator for use with Natural Gas at a
nominal outlet pressure of 4” w.c. or LP gas at a nominal outlet pressure of 11” w.c. and it is pre-arranged from the
factory to operate with one of these gas/pressure as indicated in the labels affixed on the appliance, package and
Instruction booklet.
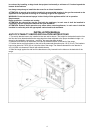
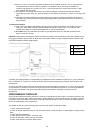
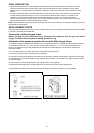
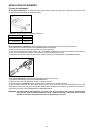
To convert the regulator for use with other types of gas follow these instructions:
1) Unscrew by hand the upper metal stopper of the regulator.
2) Unscrew by hand the white plastic piece screwed under the above mentioned metal stopper, afterward screw it again
in opposite way under the metal stopper (for gas reference see the written “LP” and “NAT” with relative indicating arrows
on the white piece).
3) Screw again by hand the metal stopper in the original position on the regulator.
Following these exact instructions the gas regulator is converted for use with the other gas/pressure.
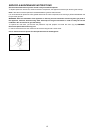
It is essential that the gasket and the pressure test point stopper are properly installed to avoid gas leakage