


- 12 -
ELECTRICAL
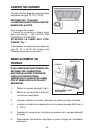
SYSTEM
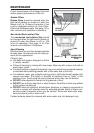
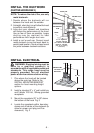
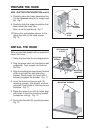
PLATE
FIG. 9
3.9x9.5mm
SCREWS
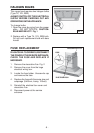
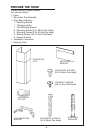
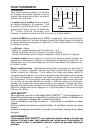
FIG. 8
PLENUM
(3) SCREWS
5” ALUMINUM
FLEX DUCT
5” 6” ADAPTER
BLOWER
COLLAR
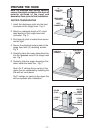
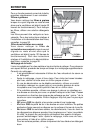
PREPARE THE HOOD
NON - DUCTED CONFIGURATION
Note: The following materials must be purchased separately for non-ducted
recirculation installations.
• Non - Ducted Recirculation Kit,
Model NDK7780
• 5” diameter expandable / flexible aluminum duct.
• 1/16” diameter twist drill.
CAUTION: Do not use plastic or rigid metal ducting.
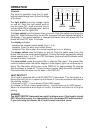
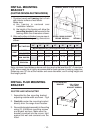
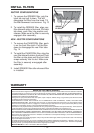
1. Determine the length of the compressed flexible aluminium ducting using the
following formula:
34” MINUS PLUS =
Worksheet: 34” - __________ + __________ (for 9” ceiling only) = __________
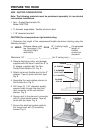
2. Discard discharge collar and damper
supplied with the hood. Install the 5” to
6” adapter supplied with the Non-
Ducted Recirculation Kit. Fig. 8
3. Attach aluminum flexible duct to the 5”
adapter. Tape all joints with duct tape.
Fig. 8
4. Assemble the recirculation plenum to
the flexible duct. Fig. 8
5. Drill three (3) 1/16” diameter equally
spaced holes through the duct and
duct connector of the recirculation
plenum. Fig. 8
6. Secure duct to the plenum’s connector
with (3) sheet metal screws. Tape all
joints with duct tape. Fig. 8
7. Secure the electrical system plate to
the range hood with (3) mounting
screws. Fig. 9
Distance above cook
top. See page 10 for
mounting height
restrictions.
12” if ceiling height
is 9-feet
Compressed
length of
flexible
aluminium
ductwork