8
9
ENGLISH
BREWING COFFEE
Note: It is not necessary to set the clock to brew coffee unless you want to use DELAYED
BREWING.
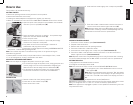
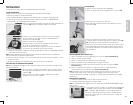
1. Open one-piece cover.
2. Fill water reservoir with desired amount of cold tap water. Do not exceed the 12-cup
(MAX) level on the water reservoir.
Important: There is an overflow hole at the back of the coffeemaker. Be careful not to
overfill the water reservoir to avoid leaking onto the counter or work surface.
3. Placepermanentfilteroran8–12cupbasket-stylepaperfilterintotheremovablefilter
basket, making sure the filter is centered.
4. Add desired amount of ground coffee.
5. InsertbrewbasketintobrewbasketholderfollowingdirectionsinGETTINGSTARTED.
6. Close one-piece cover.
7. Make sure carafe lid is properly attached to the empty carafe. Close the lid.
Note: Coffee may overflow if carafe lid is not properly placed.
8. Place empty carafe on the “Keep Hot” carafe plate.
9. Plug cord into an outlet.
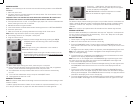
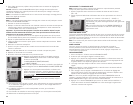
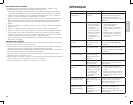
10. Select the brew strength desired by pressing the BREW
STRENGTHbuttonandselectingoneofthe2levels(J):
• REGULAR
• STRONG
Note: During first use, your coffeemaker is set to brew at
REGULARbrewstrength.
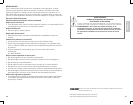
11. Press ON/OFF button; blue light around the button turns on.
Brewing begins OR for delayed brewing set the AUTO function
before pressing the ON/OFF button. (See below for DELAYED
BREWING.)(K).
12. When coffee stops flowing into carafe, the brew cycle is complete.
13. Once coffee grounds have cooled, carefully open one-piece cover and, using basket
handle, remove and discard used grounds. Close one-piece cover.
14. The coffeemaker will keep brewed coffee hot for 2 hours and then automatically
turn off.
15. To turn off the coffeemaker at any time press the ON/OFF button.
16. Unplug appliance when not in use.
BREWING 1 TO 4 CUPS
Note: This feature slows down the brewing to extract the best flavor when brewing a small
amount of coffee.
1.Addtheappropriateamountofwaterforthenumberofcupstobebrewed(from1–4)
2. Fill the permanent filter or paper filter with desired amount of coffee grounds.
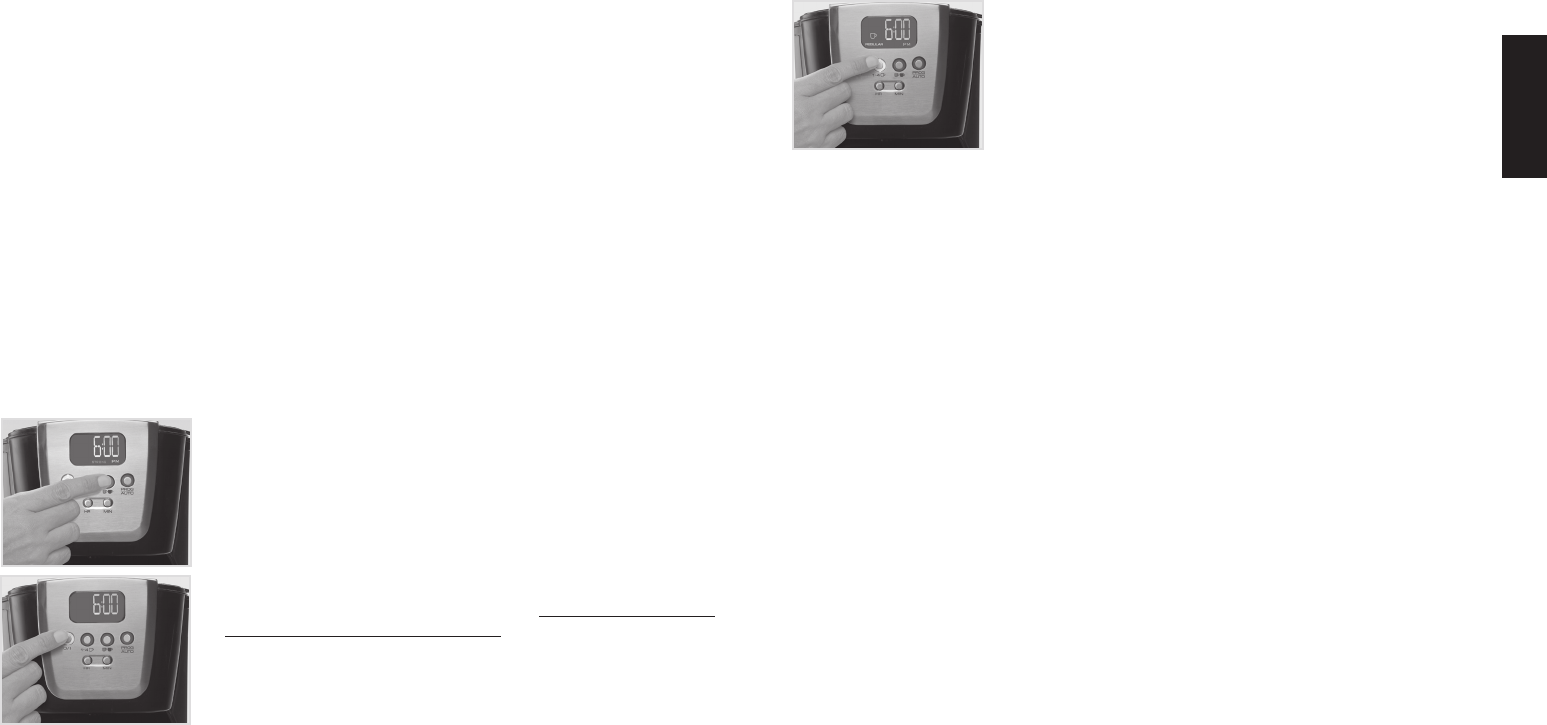
3. Pressthe1–4CUPbutton.Thebluelightwillturnon
around the button and a small coffee cup icon will appear
on the left side of the display (L).
Note:BREWSTRENGTHcannotbeselectedinthismode.
Coffee will be brewed at regular strength.
SNEAK-A-CUP
®
FEATURE
The Sneak-A-Cup
®
feature allows you to pour a cup of coffee from the carafe while the
coffee is brewing. When the carafe is removed the brewing process is paused. Simply
replace the carafe on the “Keep Hot” carafe plate within 30 seconds and brewing
resumes.
Note: If the carafe is not replaced within 30 seconds the filter basket may overflow.
KEEPING COFFEE HOT
Once the coffee has brewed, the coffeemaker will keep the “Keep Hot” carafe plate hot
for up to 2 hours, and then shut off automatically. To turn the “Keep Hot” carafe plate
off, simply press the ON/OFF button.
DELAYED BREWING
1. Followsteps1through9underBREWINGCOFFEE.
2. Make sure clock has been set to correct time of day.
3. PressthePROG/AUTObutton.ThebluelightaroundthePROG/AUTObuttonwill
flash several times and a clock icon will appear and flash in the top left corner of the
display.
4. The digital clock will display 12:00 or the previous preset delayed brewing start time.
Note: If the coffeemaker has not been unplugged the last delayed brewing time will
appear on the digital display.
5. To change the time: Immediately press HOUR button until the desired correct time
appears on the display. Repeat with the MIN button.
Note:IfthehourisnotchangedbeforethePROG/AUTOlightstopsflashingtheclock
willreverttocorrecttimeofday.YoumustpressthePROG/AUTObuttonagainand
re-enter the desired delayed brewing time.
6. PressthePROG/AUTObuttontoactivatethedelayedbrewing.Thebluelightaround
thePROG/AUTObuttonandtheclockiconontheleftofthedisplaywillbothbe
constant.
7. Tocheckthepresetautotime,pressPROG/AUTObutton:thePROG/AUTObutton
light and the clock on the digital display will flash and the time selected for delayed
brewingwillbedisplayed.PressPROG/AUTObuttontoacceptorsimplywaitseveral
seconds for the display to the correct time of day.
8. To cancel delayed brewing, press the ON/OFF button to brew coffee immediately or
press the ON/OFF button again to turn the coffeemaker OFF. All lights will turn off.
L
J
K


