


8
7
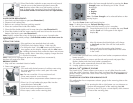
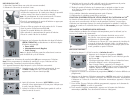
5. Place filter holder inside the water reservoir and insert it
into the recess at the bottom right hand corner (E).
Note: Replace carbon filter every 60 brewing cycles or
every 2 months after removing it from the sealed package.
(Call the 800 number on the front cover for replacements).
WATER FILTER REPLACEMENT:
1. Press latch on filter holder to open (see illustration C).
2. Dispose of old carbon filter.
3. Remove new carbon filter from packing material.
4. Place new carbon filter inside filter holder.
5. Close the filter holder tightly until it snaps into place (see illustration D).
6. Place filter holder inside the water reservoir and insert it into the recess at the
bottom right hand corner (see illustration E).
Note: Replace carbon filter every 60 brewing cycles or every 2 months after
removing it from the sealed package. (Call the 800 number on the front cover for
replacements).
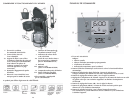
SETTING THE CLOCK:
1. Plug appliance into standard electrical outlet.
2. The digital clock display flashes 12:00 A.M. (F).
3. To change the time: Press HR button until the correct
time appears on the display. Repeat with the Min button.
Tip: Holding the button down makes the hours and minutes
change rapidly after a short delay; tapping changes the time
in 1 minute increments.
Note: If the unit is unplugged or power is interrupted even momentarily,
the time will need to be reset.
BREWING COFFEE:
1. Plug cord into a standard electrical outlet.
2. Open water reservoir cover.
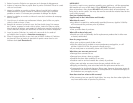
3. Fill carafe with desired amount of cold tap water using
the water markings on the carafe; pour into water
reservoir (G).
Note: Do not exceed the 12-cup maximum level.
4. Close water reservoir cover securely.
5. Press brew basket compartment release button to open.
6. Place 8 to 12 cup basket style paper filter into the
removable brew basket (H).
7. Add desired amount of ground coffee.
8. Close brew basket compartment securely.
9. Place empty carafe on the warming plate.
12:00
AM
-
+
PROG
HR
MIN
F
O
PEN
-1
2
MA
X
-1
0
-2
-8
-
6
-4
-
+
P
RO
G
HR
M
I
N
H
OPEN
-1
2
M
AX
-1
0
-8
-6
-4
-2
-
+
G
-
+
P
R
O
G
HR
MI
N
E
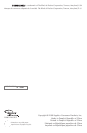
10. Select the brew strength desired by pressing the Brew
Strength button and selecting one of the 3 levels
desired (J):
• Mild
• Regular
• Strong
Note: The Brew Strength can be selected before or after
brewing begins.
11. Press the Power button and brewing begins.
Note: To delay brewing see, Delayed Brewing section.
12. The unit will beep 3 times when the brewing cycle is complete.
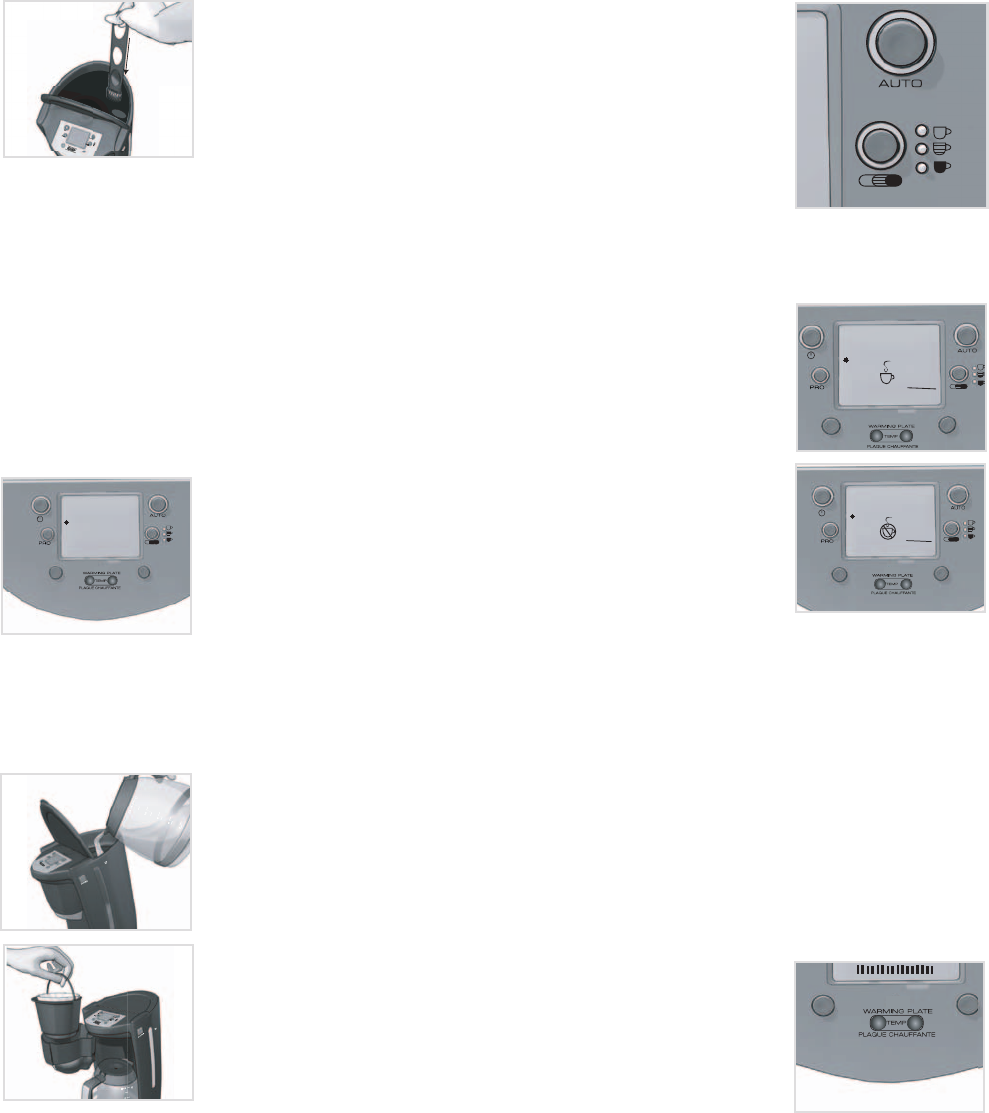
13. Once the brewing cycle is complete the word Fresh
and the Fresh icon will appear on the digital
display (K).
14. After 20 minutes the digital display will change
to Not Fresh and the icon will also indicate the
same (L).
15. Keep carafe on the warming plate between
servings to preserve the temperature of the coffee
in the carafe.
16. Once coffee grounds have cooled, press brew basket compartment release
button to open.
17. Use basket handle to remove and discard used grounds and paper filter.
Replace basket and close brew basket compartment.
18. The coffee maker automatically shuts off after 2 hours.
19. Unplug appliance when not in use.
SNEAK-A-CUP
®
INTERRUPT FEATURE
The Sneak-A-Cup
®
feature allows you to pour a cup of coffee from the carafe
while the coffee is brewing. When the carafe is removed the brewing process is
paused. Simply replace the carafe on the warming plate within 30 seconds and
brewing resumes.
TEMPERATURE CONTROL FOR WARMING PLATE
This coffeemaker has a temperature selector gauge for the warming plate on the
control panel.
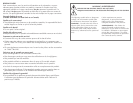
1. By pressing the left or right button you can decrease or
increase the temperature of the warming plate (M).
2. The bar on the LCD gives a visual display of the amount
of heat of the warming plate.
6:20
AM
NOT
FRESH
-
+
PROG
HR
MIN
L
6:00
AM
FRESH
-
+
PROG
HR
MIN
K
POWER
PROG
AUTO
BREW
STRENGTH
MILD
REGULAR
STRONG
6:00
AM
FRESH
-
+
AUTO
-
+
HR
MIN
M
J