OPERATION
A. START-UP
For initial start-up, or if the brewer has not been used for an
extended period of time:
♦ Be sure spray disk and brew gasket are properly installed in the
brew head.
♦ Be sure the water supply is properly connected and the water
supply valve is turned ON.
♦ Be sure the WATER TANK IS FILLED.
IMPORTANT: Fill the water tank before energizing this brewer.
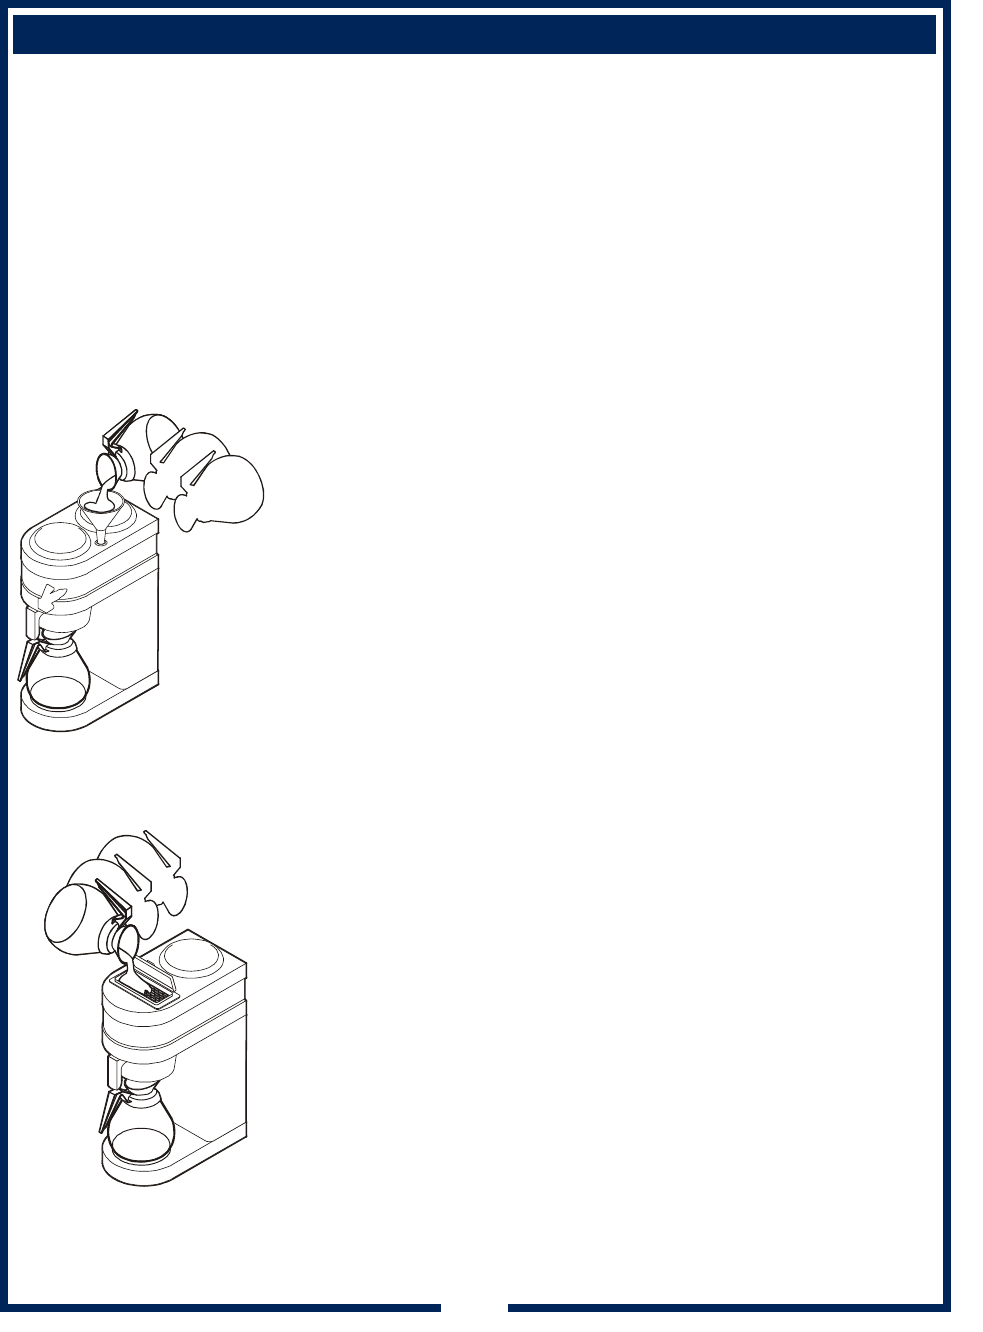
Automatic Units.
See Figure 5 at left
1. Insert the brew chamber (empty) and place an empty decanter or
airpot in place under the brew chamber.
2. Remove the FILL PLUG from the fill hole.
NOTE: On Model 0412, insert provided funnel in the fill hole.
3. Pour three (3) full decanters of water into the FILL HOLE. When
water flows from the brew head, the tank is full.
4. Reinstall FILL PLUG.
5. Connect the unit to electrical power.
6. Unit will begin heating water in preparation for the first brew.
When the water has reached the proper temperature, the “READY”
light will glow.
Pour-Over Units.
See Figure 6 at left
1. Insert the brew chamber (empty) and place an empty decanter in
place under the brew chamber.
2. Open the POUR-OVER COVER.
3. Pour three (3) full decanters of water into POUR-OVER OPENING.
When water flows from the brew head, the tank is full.
4. Close the POUR-OVER COVER.
5. Connect the unit to electrical power.
Unit will begin heating water in preparation for the first brew.
When the water has reached the proper temperature, the “READY”
light will glow.
IMPORTANT:
TANK MUST BE FULL
OF WATER BEFORE
CONNECTING BREWER
TO ELECTRIC POWER.
Heating elements will be
damaged if allowed to
operate without being
fully submerged in water.
Damage caused by
operating the brewer
without water in the tank
is NOT COVERED BY
WARRANTY.
8
Fig. 5 Fill the Tank
(Automatic Units)
Fig. 6 Fill the Tank
(Pour-Over Units)
685 77110 Owners Manual Horizon™ Brewers


