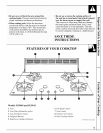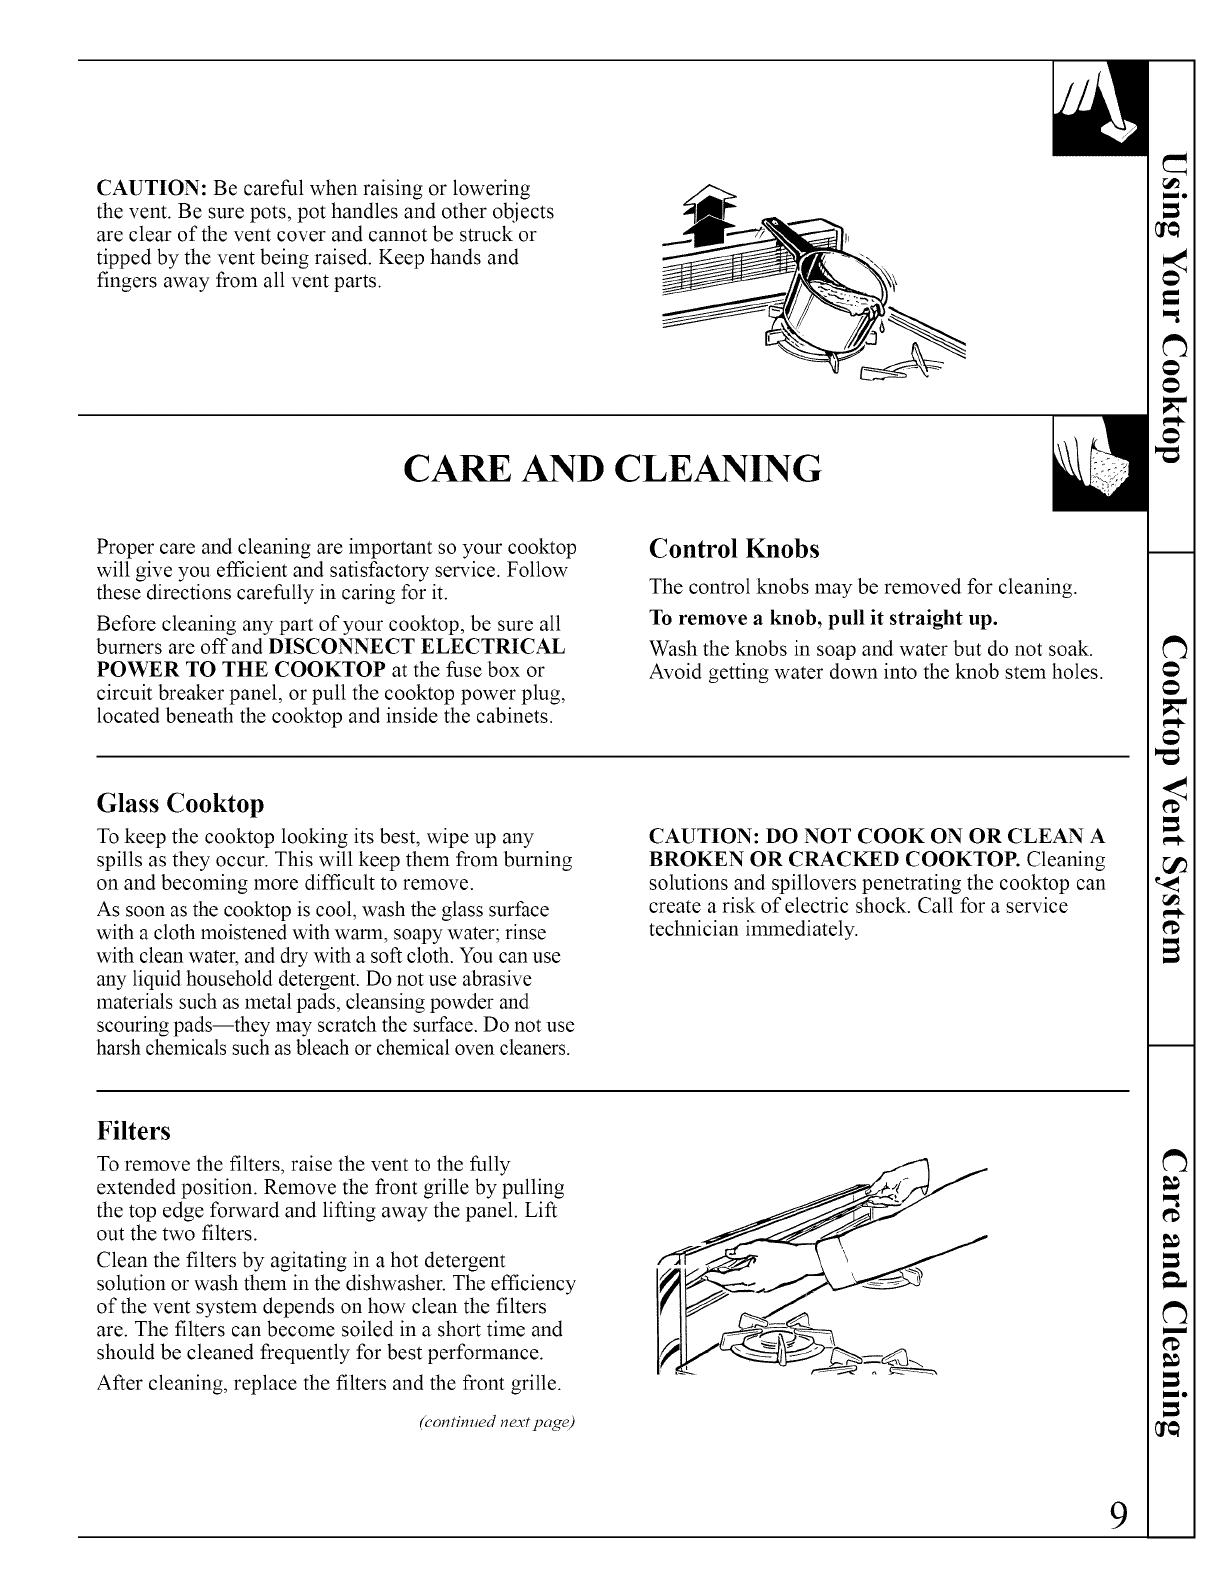
CAUTION: Be careful when raising or lowering
the vent. Be sure pots, pot handles and other objects
are clear of the vent cover and cannot be struck or
tipped by the vent being raised. Keep hands and
fingers away from all vent parts.
CARE AND CLEANING
Proper care and cleaning are important so your cooktop
will give you efficient and satisfactory service. Follow
these directions carefully in caring for it.
Before cleaning any part of your cooktop, be sure all
burners are off and DISCONNECT ELECTRICAL
POWER TO THE COOKTOP at the fuse box or
circuit breaker panel, or pull the cooktop power plug,
located beneath the cooktop and inside the cabinets.
Control Knobs
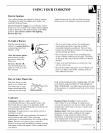
The control knobs may be removed for cleaning.
To remove a knob, pull it straight up.
Wash the knobs in soap and water but do not soak.
Avoid getting water down into the knob stem holes.
Glass Cooktop
To keep the cooktop looking its best, wipe up any
spills as they occur. This will keep them from burning
on and becoming more difficult to remove.
As soon as the cooktop is cool, wash the glass surface
with a cloth moistened with warm, soapy water; rinse
with clean water, and dry with a soft cloth. You can use
any liquid household detergent. Do not use abrasive
materials such as metal pads, cleansing powder and
scouring pads--they may scratch the surface. Do not use
harsh chemicals such as bleach or chemical oven cleaners.
CAUTION: DO NOT COOK ON OR CLEAN A
BROKEN OR CRACKED COOKTOP. Cleaning
solutions and spillovers penetrating the cooktop can
create a risk of electric shock. Call for a service
technician immediately.
Filters
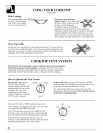
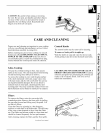
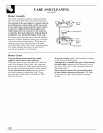
To remove the filters, raise the vent to the fully
extended position. Remove the front grille by pulling
the top edge forward and lifting away the panel. Lift
out the two filters.
Clean the filters by agitating in a hot detergent
solution or wash them in the dishwasher. The efficiency
of the vent system depends on how clean the filters
are. The filters can become soiled in a short time and
should be cleaned frequently for best performance.
After cleaning, replace the filters and the front grille.
(continued next page)
\
9


