


ENGLISH - 7
ENGLISH
www.boschappliances.com
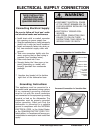
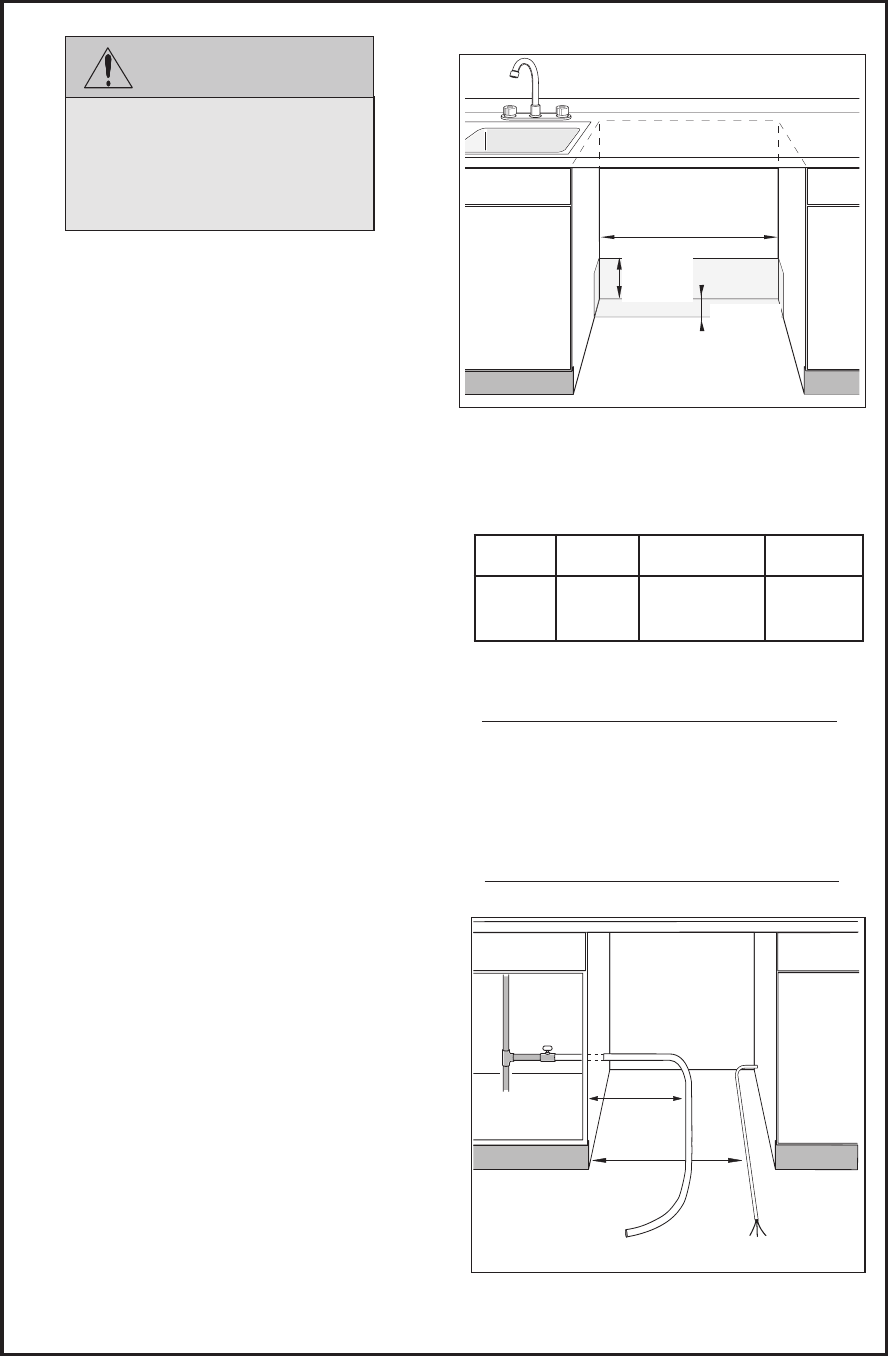
ELECTRICAL PREPARATION
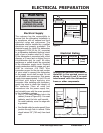
• Cut a 1” (25.4mm) diameter hole in the
cabinet (in area of Figure 9 B). For wood
cabinets, sand the hole until smooth.
For metal cabinets, cover the edge with
a grommet.
• Run flexible cable (as codes permit) from
junction through hole in cabinet. Cable
should extend 30” (762 mm) from back
wall.
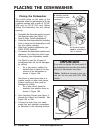
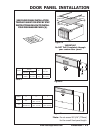
Electrical Supply
Openings for electrical lines must be
installed in the marked areas as
shown in Figures 8 and 9 to avoid
interference with the dishwasher
frame or other components.
Electrical Rating
Table 1
Figure 9
Hot water supply line Electric supply cable
Shut-off
valve
HWS
14”
(355 mm)
21”
(533 mm)
A
B
Figure 8
23-5/8”-24-1/8”
(600-613mm)
1-5/16
(49 mm)
3-1/2
(90 mm)
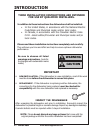
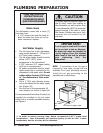
WARNING
THESE INSTALLATION
INSTRUCTIONS ARE
INTENDED FOR USE BY
QUALIFIED INSTALLERS
stloVztreHserepmAsttaW
0210651
054,1
)xam(
The customer has the responsibility to
ensure that the dishwasher installation is
in compliance with all national and local
electrical codes and ordinances. The
dishwasher shall be installed by a qualified
electrician and properly grounded. The
electrical supply for which the dishwasher
is designed is 120V, 60 Hz, AC, connected
to a dishwasher-dedicated electrical circuit
with a fuse or breaker rated for 15 amps.
If the dishwasher is connected with a food
disposer, a 20 amp (and no higher) fuse or
circuitbreaker may be used. No other
appliances or outlets should be connected
to the dishwasher supply circuit. Electrical
supply conductors shall be copper only and
shall be minimum #16 AWG. Wire
connectors proper for the size and number
of wires used to connect the dishwasher
to the supply circuit shall be used. Do not
use all-plastic wire connectors. Strip power
supply wires approximately ½ inch. Do not
pre-twist wire before applying wire
connector. After installing wire connectors,
gently tug wires to check the integrity of
the connector. Place all wires and
connectors into the power supply box,
and reinstall cover with the screw provided
in the installation package.