


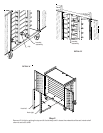

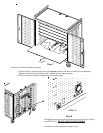
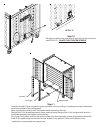
DETAIL 'C'
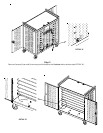
Step 10
Reinstall 6 screws to rear panel that will secure the 3 interior shelves
(see DETAIL 'C'). DO NOT OVER TIGHTEN SCREWS.
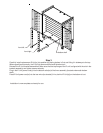
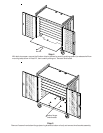
Step 11
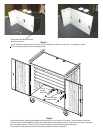
Carefully reinstall E-Units into position by placing bottom in first and tilting it in sideways to the top (underneath
the channel bracket of the cart top panel).
When repositioned correctly, the E-Units power switch should face the front.
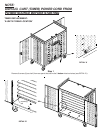
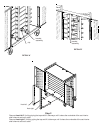
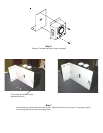
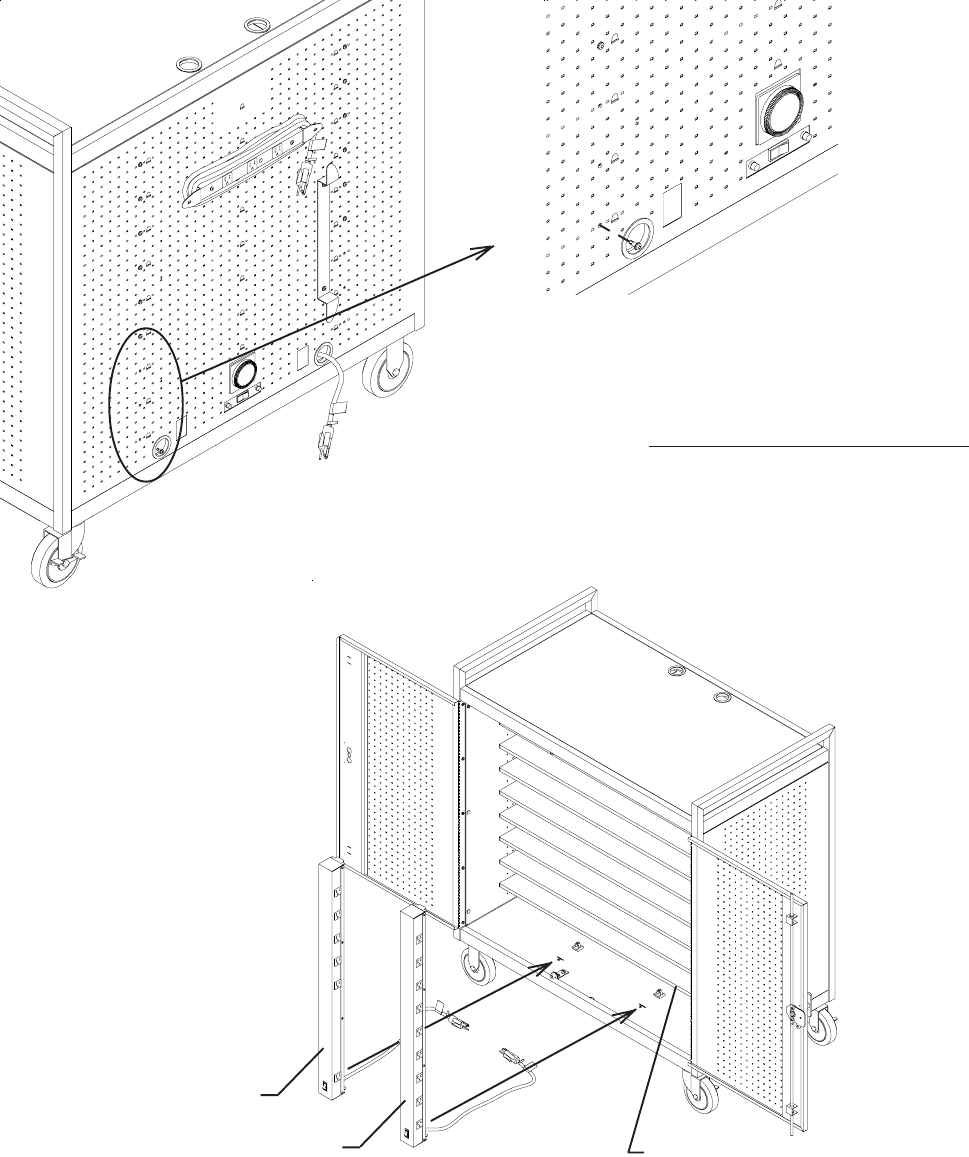
Reinstall the E-Unit bracket assemblies (make sure that the top flange of the E-Unit is aligned with the slot in
the bracket assembly) and tighten screws securely.
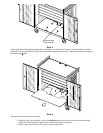
Plug in the E-Unit power cords into the bottom outlets of the timer assembly (located underneath bottom shelf).
Press E-Unit power cords into the two wire clips located (in line, behind E-Units) on the bottom of cart.
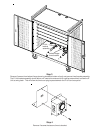
Installation is now complete and ready for use.
bottom shelf
front-right
front-left