MODELS 15XEWH • 15XEBL • 15XESS • 15XESSA
15XEWT • 15XETT
Page 3
I n s t a l l at i o n
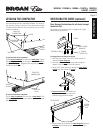
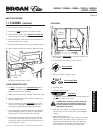
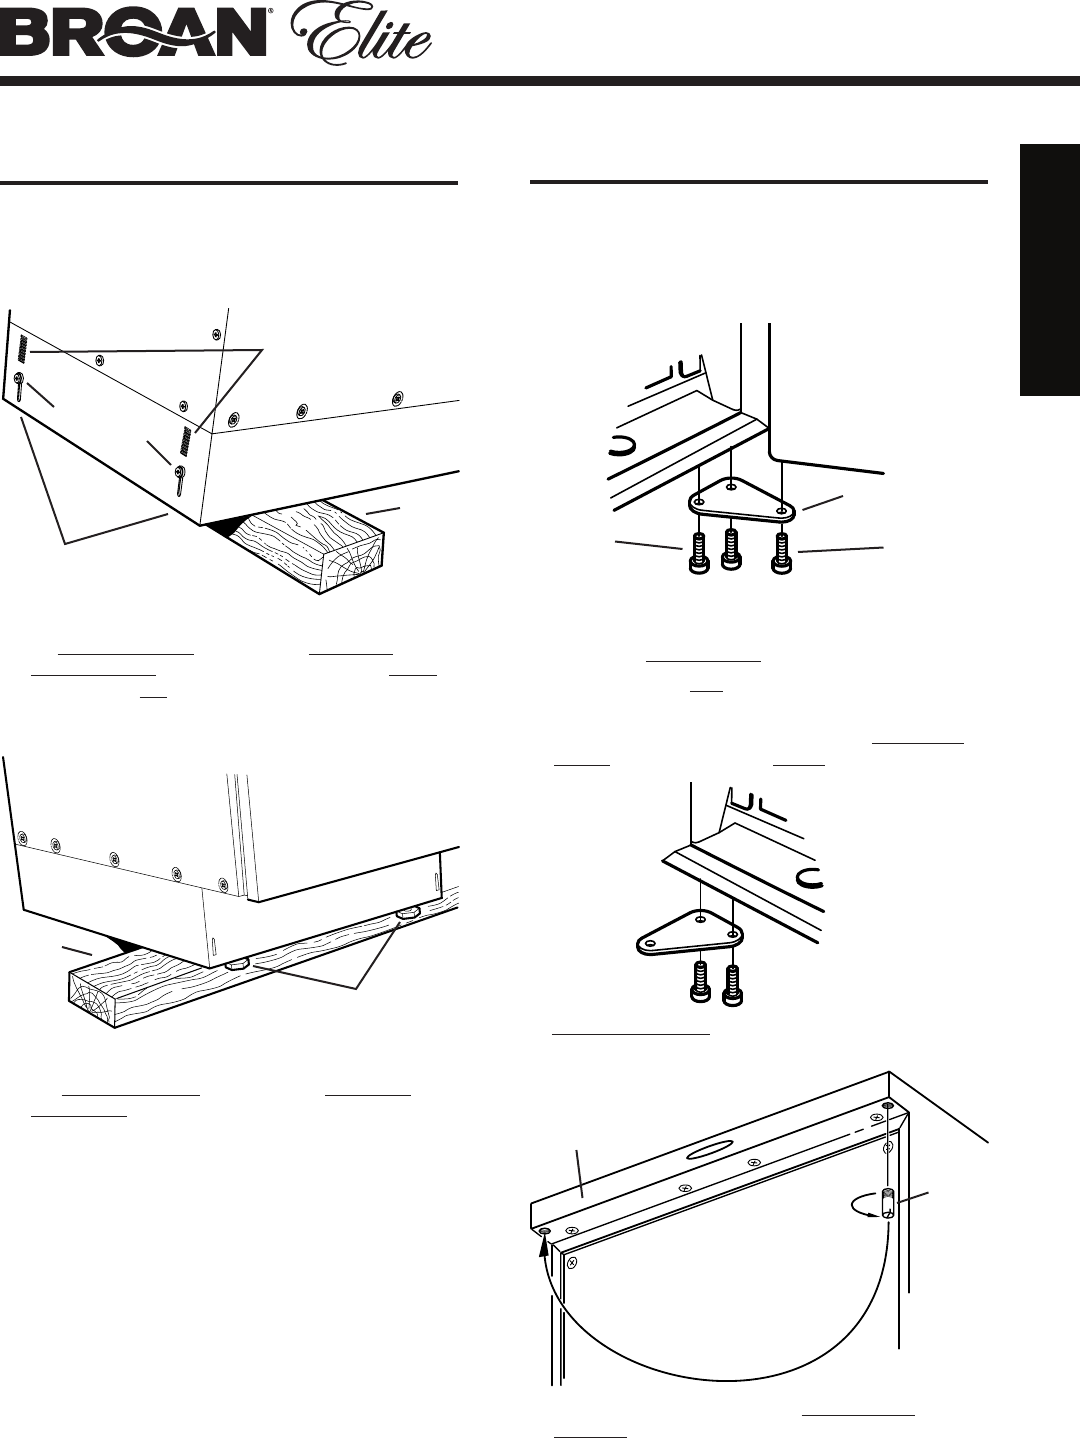
BACK OF
COMPACTOR
WOOD
BLOCK
ADJUSTING
SCREWS
SLOTS
ROLLERS
FRONT OF
COMPACTOR
WOOD
BLOCK
LEVELING
LEGS
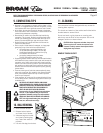
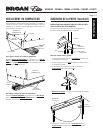
LEVELING THE COMPACTOR
Your compactor has four adjustable levelers; (2) rollers in
the rear and (2) legs in the front. They allow you to adjust
for uneven floors and also trim the unit up to fit an under-
counter installation.
To level the back of the compactor:
Tip the back of compactor up and onto a wood block. Loosen
the adjusting screws only far enough to move the rollers to
a higher or lower slot. Retighten the adjusting screws and
remove the wood block.
To level the front of the compactor:
Tip the front of compactor up and onto a wood block. Turn
the leveling legs in or out to the desired position. Remove
the wood block.
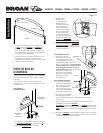
REVERSING THE DOOR (optional)
Door Reversal Instructions for all doors (except
wood and tile).
As shipped, the compactor door is hinged on the right
(when looking at the unit).
To change door to be hinged on the left:
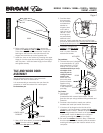
1. With the door closed, use a 3/16” allen wrench to
remove the lower hinge pin.
2. Carefully remove door by opening and sliding the
bottom of the door away from the cabinet.
3. Use a 3/16” allen wrench to remove the lower hinge
bracket from the cabinet (2 screws).
DOOR
LOWER
HINGE PIN
LOWER HINGE
BRACKET
SCREWS
5. Use a screwdriver to remove the upper hinge pin from the
trim piece and reinstall the pin on the opposite side.
UPPER
HINGE
PIN
TRIM PIECE
4. Turn the bracket over and install the
bracket on the opposite side of the
cabinet using the same screws.


