


- 10 -
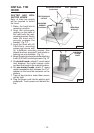
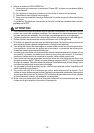
DISCHARGE
COLLAR
FIG.11
PREPARE THE HOOD
Note: On stainless steel hoods, carefully remove the plastic protective film
from all exterior surfaces of the hood and decorative flues, prior to final
installation.
DUCTED HOODS ONLY
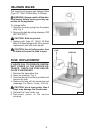
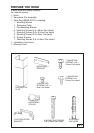
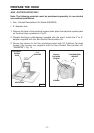
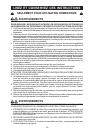
1. Remove the tape on the electrical system plate; place the electrical system plate
on the hood (use a protection). Fig.10.
2. Install the discharge collar into the duct connector of the range hood. Fig. 11.
DUCT
CONNECTOR
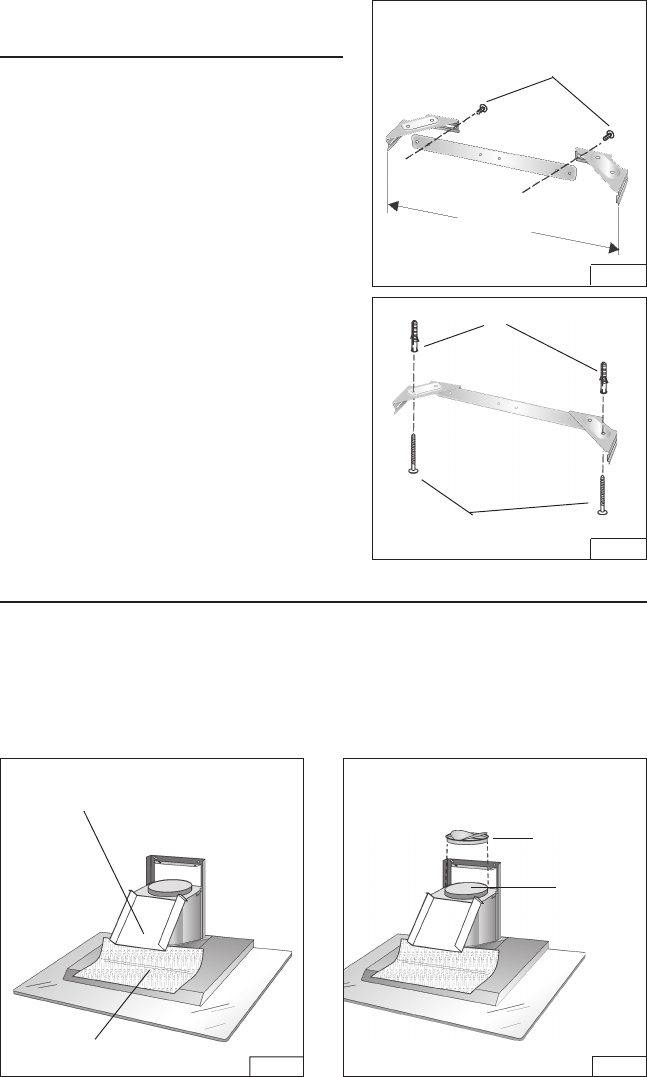
INSTALL FLUE MOUNTING
BRACKET
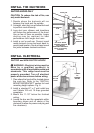
DUCTED AND NON-DUCTED HOODS
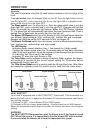
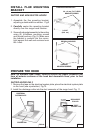
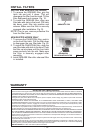
1. Assemble the flue mounting bracket,
adjusting outside width as shown. Fig.8
2. Carefully center the mounting bracket
directly over the range hood location.
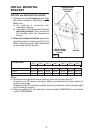
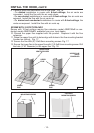
3. Secure the bracket assembly to the ceiling
using (2) 4.8x38mm mounting screws
and drywall anchors (Fig. 9). Make sure
the bracket is pushed into the corner,
tight against the wall and centered over
the hood.
FLUE MOUNTING BRACKET
9-13/16”
(24.9 cm)
FIG. 8
3.9 x 6 mm FLAT HEAD
BRACKET SCREWS
FIG. 9
4.8x38mm
MOUNTING SCREWS
DRYWALL ANCHORS
ELECTRICAL
SYSTEM PLATE
PROTECTION
FIG.10