19
1
2
2 1
1
2
3
3
3
SERVICE (cont.)
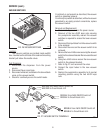
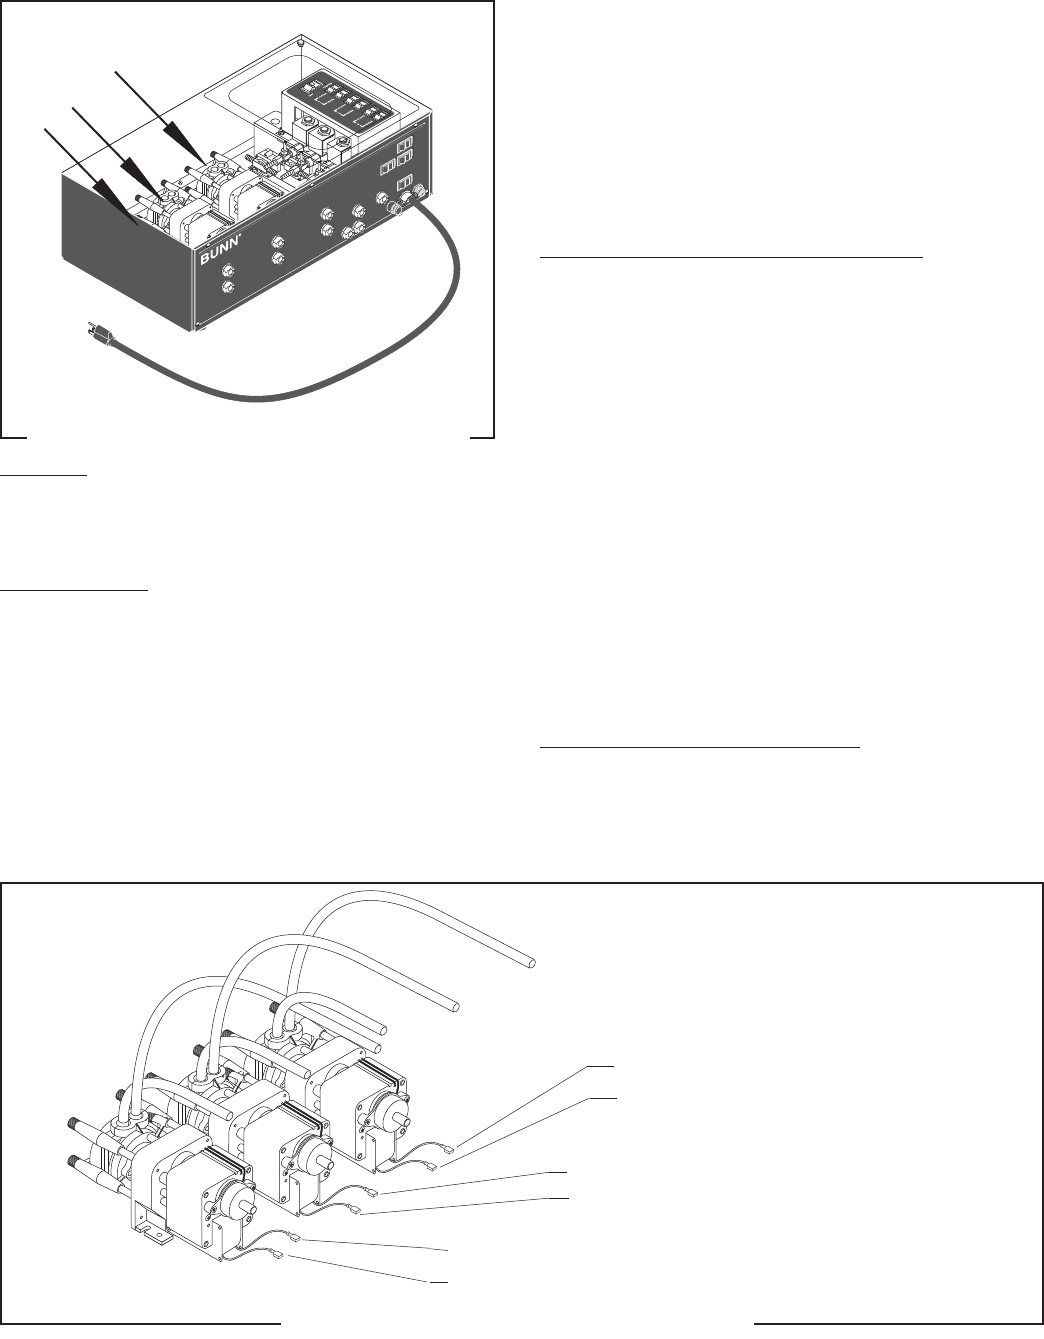
VACUUM/SUPPLY PUMP ASSEMBLY
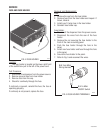
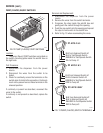
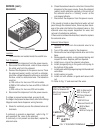
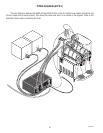
FIG. 22 VACUUM/SUPPLY PUMP ASSEMBLY
P1521
Location:
The vacuum/supply pumps are located inside the
autofill box.
Test Procedure:
1. Disconnect the dispenser from the power source.
2. Disconnect the white wire from the pump lead
and the yellow, orange or red wire from the other
lead.
3. Connect the dispenser to the power source. With a
voltmeter, check the voltage across the white wire
and yellow, orange or red wire. Push the pump
(flavor) switch for the pump to be tested. The
indication must be :
a) 120 volts ac for two wire 120 volt models.
b) 200 to 240 volts ac for two wire 200 or 240 volt
models.
c) 230 volts ac for two wire 230 volt models.
4. Disconnect dispenser from the power source.
If voltage is present as described, replace the pump.
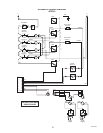
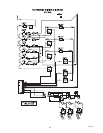
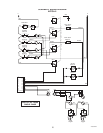
If voltage is not present as described, refer to the Wiring
Diagrams and check main wiring harness.
Pump Motor Removal and Replacement:
NOTE: Do not disconnect or damage tubing. Tubing is
not replaced when pump is replaced.
1. Disconnect the pump motor leads.
2. Remove the four thumb screws securing the pump
head to the pump body.
3. Remove the two #8-32 keps nuts securing the pump
motor/bracket assembly to the refill unit.
4. Remove the two #6-32 screws securing the pump
motor to its mounting bracket.
5. Reattach this bracket to the new motor, and reinstall
the assembly in the refill unit.
6. Reattach the pump head to the rear of the pump
motor with the four thumbscrews.
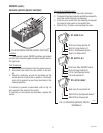
7. Reconnect the pump motor leads. Refer to Fig. 23
to reconnect the wires.
Pump Removal and Replacement:
NOTE: Do not disconnect or damage tubing. Tubing is
not replaced when pump is replaced.
1. Remove the four thumb screws securing the pump
head to the pump body.
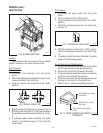
WHI from Solenoid #2
YEL from Pump Switch #1
WHI from Pump #1
ORN from Pump Switch #2
WHI from Solenoid #3
RED from Pump Switch #3
FIG. 23 VACUUM/SUPPLY PUMP TERMINALS
P1526
41093 040408


